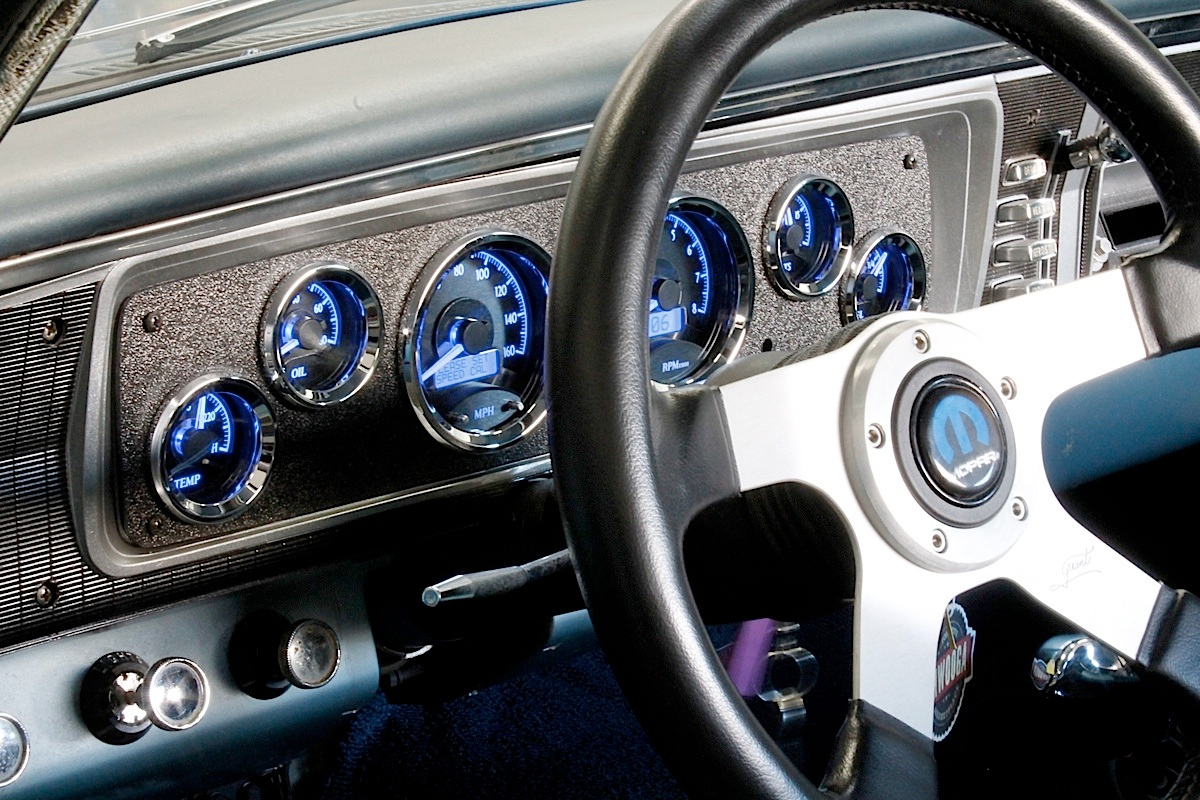
 As gearheads, we’re never happy with what we’ve got; no matter what anyone else thinks, our projects are never completed and we always find something to change, or something to update. Such is the case with our gauges: if you’ve added all the gauges you thought you wanted, at some point you’ll realize that there’s one or two more that you want to add. We added Dakota Digital gauges to our project car, and now with more upgrades we’re looking to add more gauges already.
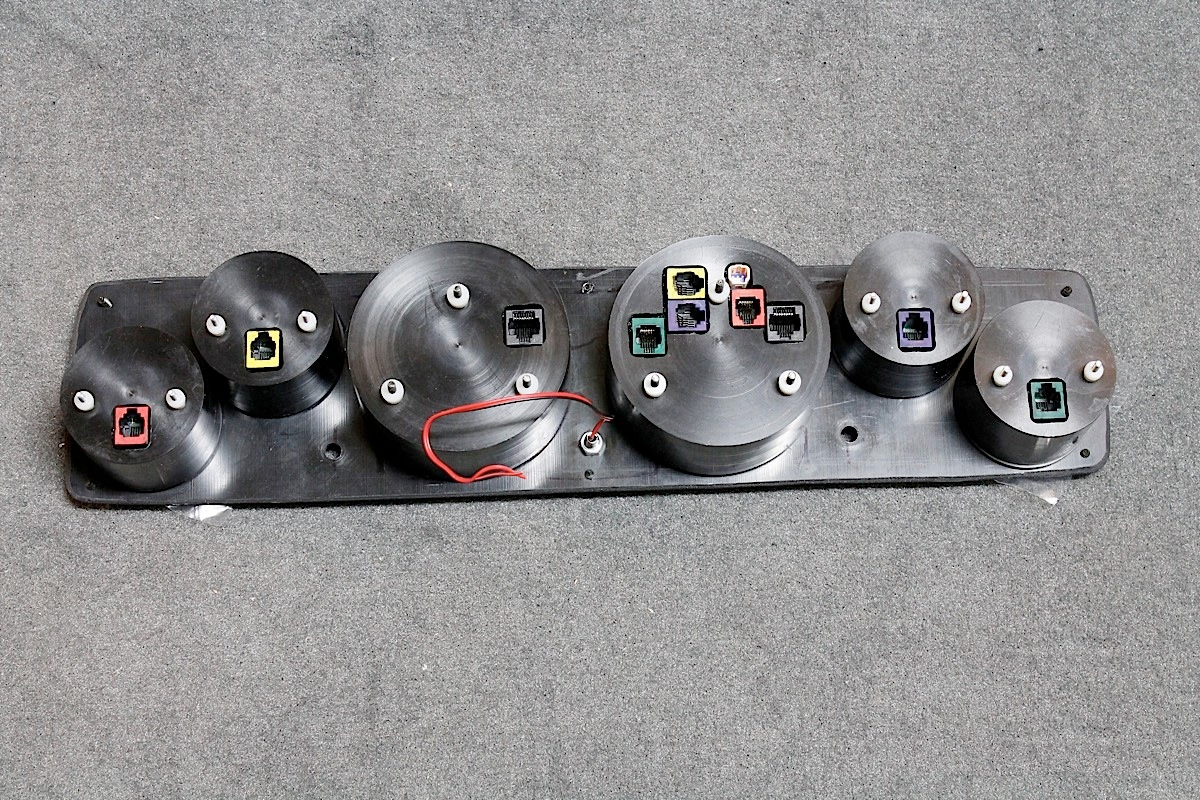
 Many of us have a five- or six-gauge set that tells us the basic vital functions: fuel, volts, temperature, oil pressure, speedometer, and tachometer. Once you’ve added your gauges to your instrument panel, and cut those six holes for the two large and four smaller gauges, adding one more gauge for something like transmission temperature, transmission pressure, or cylinder head temperature, means either redesigning your dash, our mounting your new gauge in another location.
This other location could be the A-pillar, under the dash, or somewhere in between, and that means cutting and/or drilling a new hole or mounting a bracket or pod. But what if you could add a gauge – or two, or three – without changing your layout or doing any cutting or drilling? With Dakota Digital’s VHX series of instrumentation, adding additional gauges is simple.
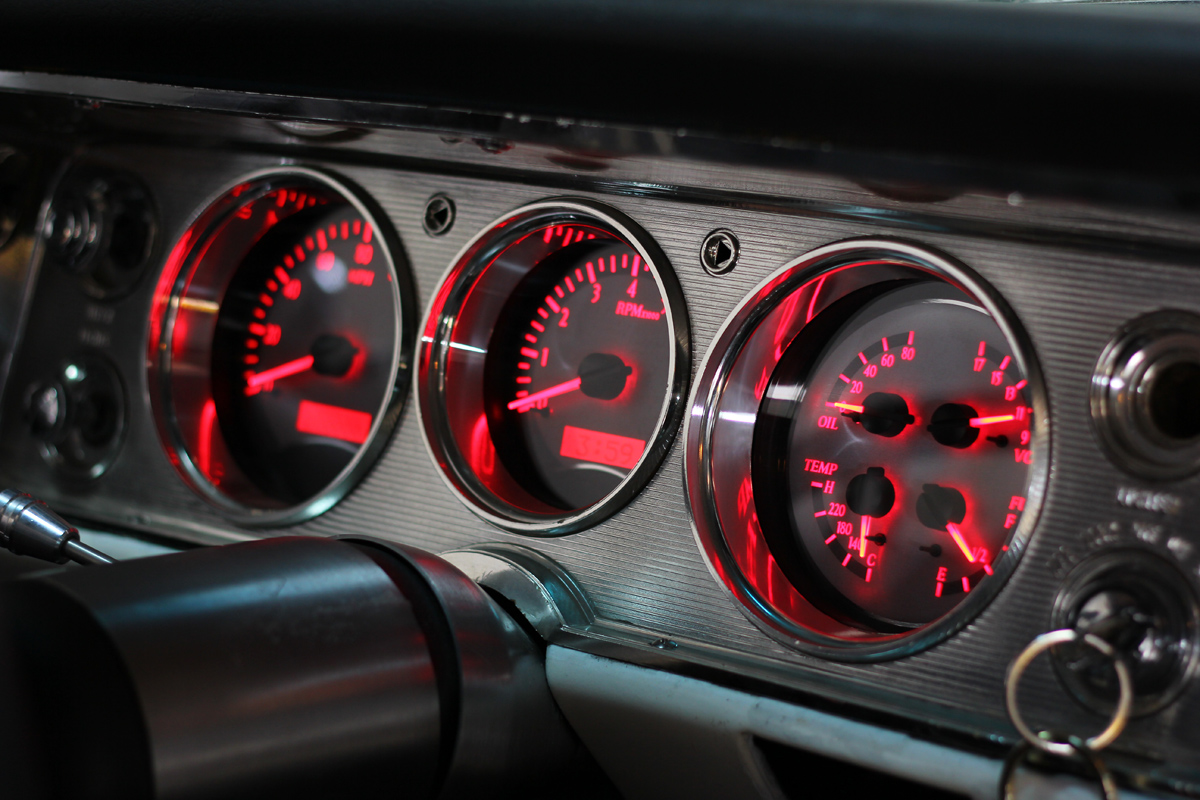
 The VHX series gauges are digital, and have an analog output for the actual gauge. But the unique feature on either the replacement clusters, or on the VHX-1050 or VHX1060 five- and six-gauge sets, are the data displays. These features which will display various functions of the the host gauge, but can also display other data acquired from additional senders.
How It Works
When you want to add another gauge, such as the transmission pressure sender that we added, the addition comes in the form of a BIM (Buss Interface Module), sender, and harness. The BIM expansion modules are available from Dakota Digital, and offer several additional functions to your existing VHX system.
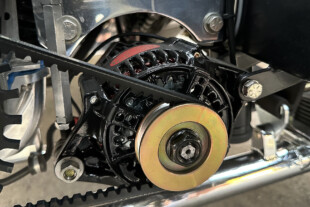
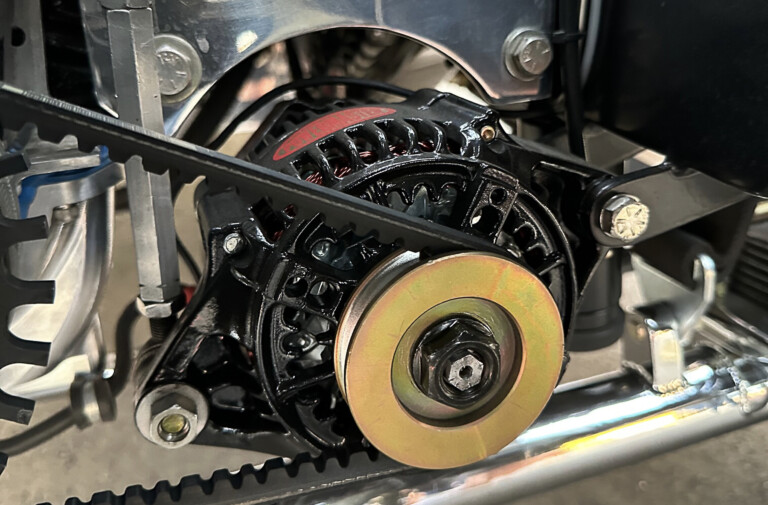
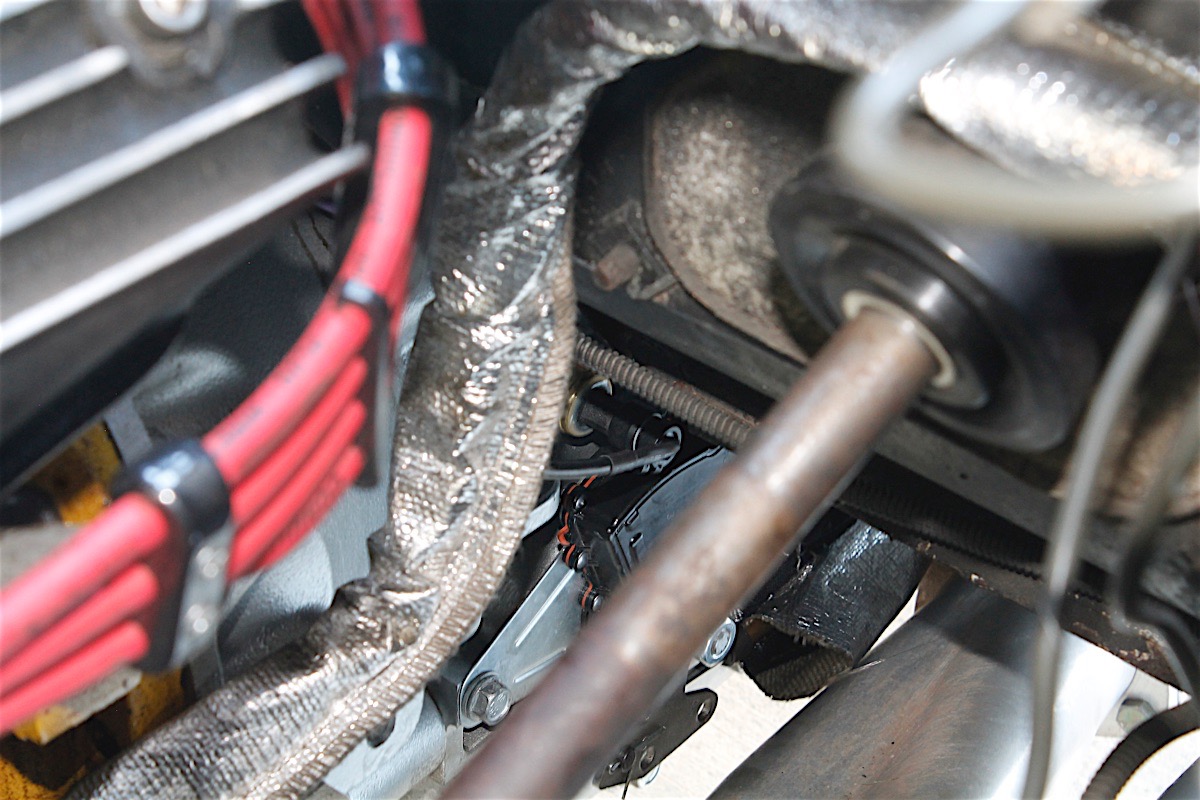 We installed the pressure sender (PN SEN-03-9) into the pressure port in our transmission. The included harness plugs into the sender, and is routed through the firewall to the BIM (PN BIM-03-2), connected with four wires. An included standard data cable routes from the BIM to the VHX control box, both of which can be mounted anywhere under the dash or cowl side panels.
With all wires/cables connected, we turned on the ignition (without starting) while holding down the setup button as outlined in the instructions. After cycling through the choices, the sender and BIM are recognized by the VHX control unit and we simply assigned the type of sender.
Additionally, adding a high and low reading alert is done through the BIM setup process, which will alert with a flashing display on the message display when the pressures are too low or too high. This new gauge can be set to display all the time in the message display, or you can cycle through the other options.
With our VHX-1060 gauges, the pressure is viewed on the tachometer display. Cycling the display to monitor other functions doesn’t prevent the display from flashing in the event of a high or low pressure warning. The process can be completed with several other functions by adding additional BIMs and senders, allowing you to add more gauges without having to figure out where to mount them.
Be sure to check out the VHX series gauges on the Dakota Digital website, and the many BIMs that can be added for additional functionality of your gauges. There are several senders available, as well, to monitor pressures, temperatures, or even boost.