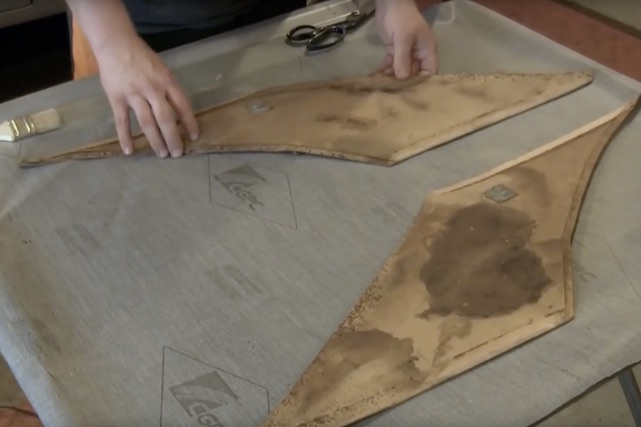
GM’s interior components in vintage musclecars left a little to be desired in the durability category. The original sail panel boards are easily warped or damaged by water or age. They are salvageable however. When replacing the headliner, which is another weak area in the classic musclecar interiors, it’s a great idea to go ahead and refurbish the sail panels at the same time.
 [1]
[1]
We found a video on Original Parts Group Incorporated [2]’s (OPGI) YouTube page that shows how a home do-it-yourselfer can restore sail panels to near new condition with a little care and skill. Automotive enthusiast Jefferson Bryant goes through the process step-by-step for those home project car builders that want to do the work themselves and not rely on buying pre-covered panels. It’s a quality control thing for some builders, and we respect that.
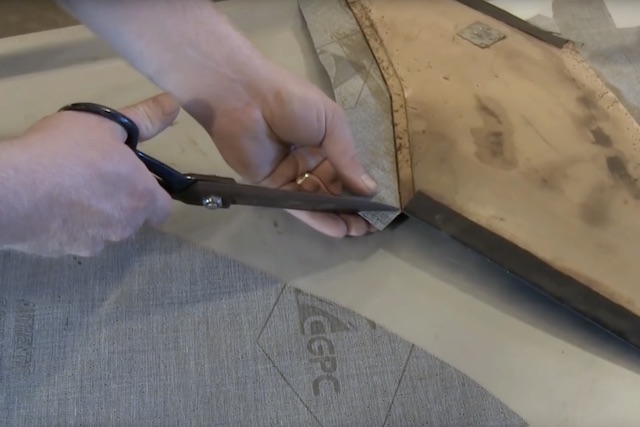
OPGI has replacement sail panels that are die-cut and designed to fit perfectly for many GM musclecar applications. For example, an OPGI sail panel set for 1968-1969 Chevelle Malibu (Part #SPB6869 [3]) will run about $22 for the set. The covering material comes in the headliner kit, so if you are replacing your headliner, there is no additional cost unless you want new sail panel boards.
 [4]
[4]
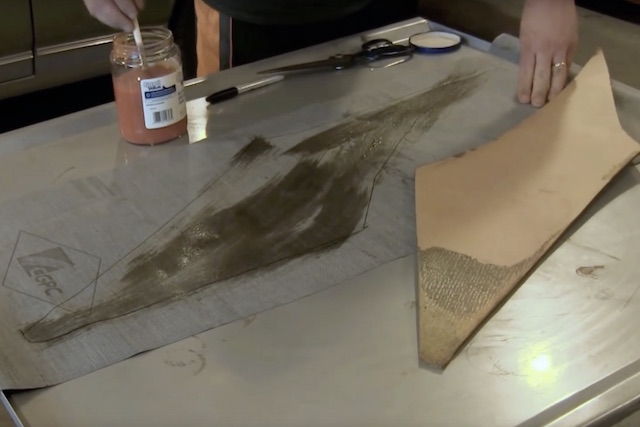
Headliner glue, often referred to a monkey snot, can be purchased through OPGI (Part #K17000C [5]) for about $27 for a quarter pint of the adhesive. If you’ve ever dealt with headliner glue, you know that it is well worth the price and nothing does the job as well as the right glue. It takes a lot of monkeys to produce this much adhesive. Seriously though, headliner glue is the only way to go when applying new material to the sail panels.
 [6]
[6]