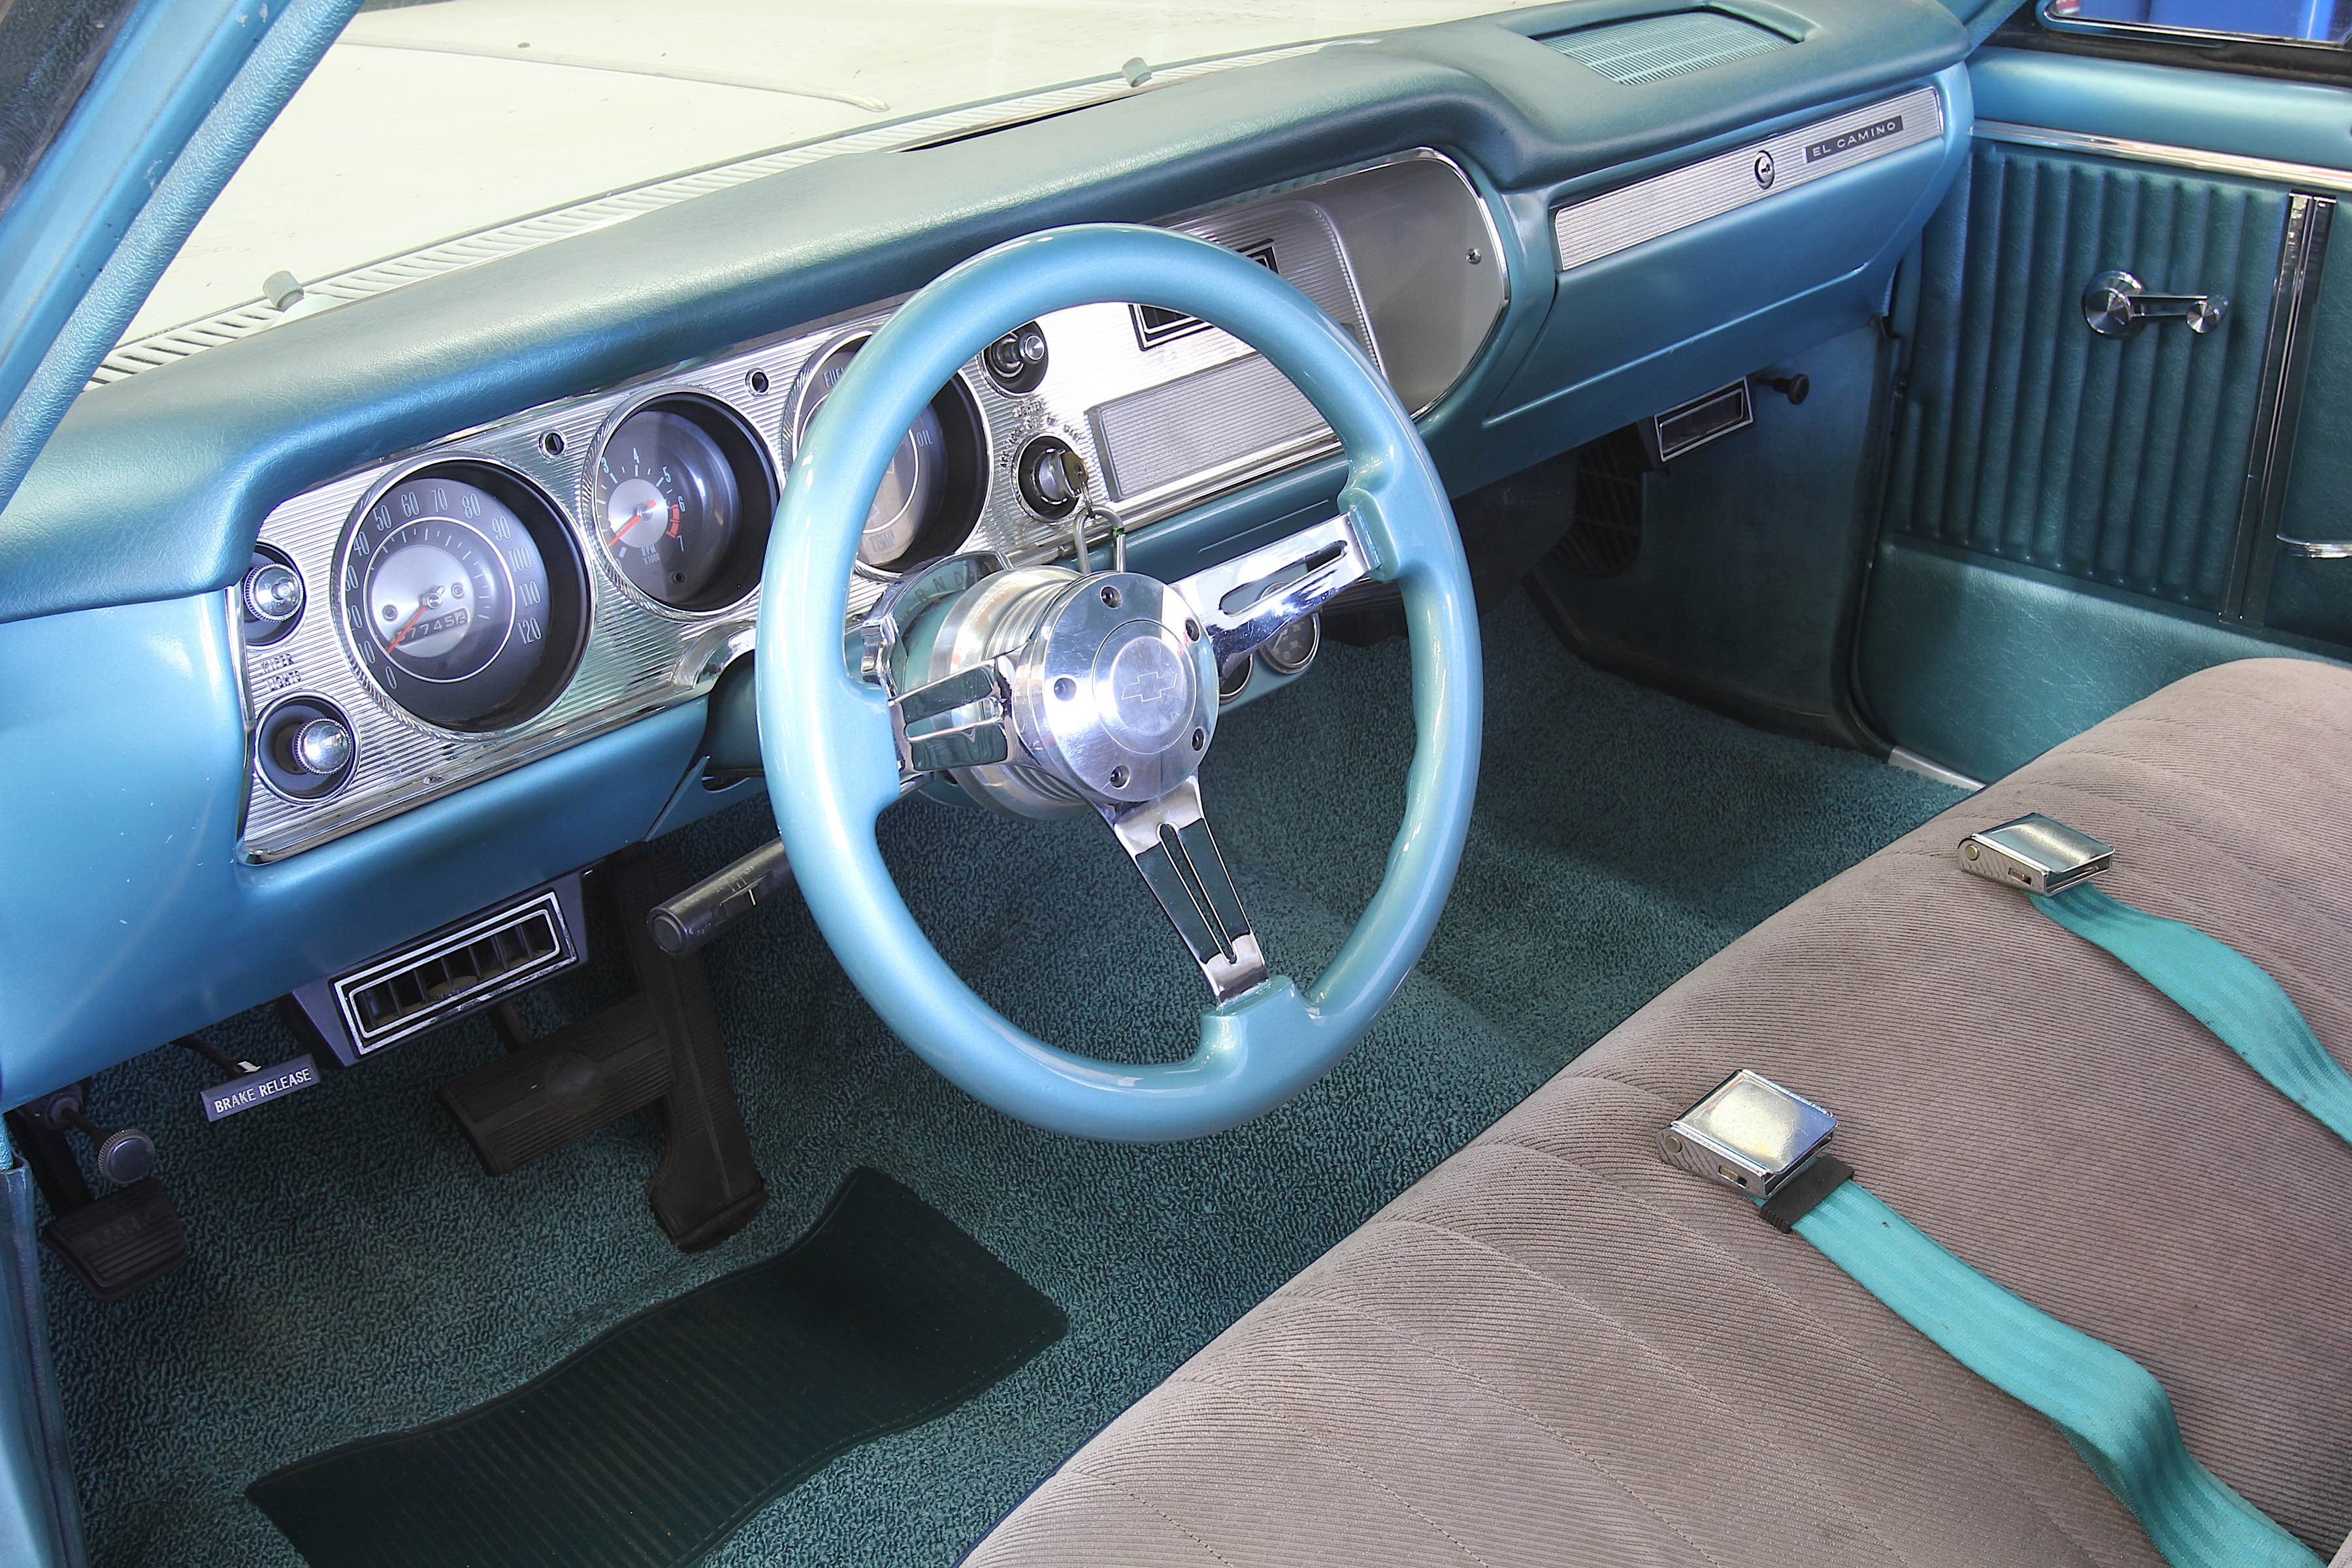
This is our interior in completed form with a freshly painted turquoise dash, new door panels, carpet, and custom color-matched steering wheel. It took some effort, but the results were well worth it.
The reality television car shows are all the same. Within one hour, they completely redo an entire car from a pile of rusty metal to a beautiful piece of automotive artwork. What they don’t show you is how much work it requires to pull off even a small measure of the total. They make it look really easy – and sometimes it is. But don’t be fooled. For the most part – it’s a lot of work.
We don’t have 12 guys willing to work 24/7 for a week straight, under a completely fabricated deadline, in a giant shop that’s lit like a surgeon’s operating room packed with professional tools. Instead, we have a small shop where we work by ourselves. So, we decided to apply our short attention span to attacking the interior on our primered ’64 El Camino. At first, all we planned to do was repaint the dash. But like most plans – that quickly evolved into an interior rehab, because the new paint just made everything else look shabby.
Here’s what we started with a few weeks earlier. The photo masks its trashy condition. That ugly stain in the carpet is from a leaking master cylinder, so the new carpet was a must.
We probably could have coerced one of our professional painter buddies to apply his custom paint skills to our dash, but we decided to do it the way most driveway artists would attack this and use spray cans. We learned about a company called AutomotiveTouchup (ATU) that offers factory colors in 12-ounce spray cans that looked enticing. We contacted them and soon had a box of spray primer, base coat, and clearcoat ready to apply.

This is a lineup of some of the AutomotiveTouchup paint materials we used. The company custom-mixes the color to match the factory color. We were very pleased with the color and the quality of all the products.
The ’64 and ’65 Chevelles present more of a challenge compared to their later cousins because the dash in these early cars is welded in place. This required us to do all the sanding and painting in the car. This is not a huge issue but it does require a bit more effort.
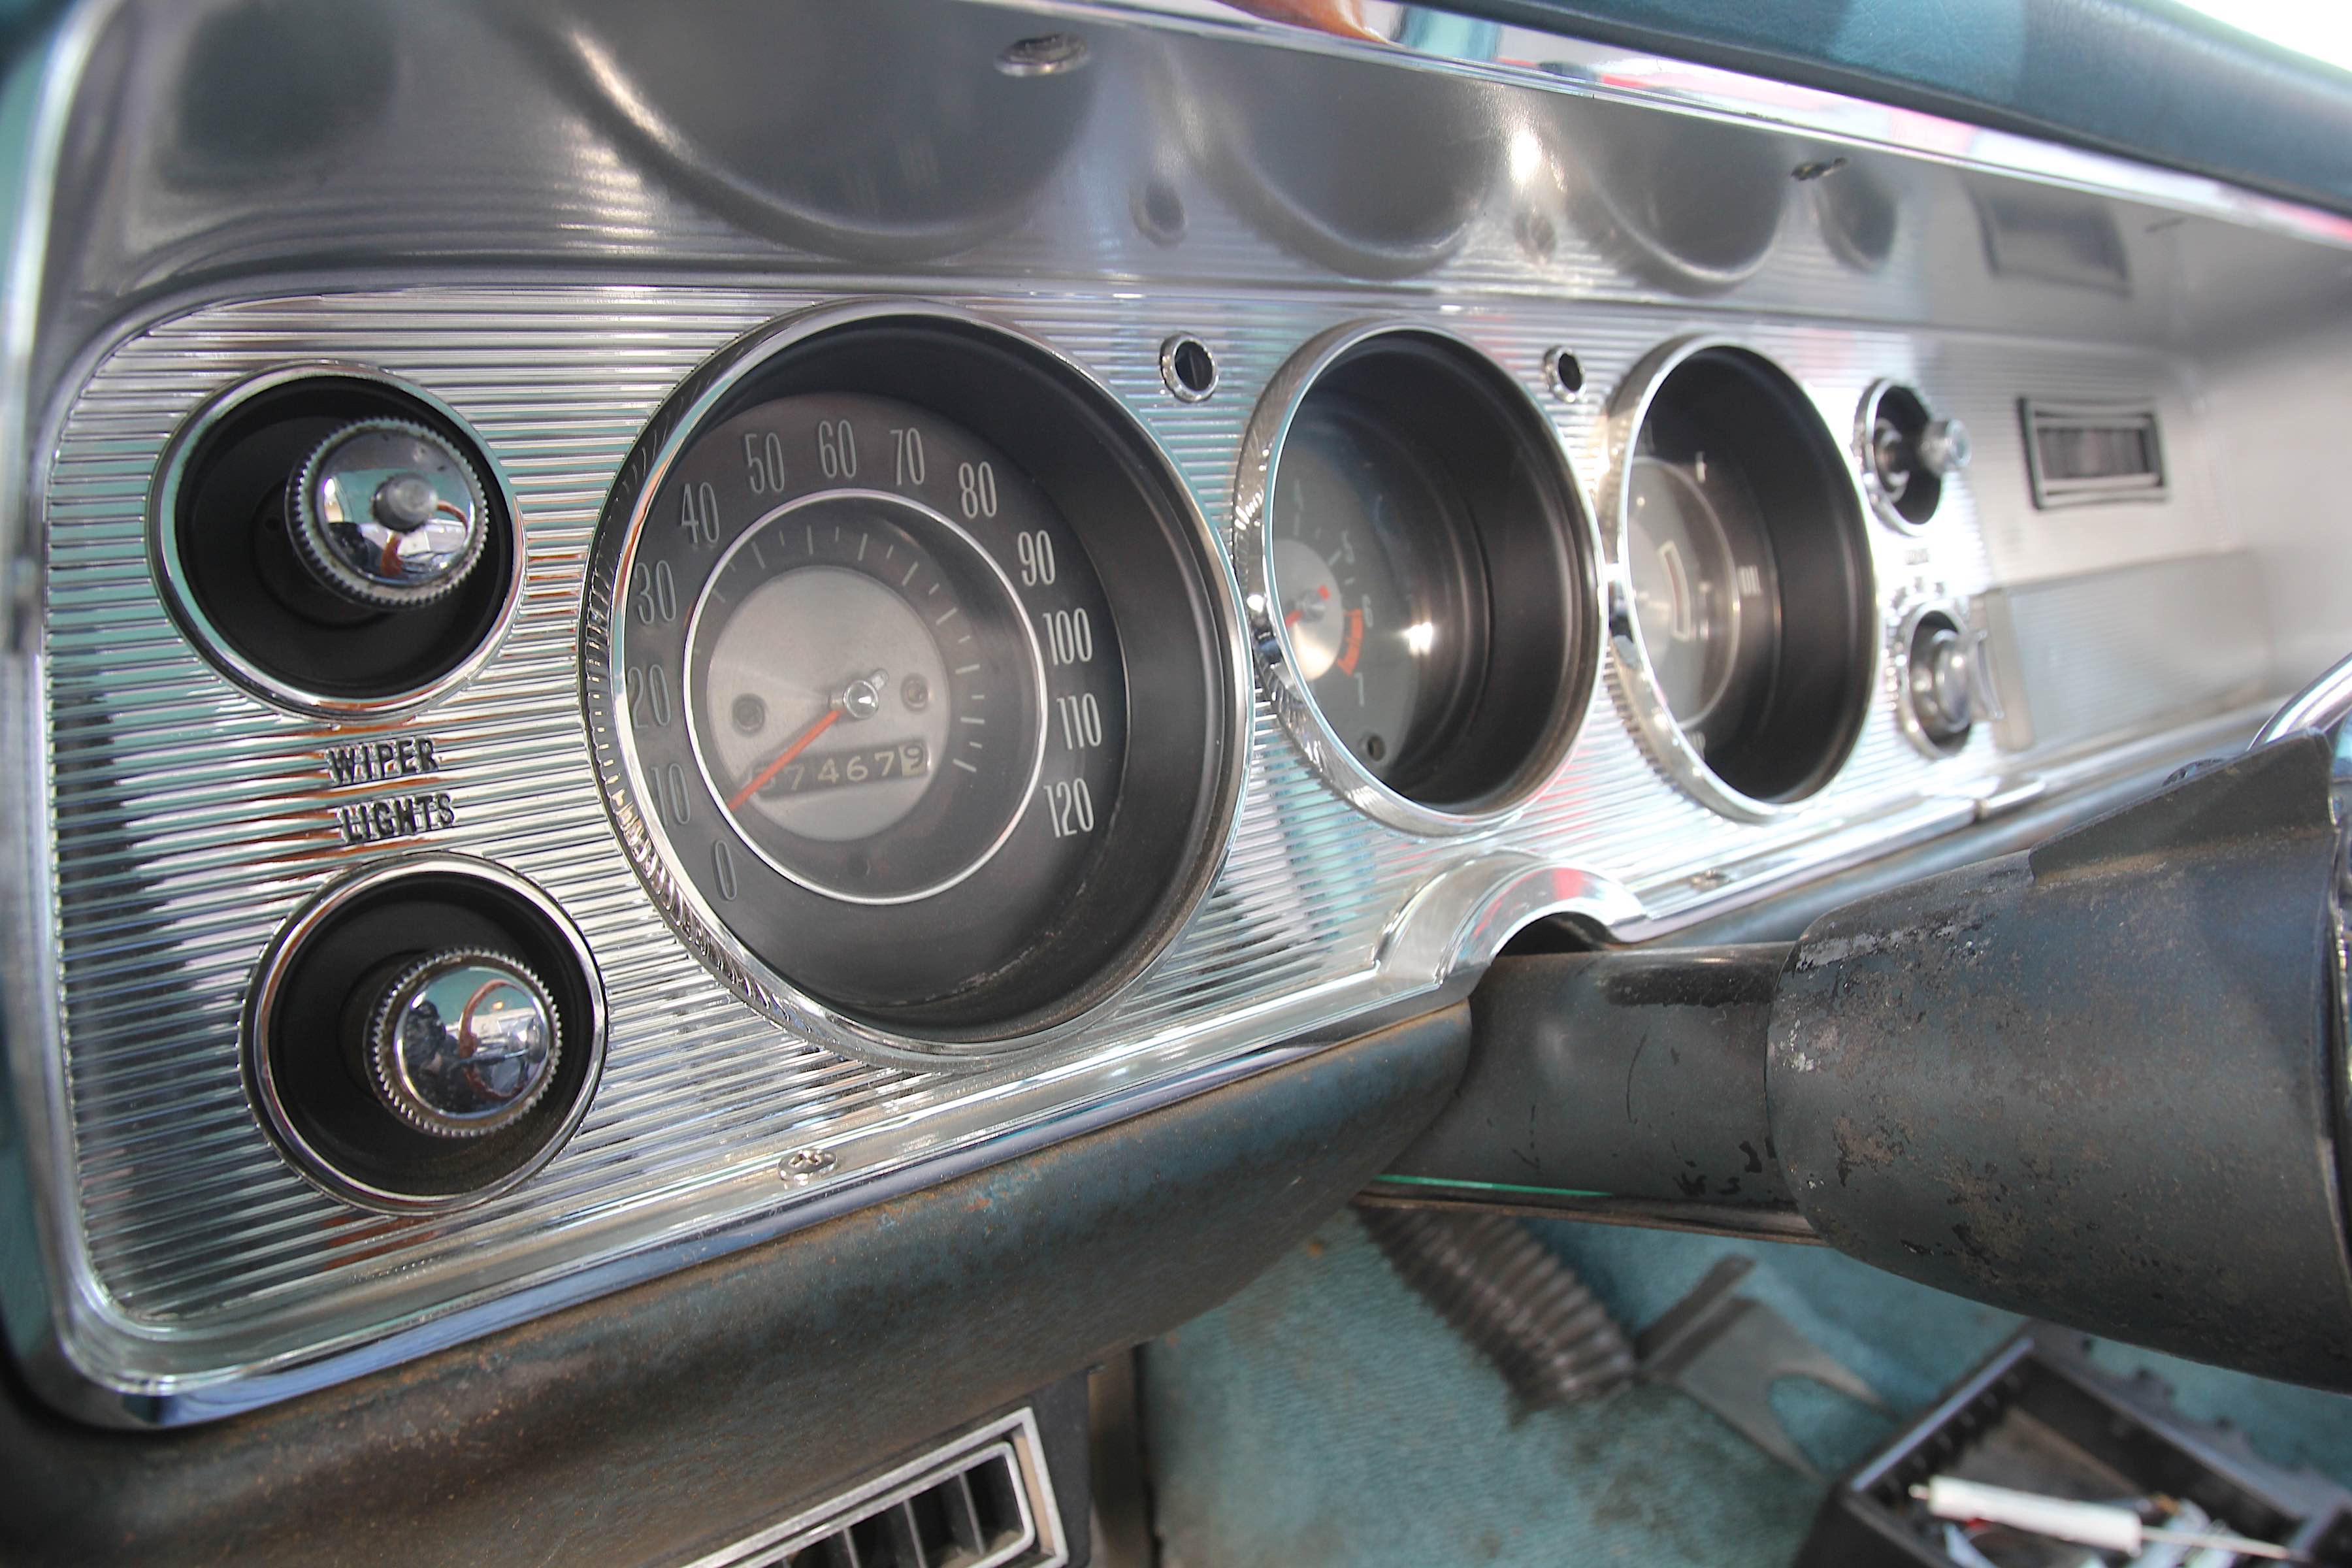
This is a tight shot of the dash insert from OPGI that we had installed earlier. We also added an in-dash reproduction tachometer from Shiftworks. The insert looked so good that it made the rest of the dash look really bad, which demanded new paint.
We previously changed the original dash insert for a new one from Original Parts Group, Inc (OPGI) and added an in-dash replica factory tach from a company called Shiftworks. Unfortunately, all this did was make the rest of the interior look worse. The first step was to remove the dash insert along with the windshield so we could sand and paint the dash properly.
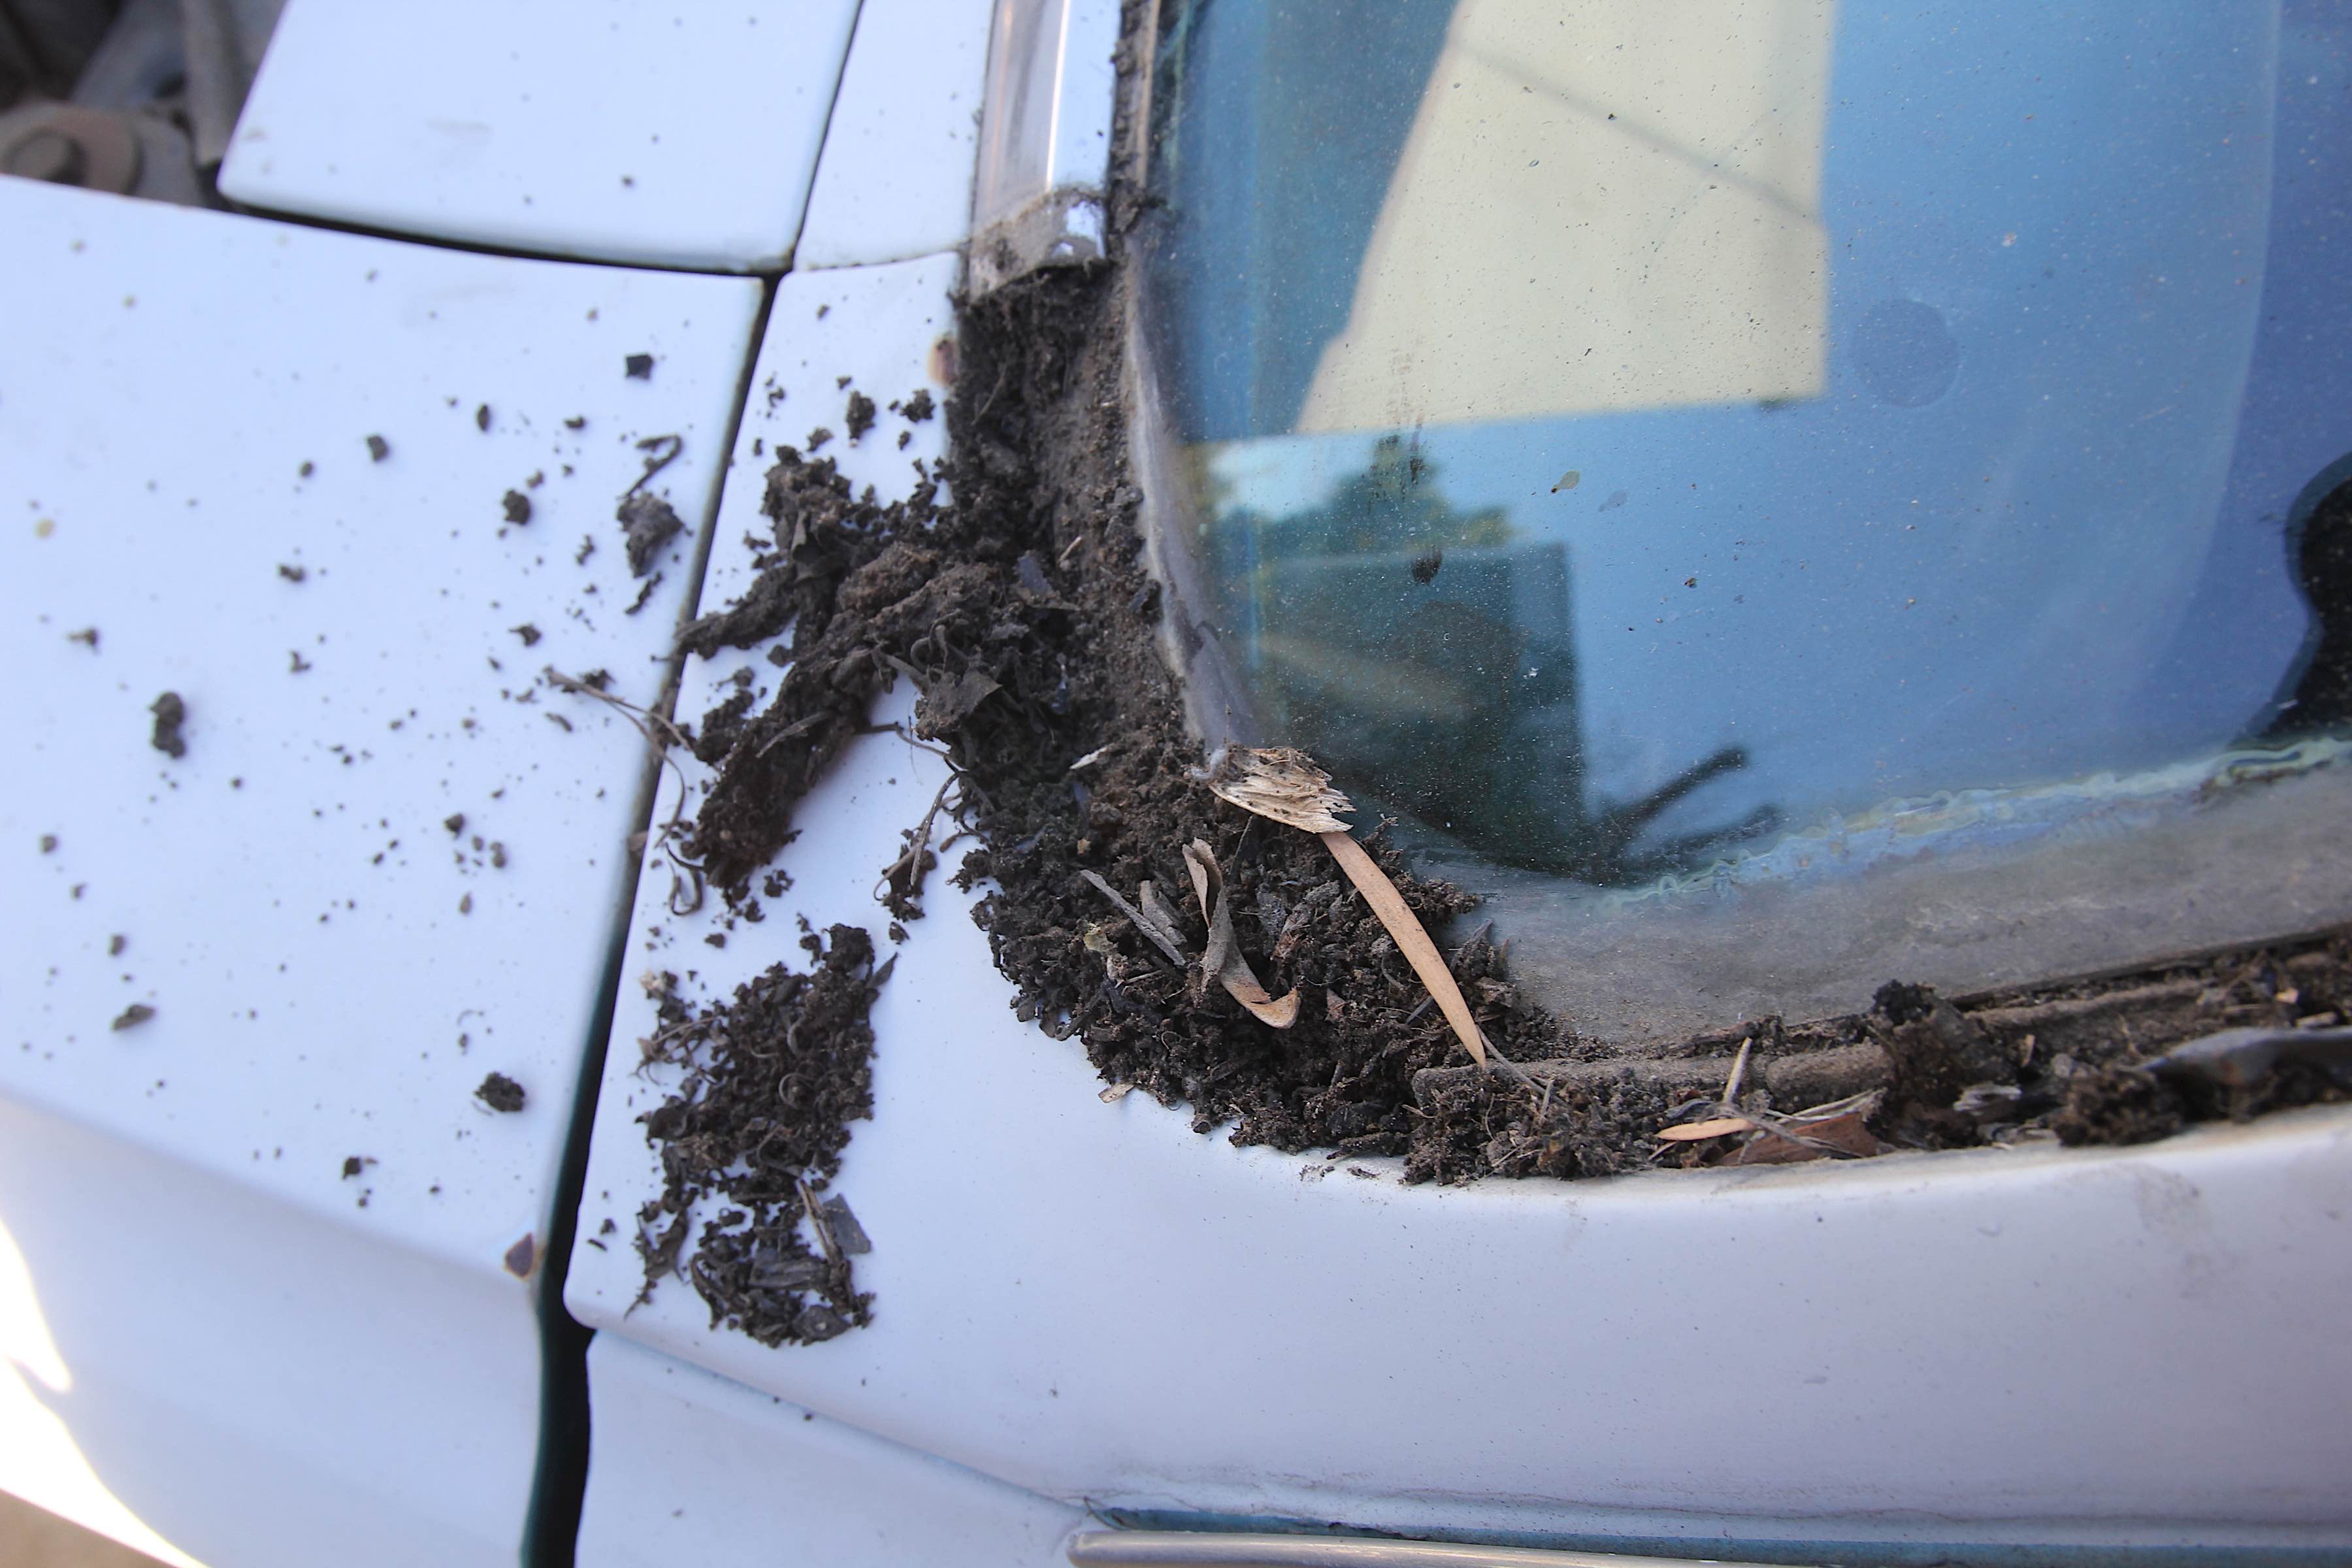
The windshield was really pitted so when it cracked during removal, it was not a big loss. We also discovered how much crap had collected under the stainless trim. This was nasty and we expected to find big rust holes underneath all this detritus.
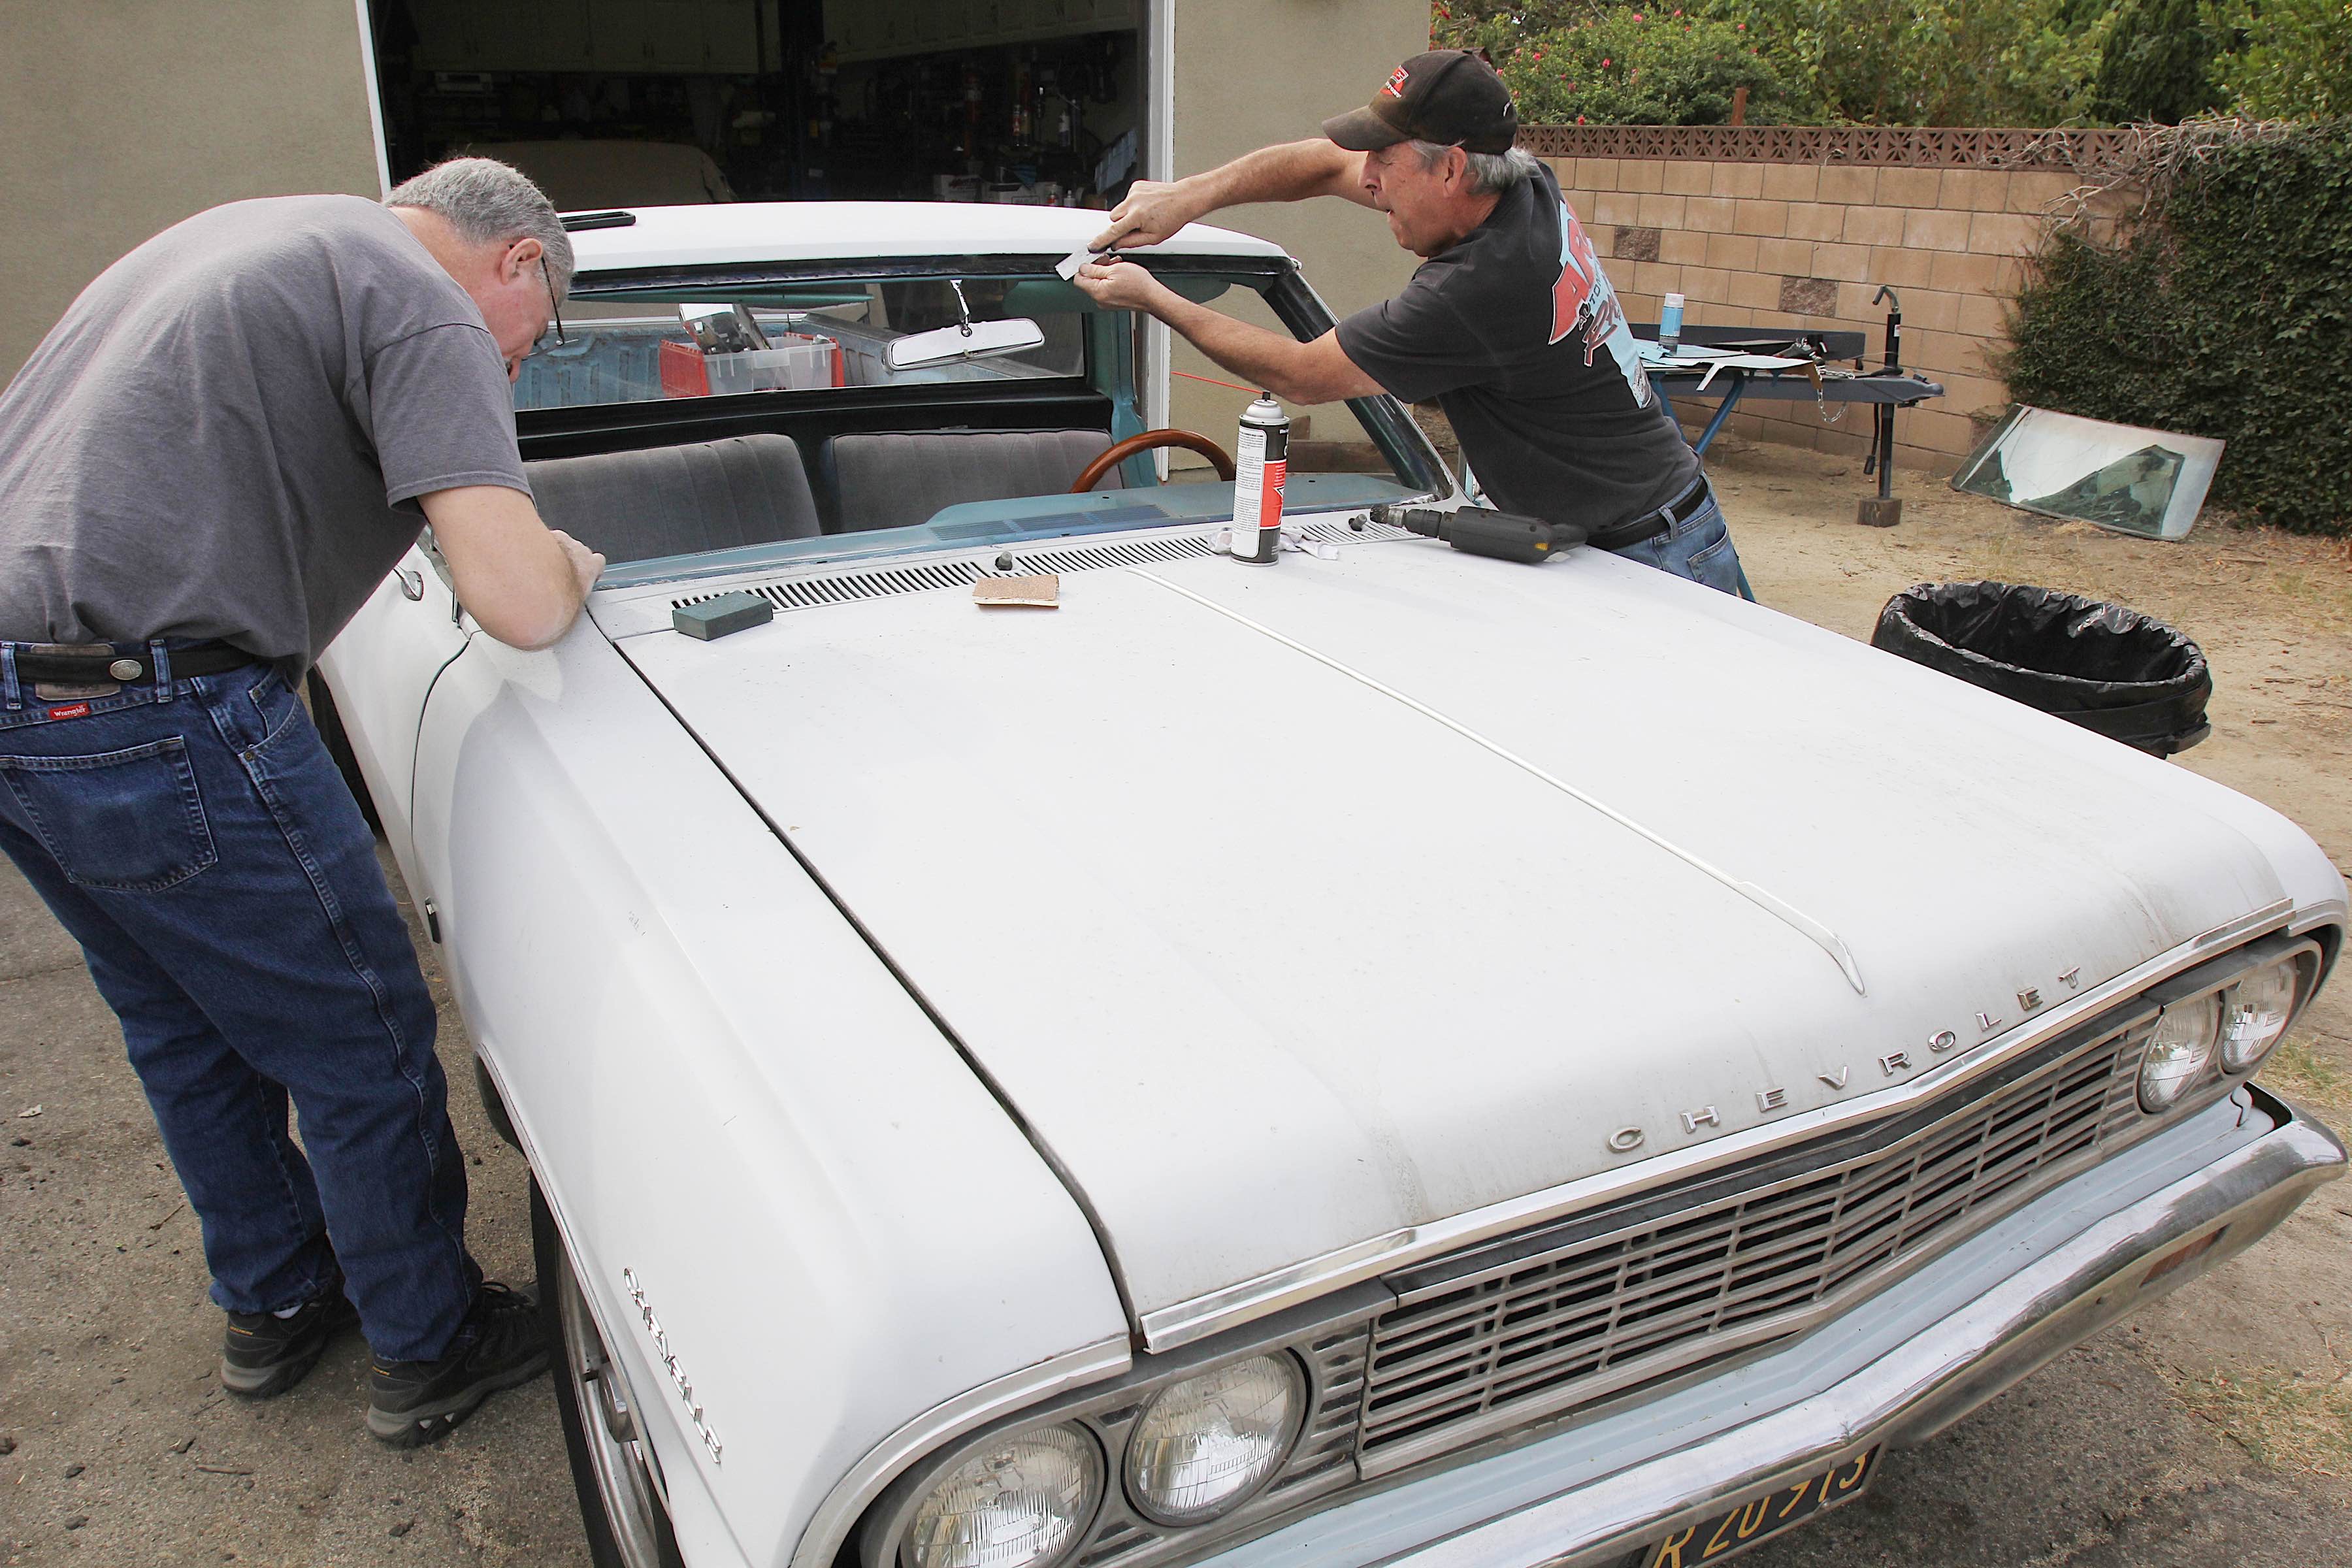
This was not the original windshield, and the previous installer had used a ton of adhesive, which required a couple of hours of scraping with lacquer thinner to completely remove. Our long-time friend Bill Irwin was a big help with this adventure.
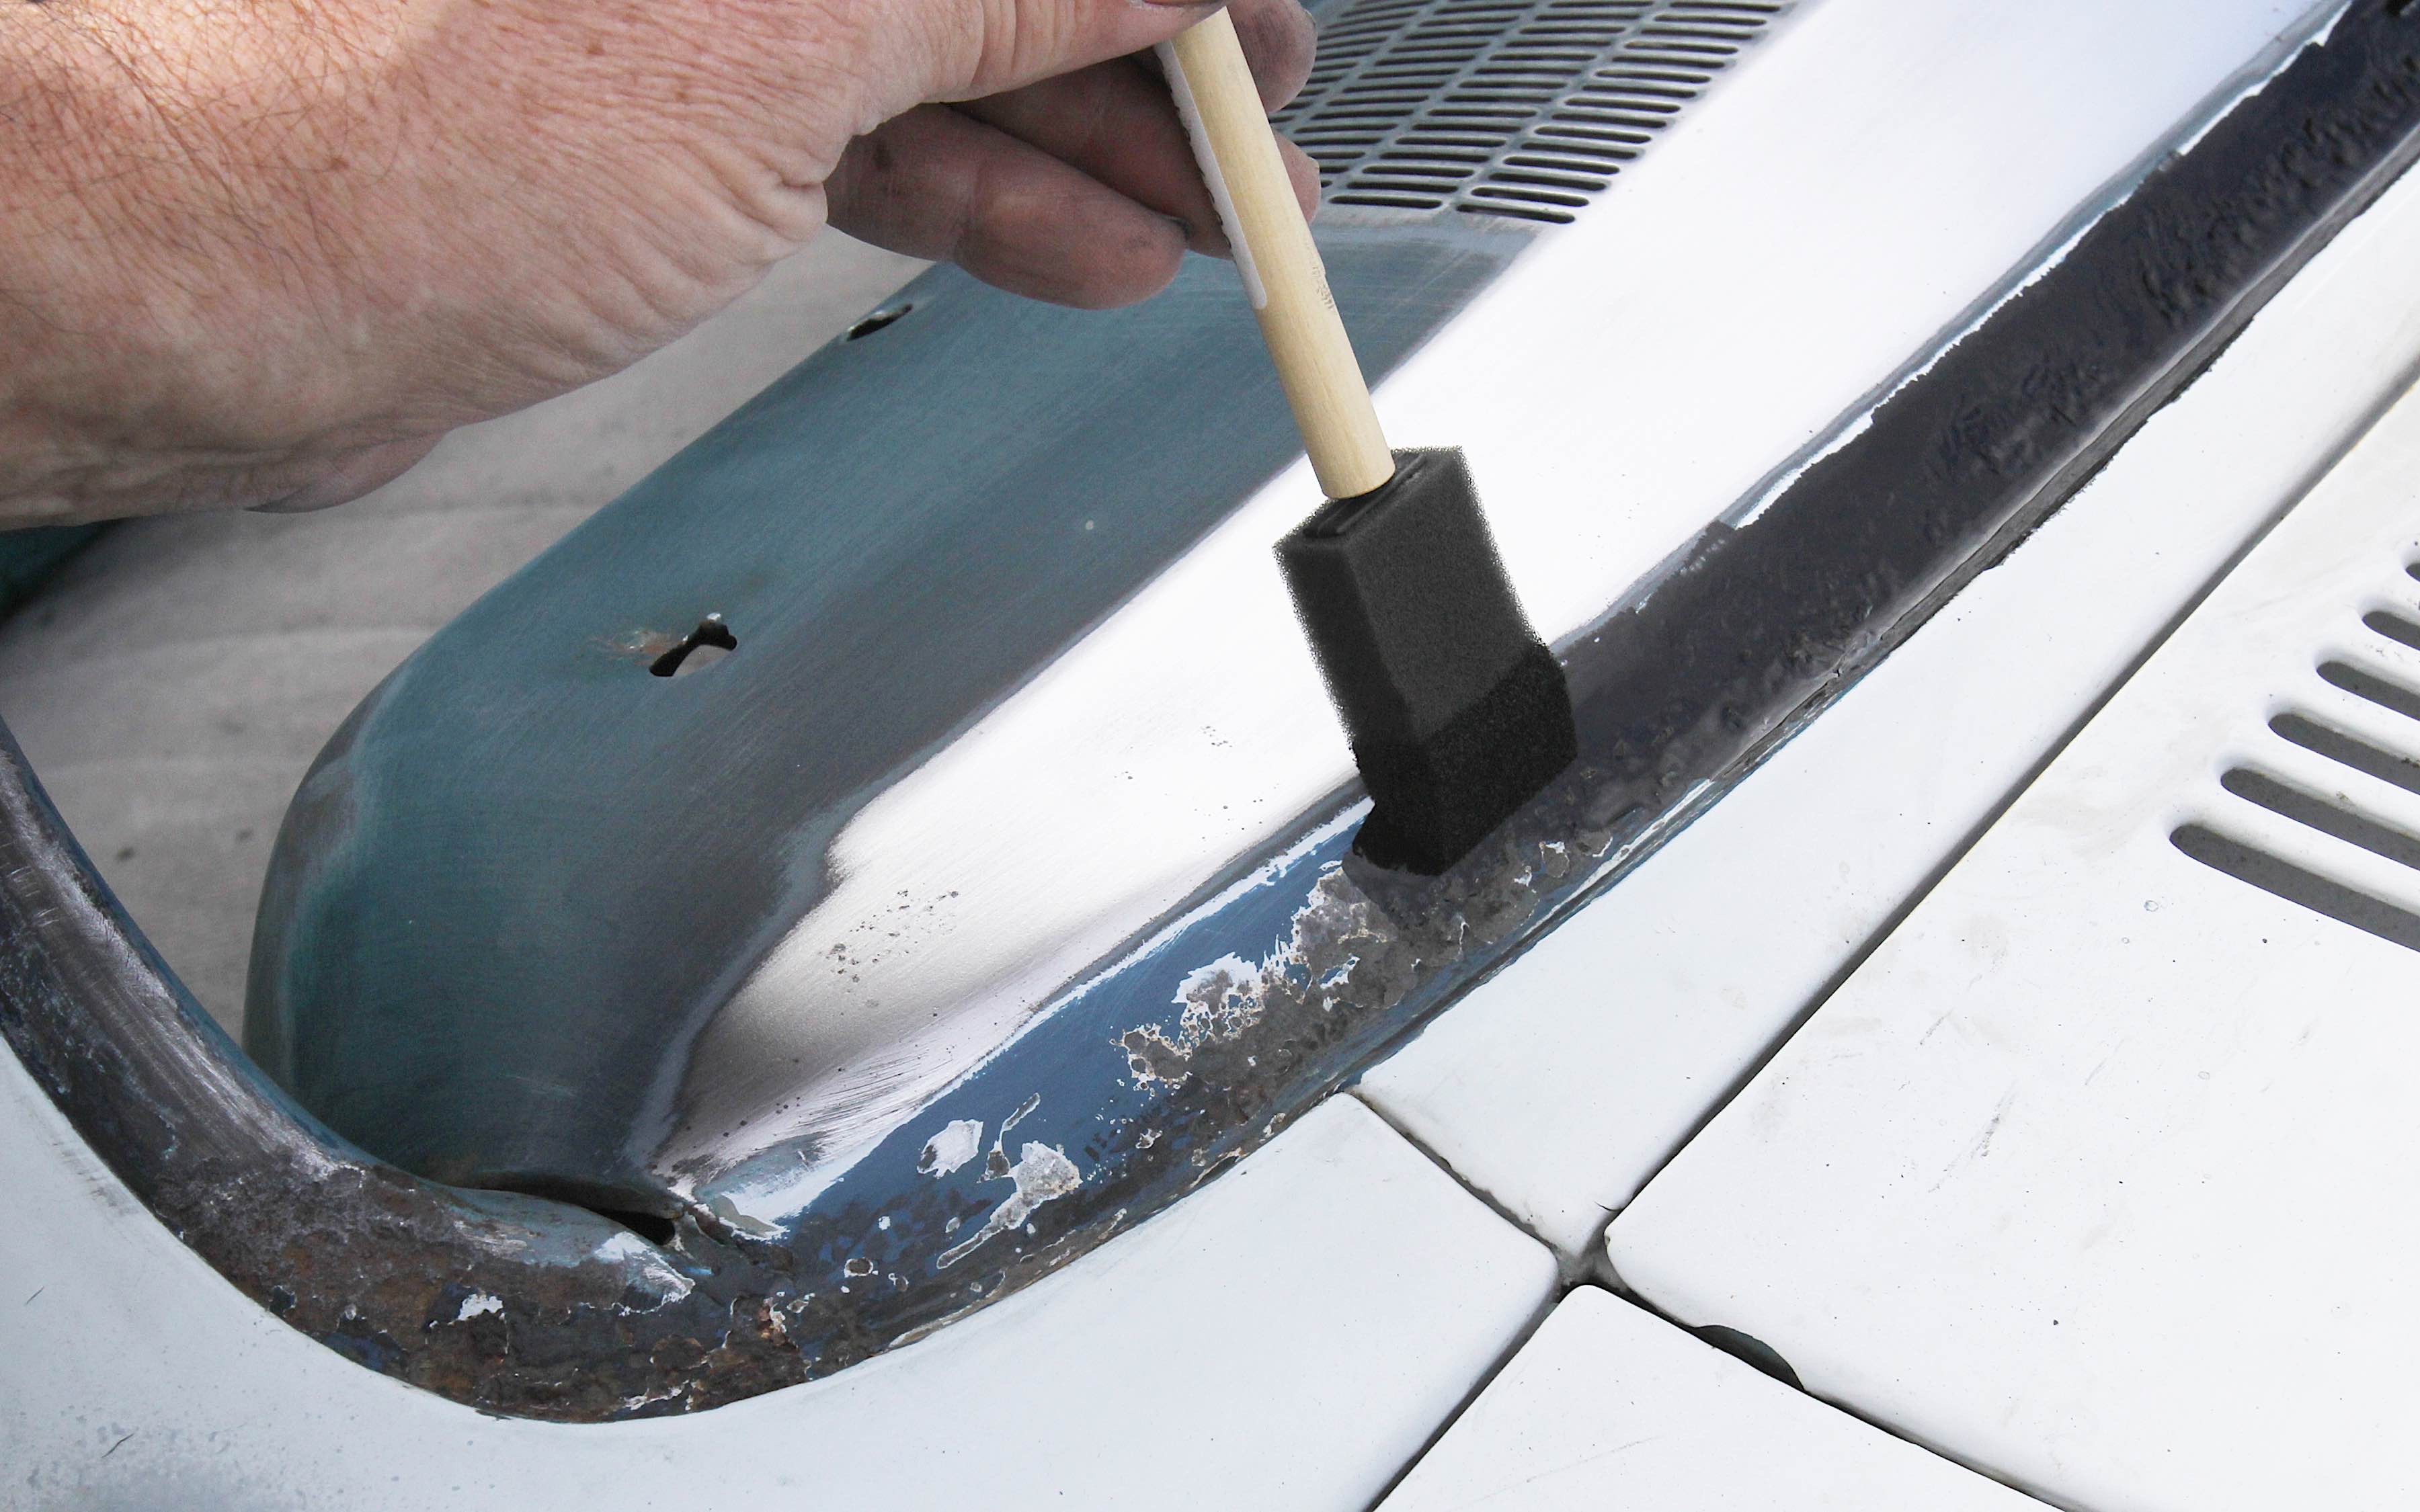
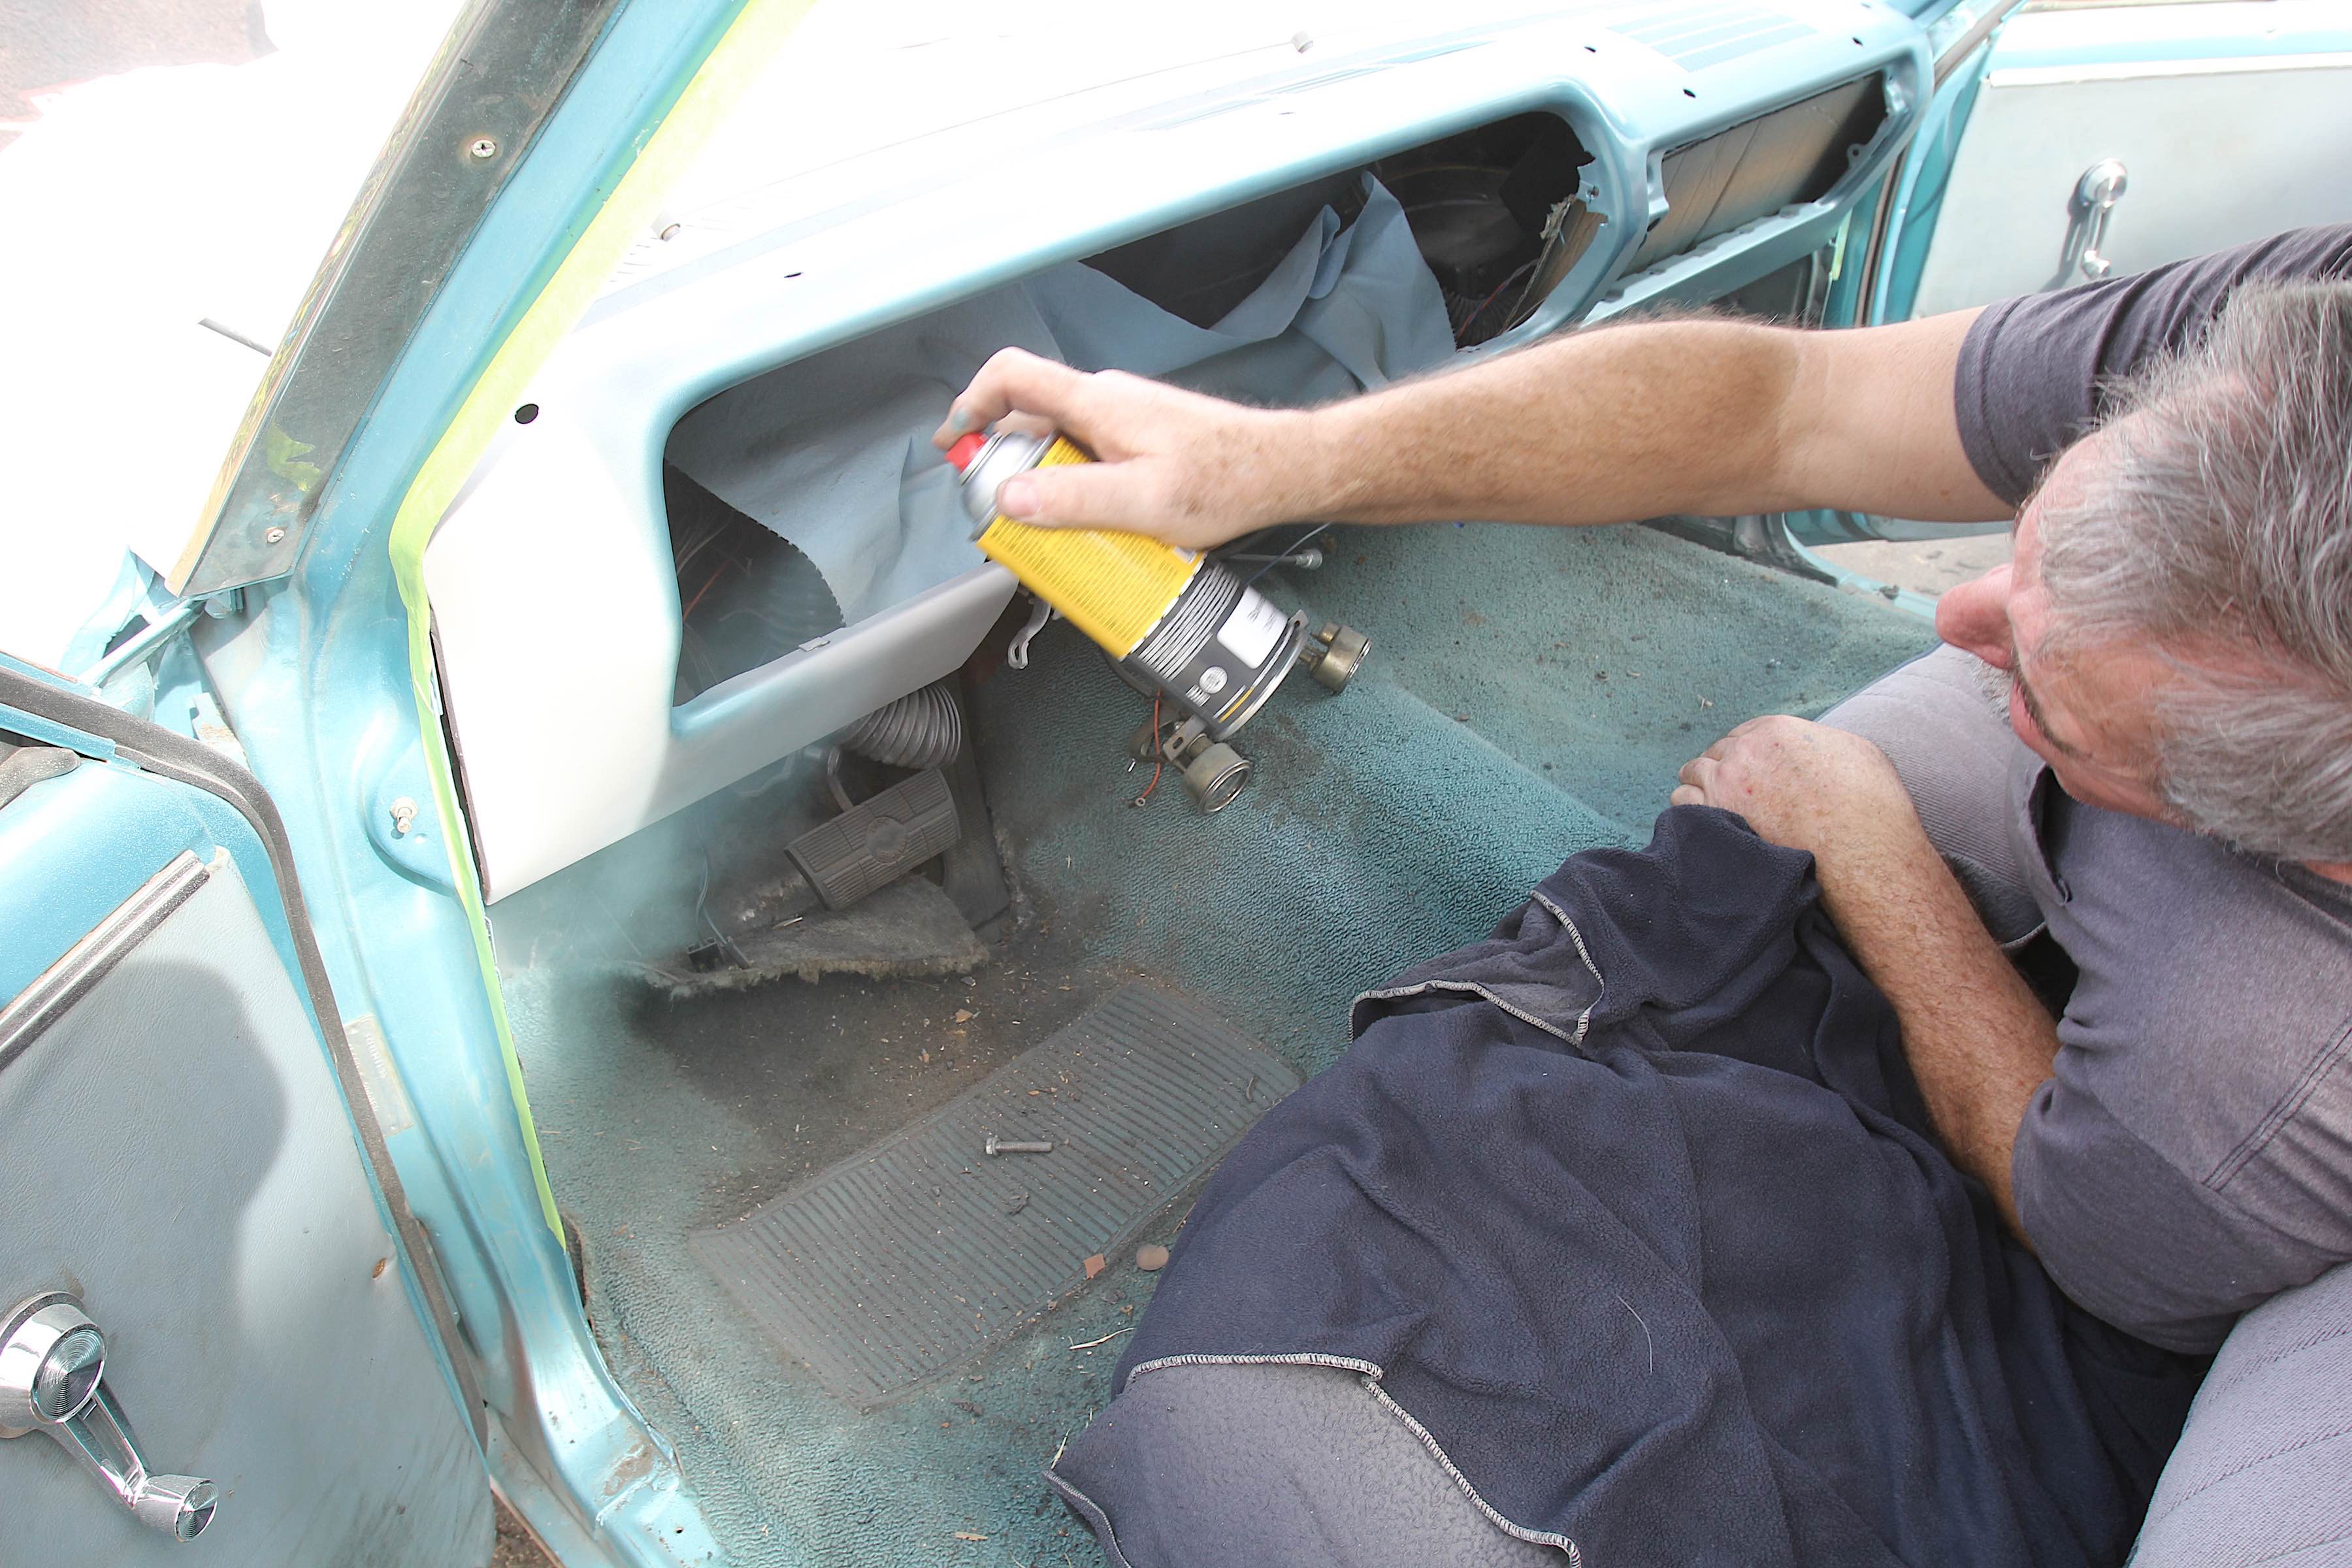
We were pleasantly surprised to discover no rust holes but some serious corrosion. We sanded the entire windshield channel and then applied some POR-15 with a throw-away paint sponge that worked really well. This will protect the channel from any further corrosion.
The area underneath the stainless windshield trim on early GM cars is notorious for trapping dirt and debris and our El Camino was no exception. We cleaned the entire circumference and thankfully found no holes, but we still treated the entire channel with POR-15 paint to keep the corrosion in check. After the dash was painted and reassembled, we then had a shop we know install the new windshield.
We started by yanking out the dash and pad, and removing rust and paint with 400-grit sandpaper. We quickly realized we would need to remove the windshield to do this job correctly.
The visible dash area only took a couple of hours to sand completely clean (we didn’t sand the area covered by the dash pad). After masking and cleaning with Prep-Sol, we shot it with three coats of ATU sandable primer. We allowed it to cure for several hours (which was a great excuse for a 3-hour lunch break) and then sanded the primer with 600-grit wet/dry paper.
After completing the sanding and removing the steering column – (so we could paint it as well), it was time to start the rebuilding process. This started with a couple of spray cans of ATU primer.
With the primer looking smooth, we then cleaned it with the ATU tack rag to remove any fine particles of dirt, but we weren’t too concerned since we were painting this outside and there was likely to be small elements that would intrude no matter what. We learned quickly that applying a slightly heavy, wet coat worked best for our situation since the weather was both hot and dry.
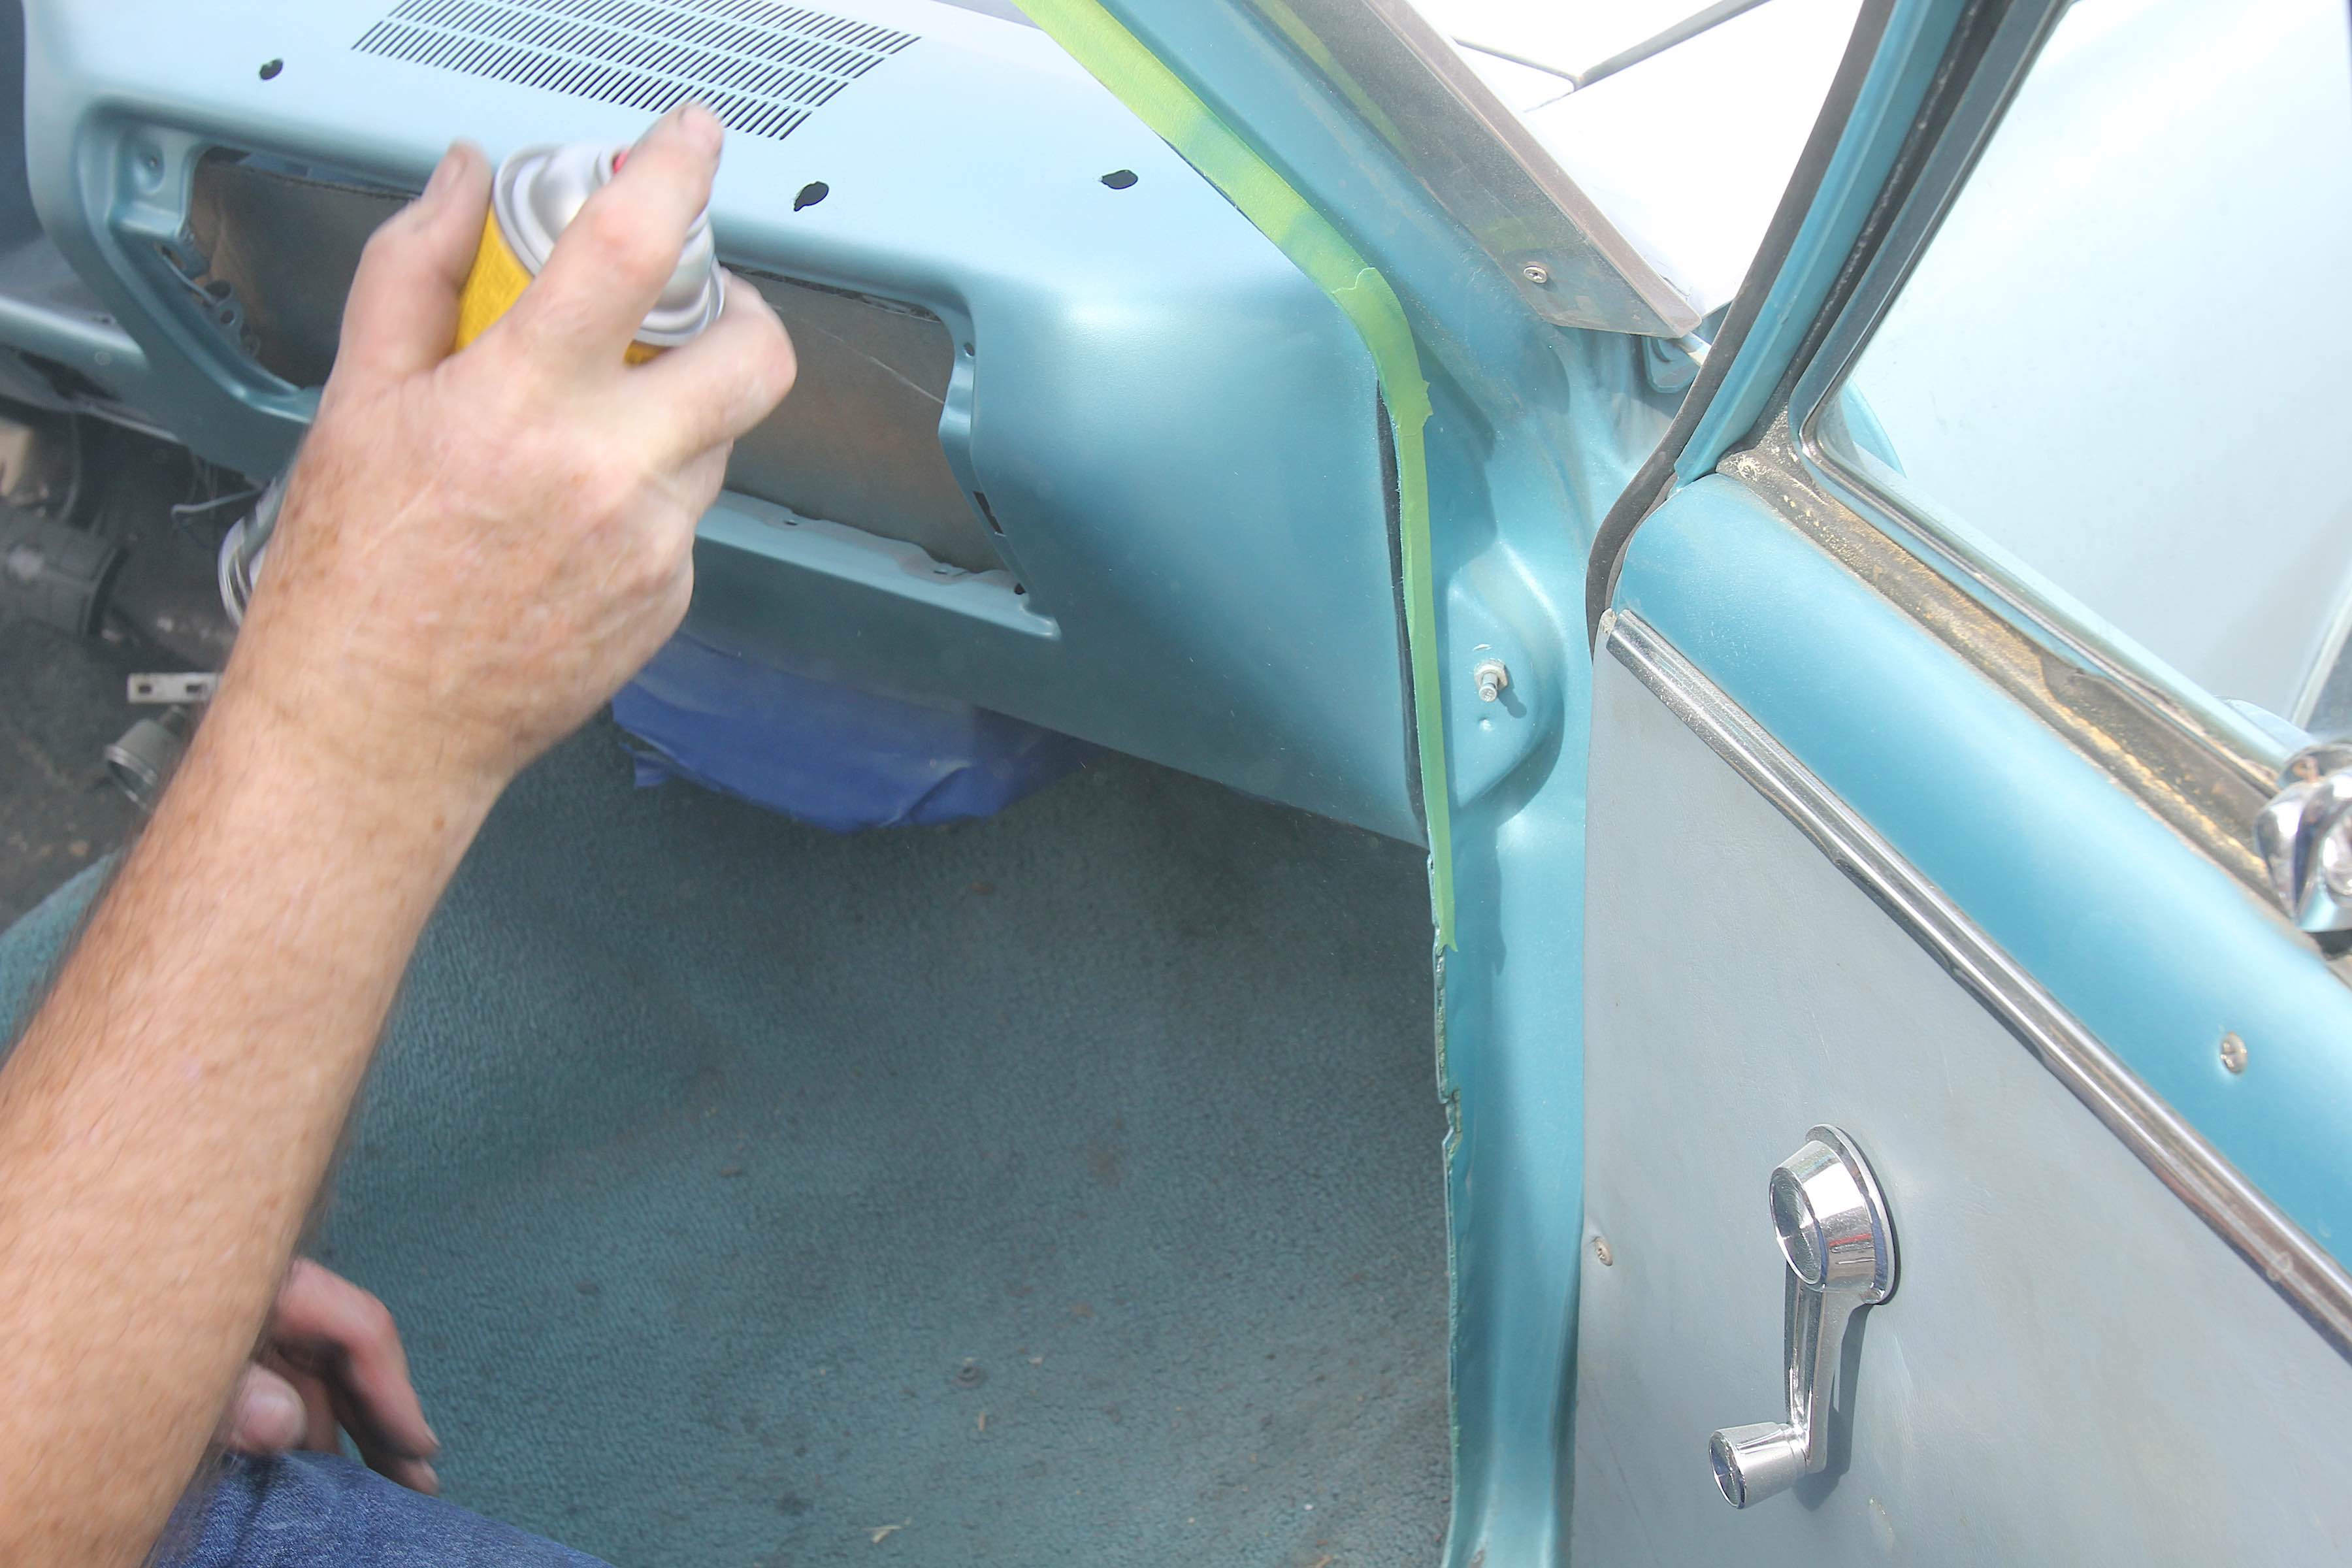
We masked under the dash and the wiring to reduce the overspray and after hitting the dash with the paint-prep surface wipe, we began applying the color.
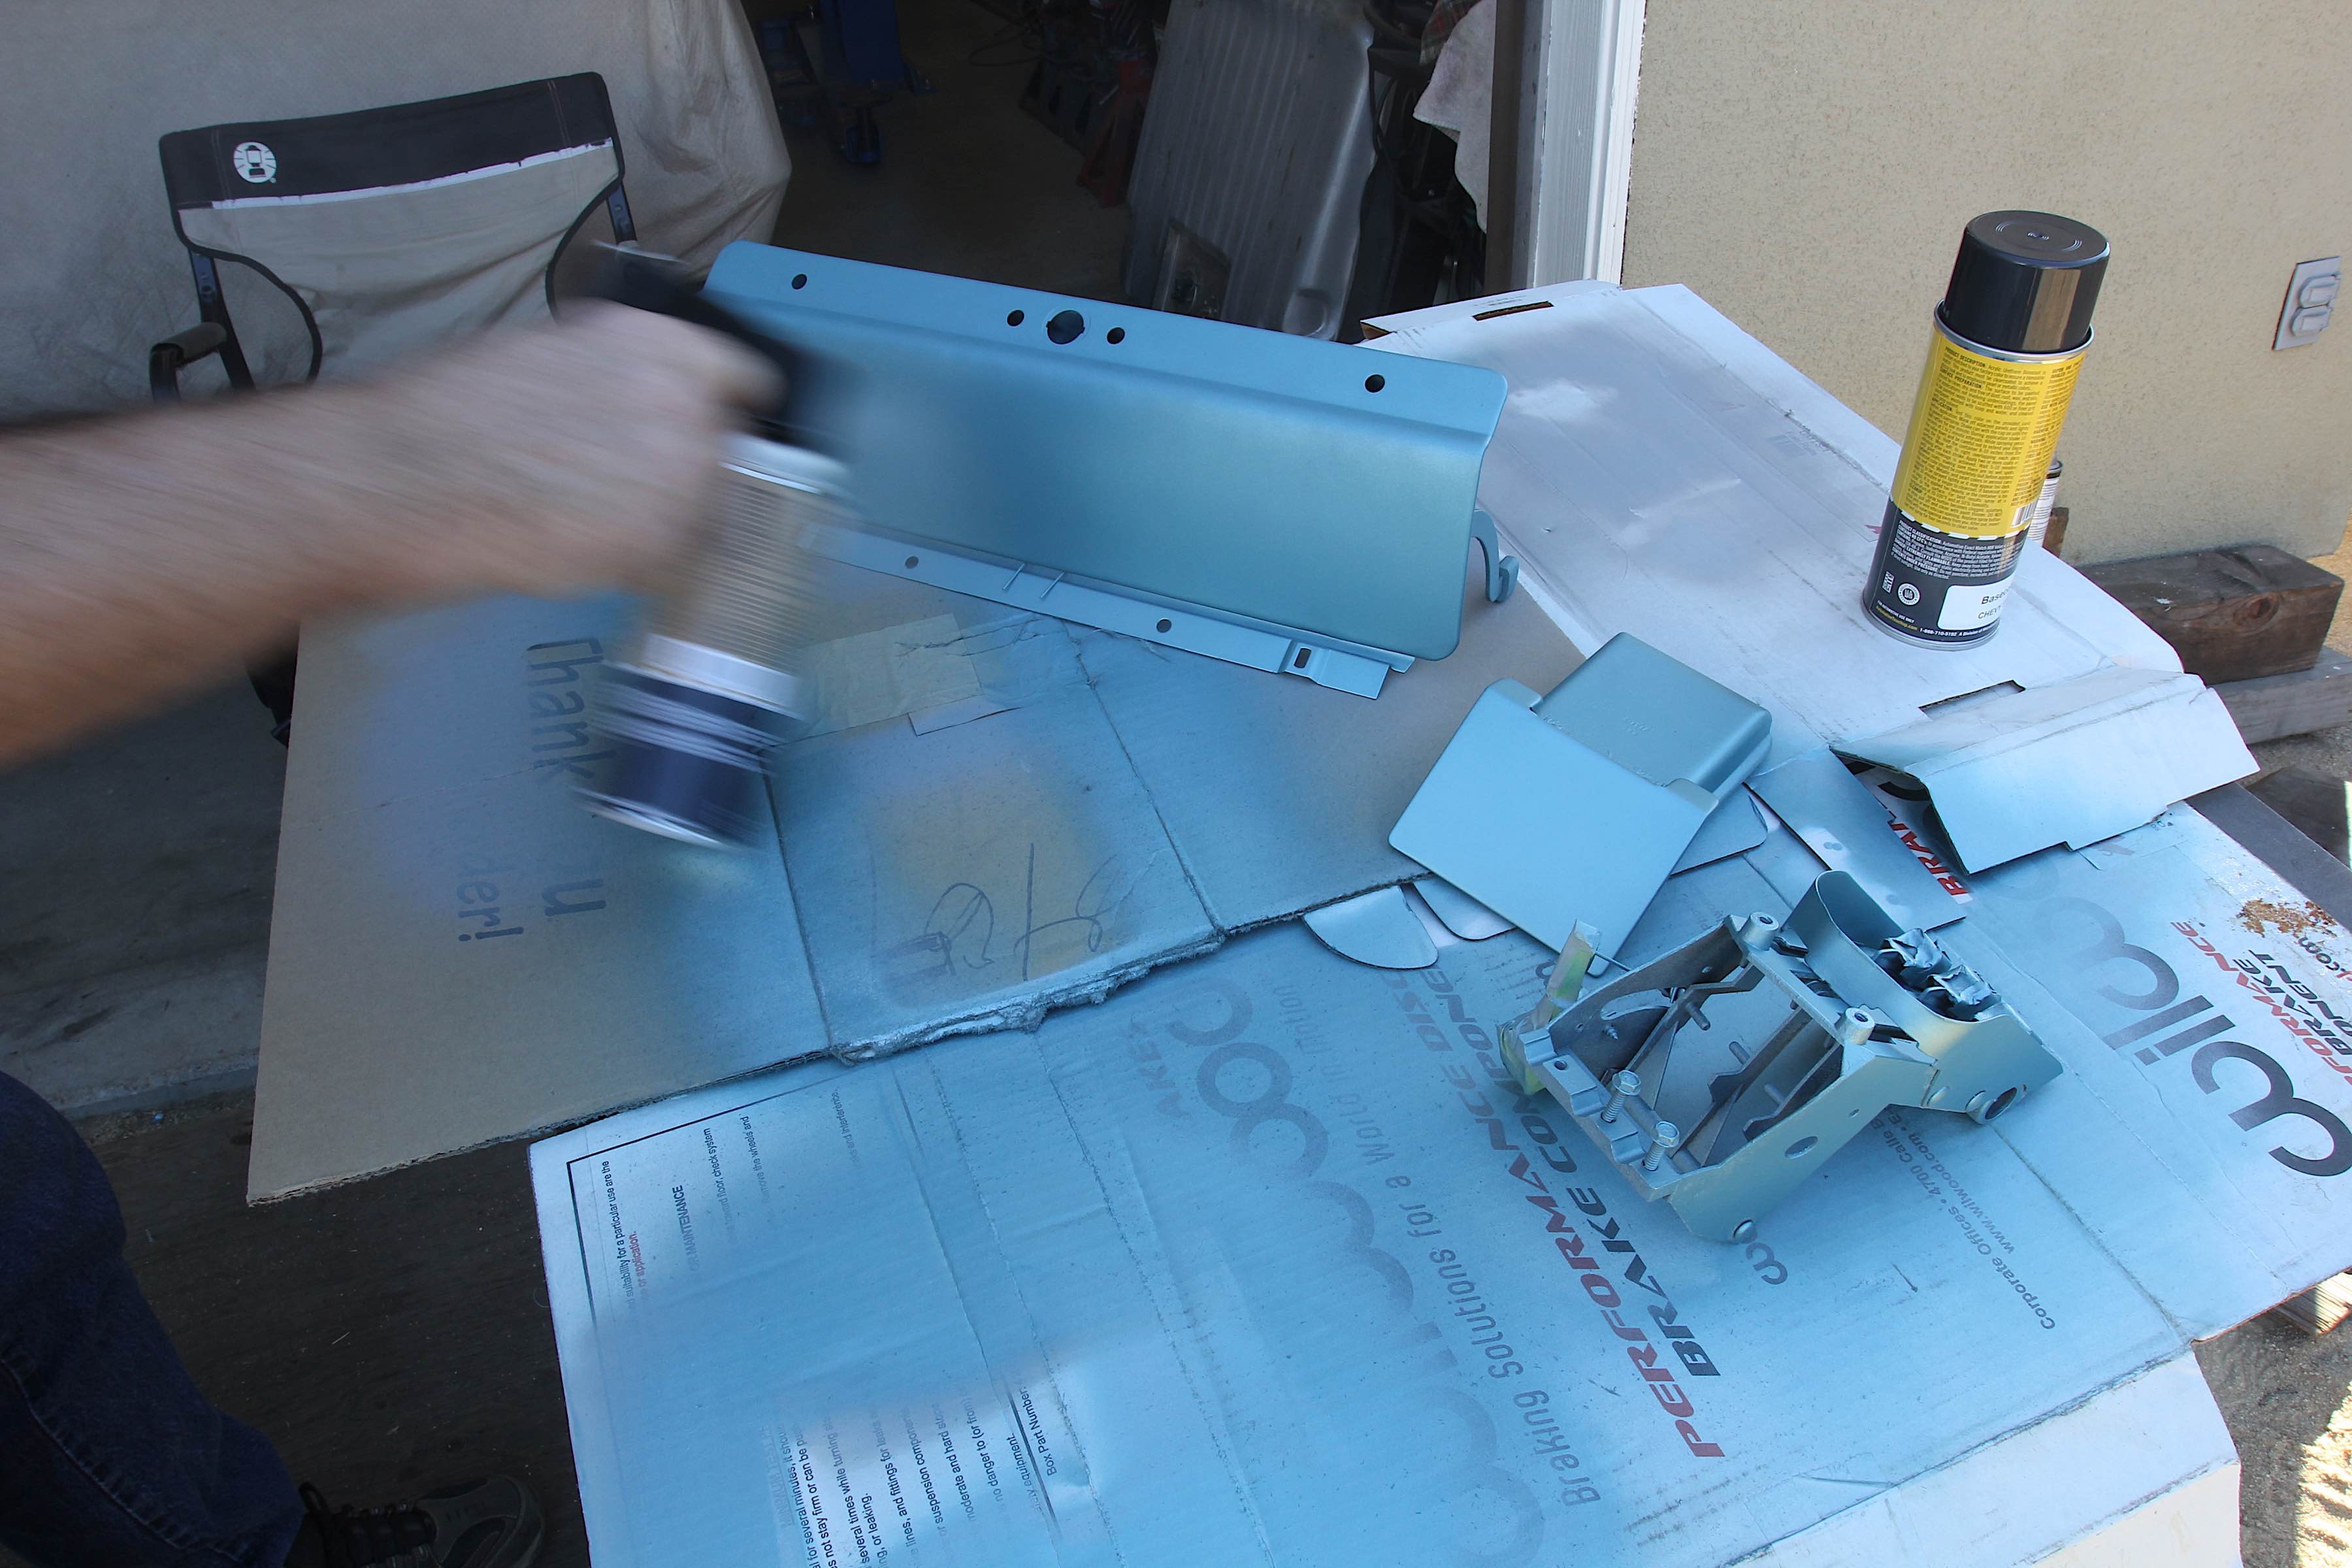
We had separately sanded and prepped the heater control switch, glove box, and ashtray and now applied color to these as well. We decided not to apply a clear to the dash pieces as we desired a more satin finish.
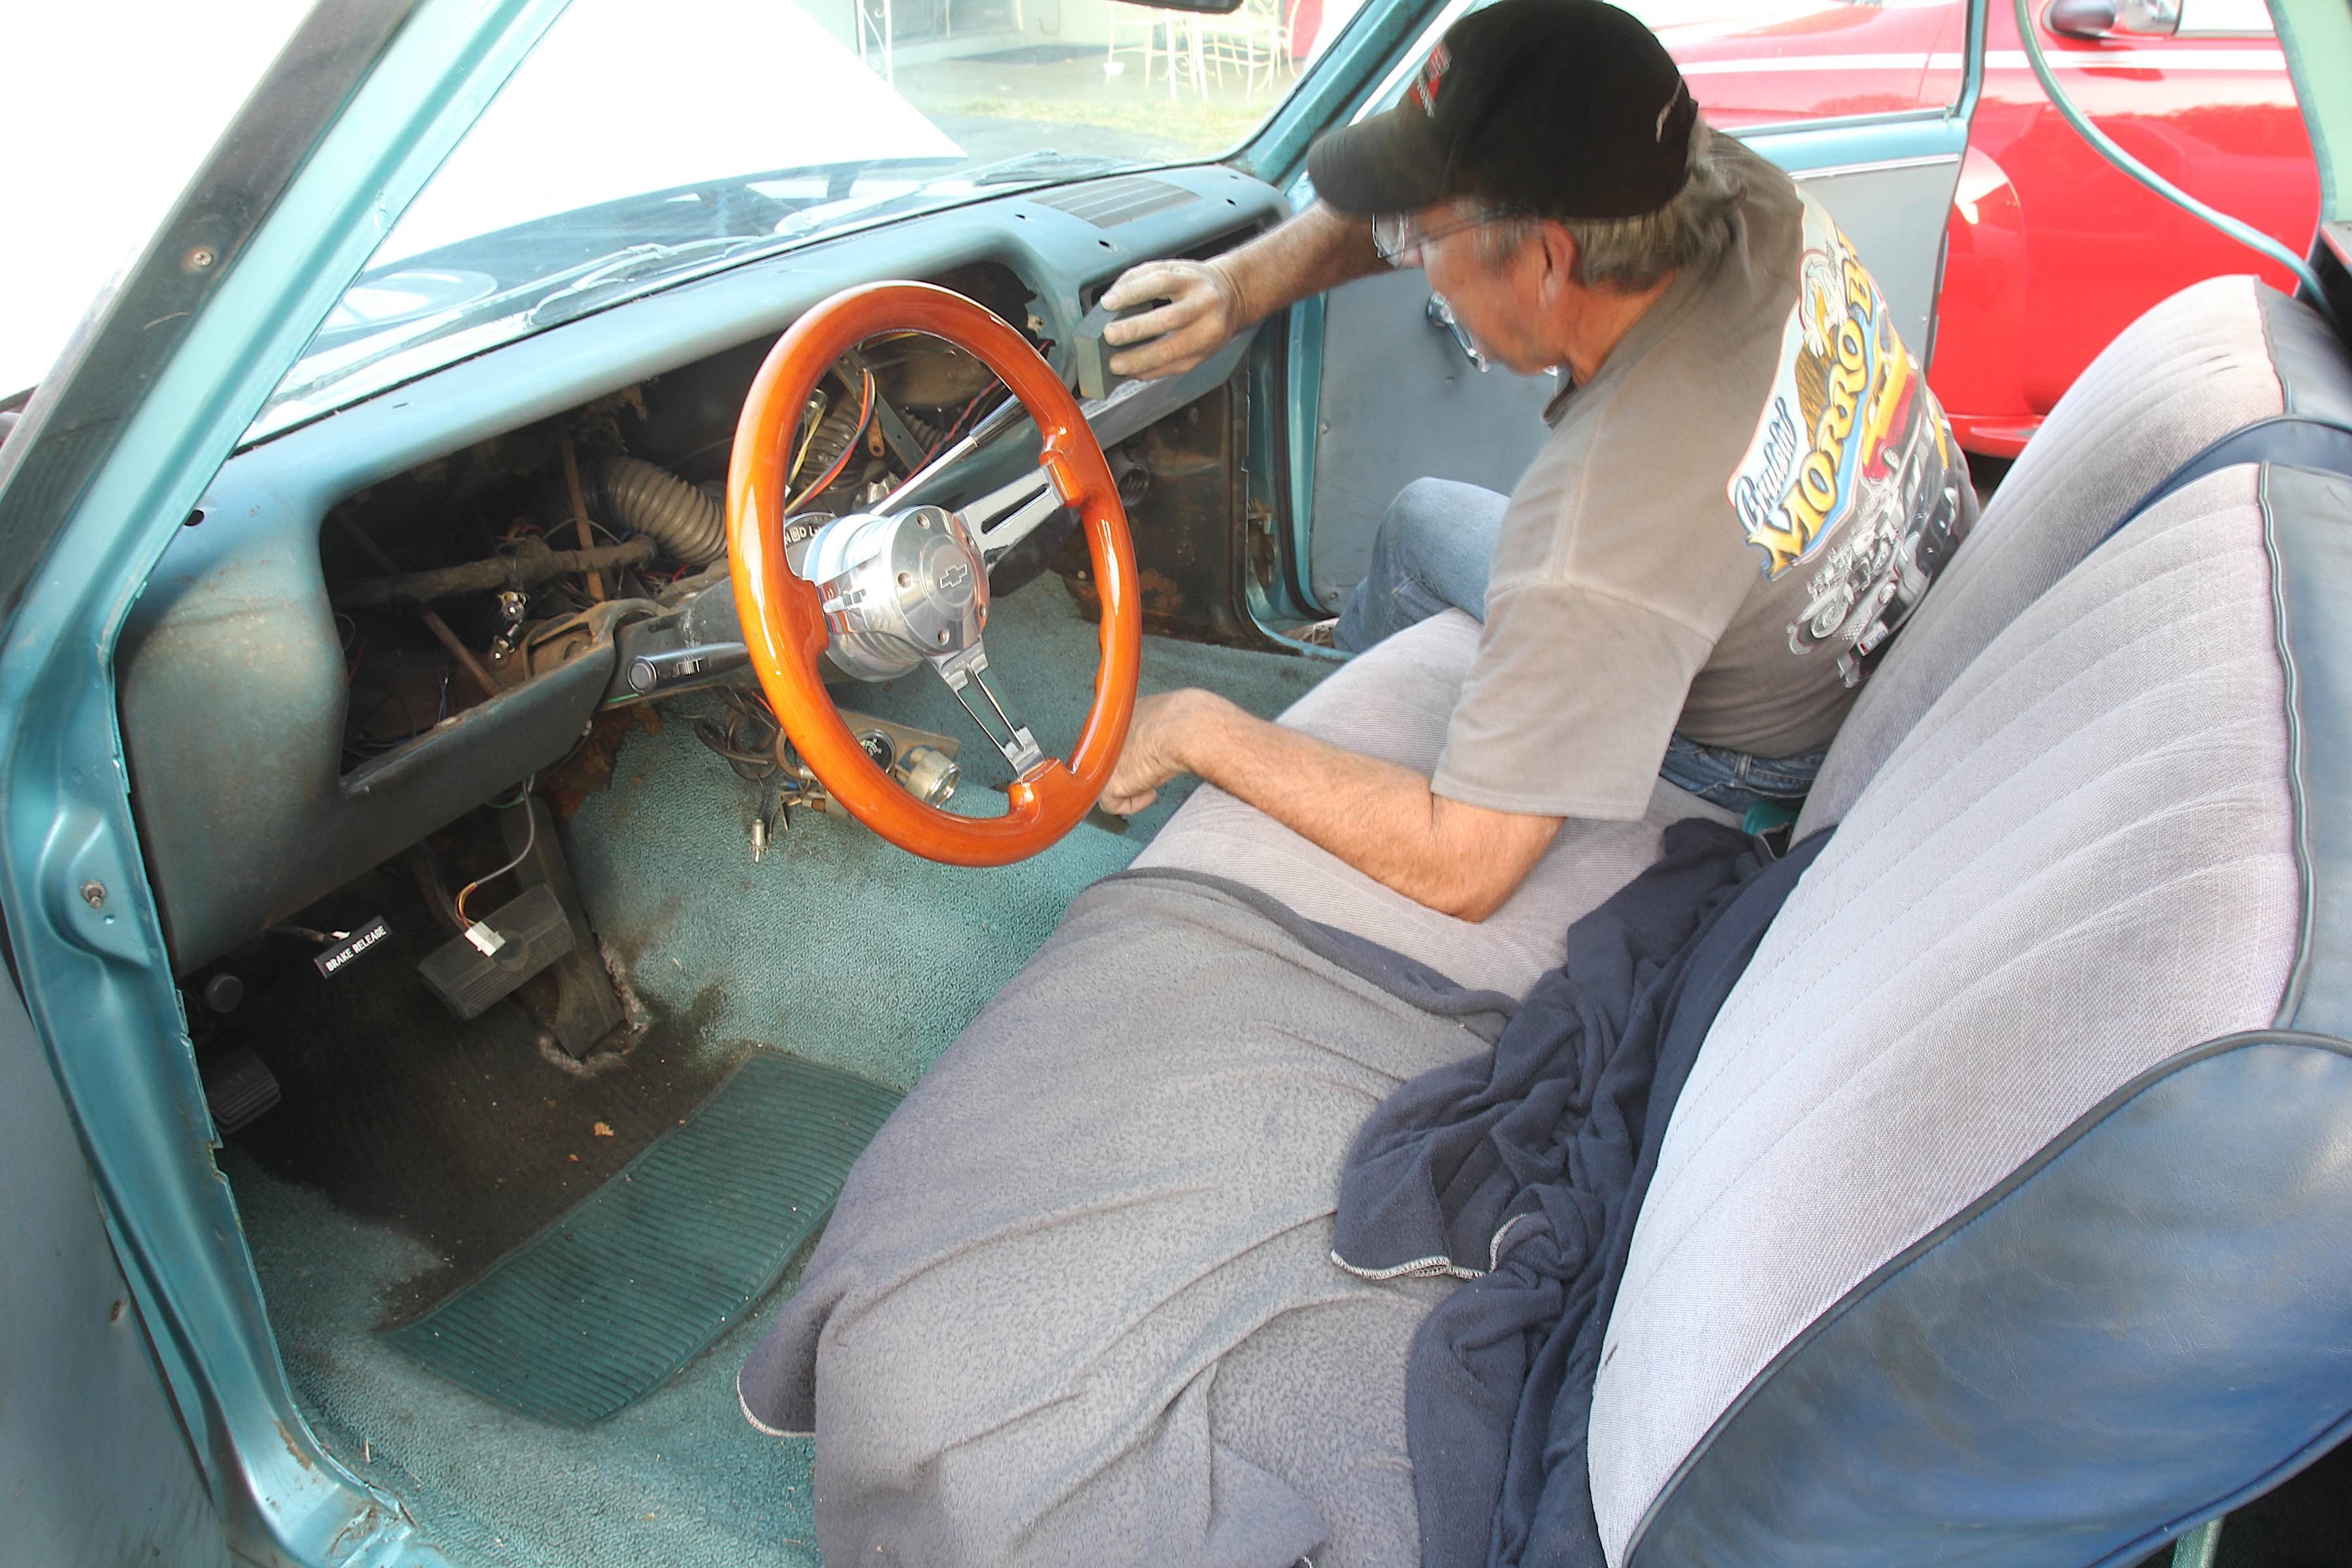
We had previously sprayed some test pieces to evaluate the clear coat, but decided that it was more reflective than desired and the basecoat color gave us exactly the texture on the dash we were looking to achieve. We applied the same technique to the steering column. At first, we painted the mast area black, but too much of it showed past the dash so we applied the turquoise and it came out great.
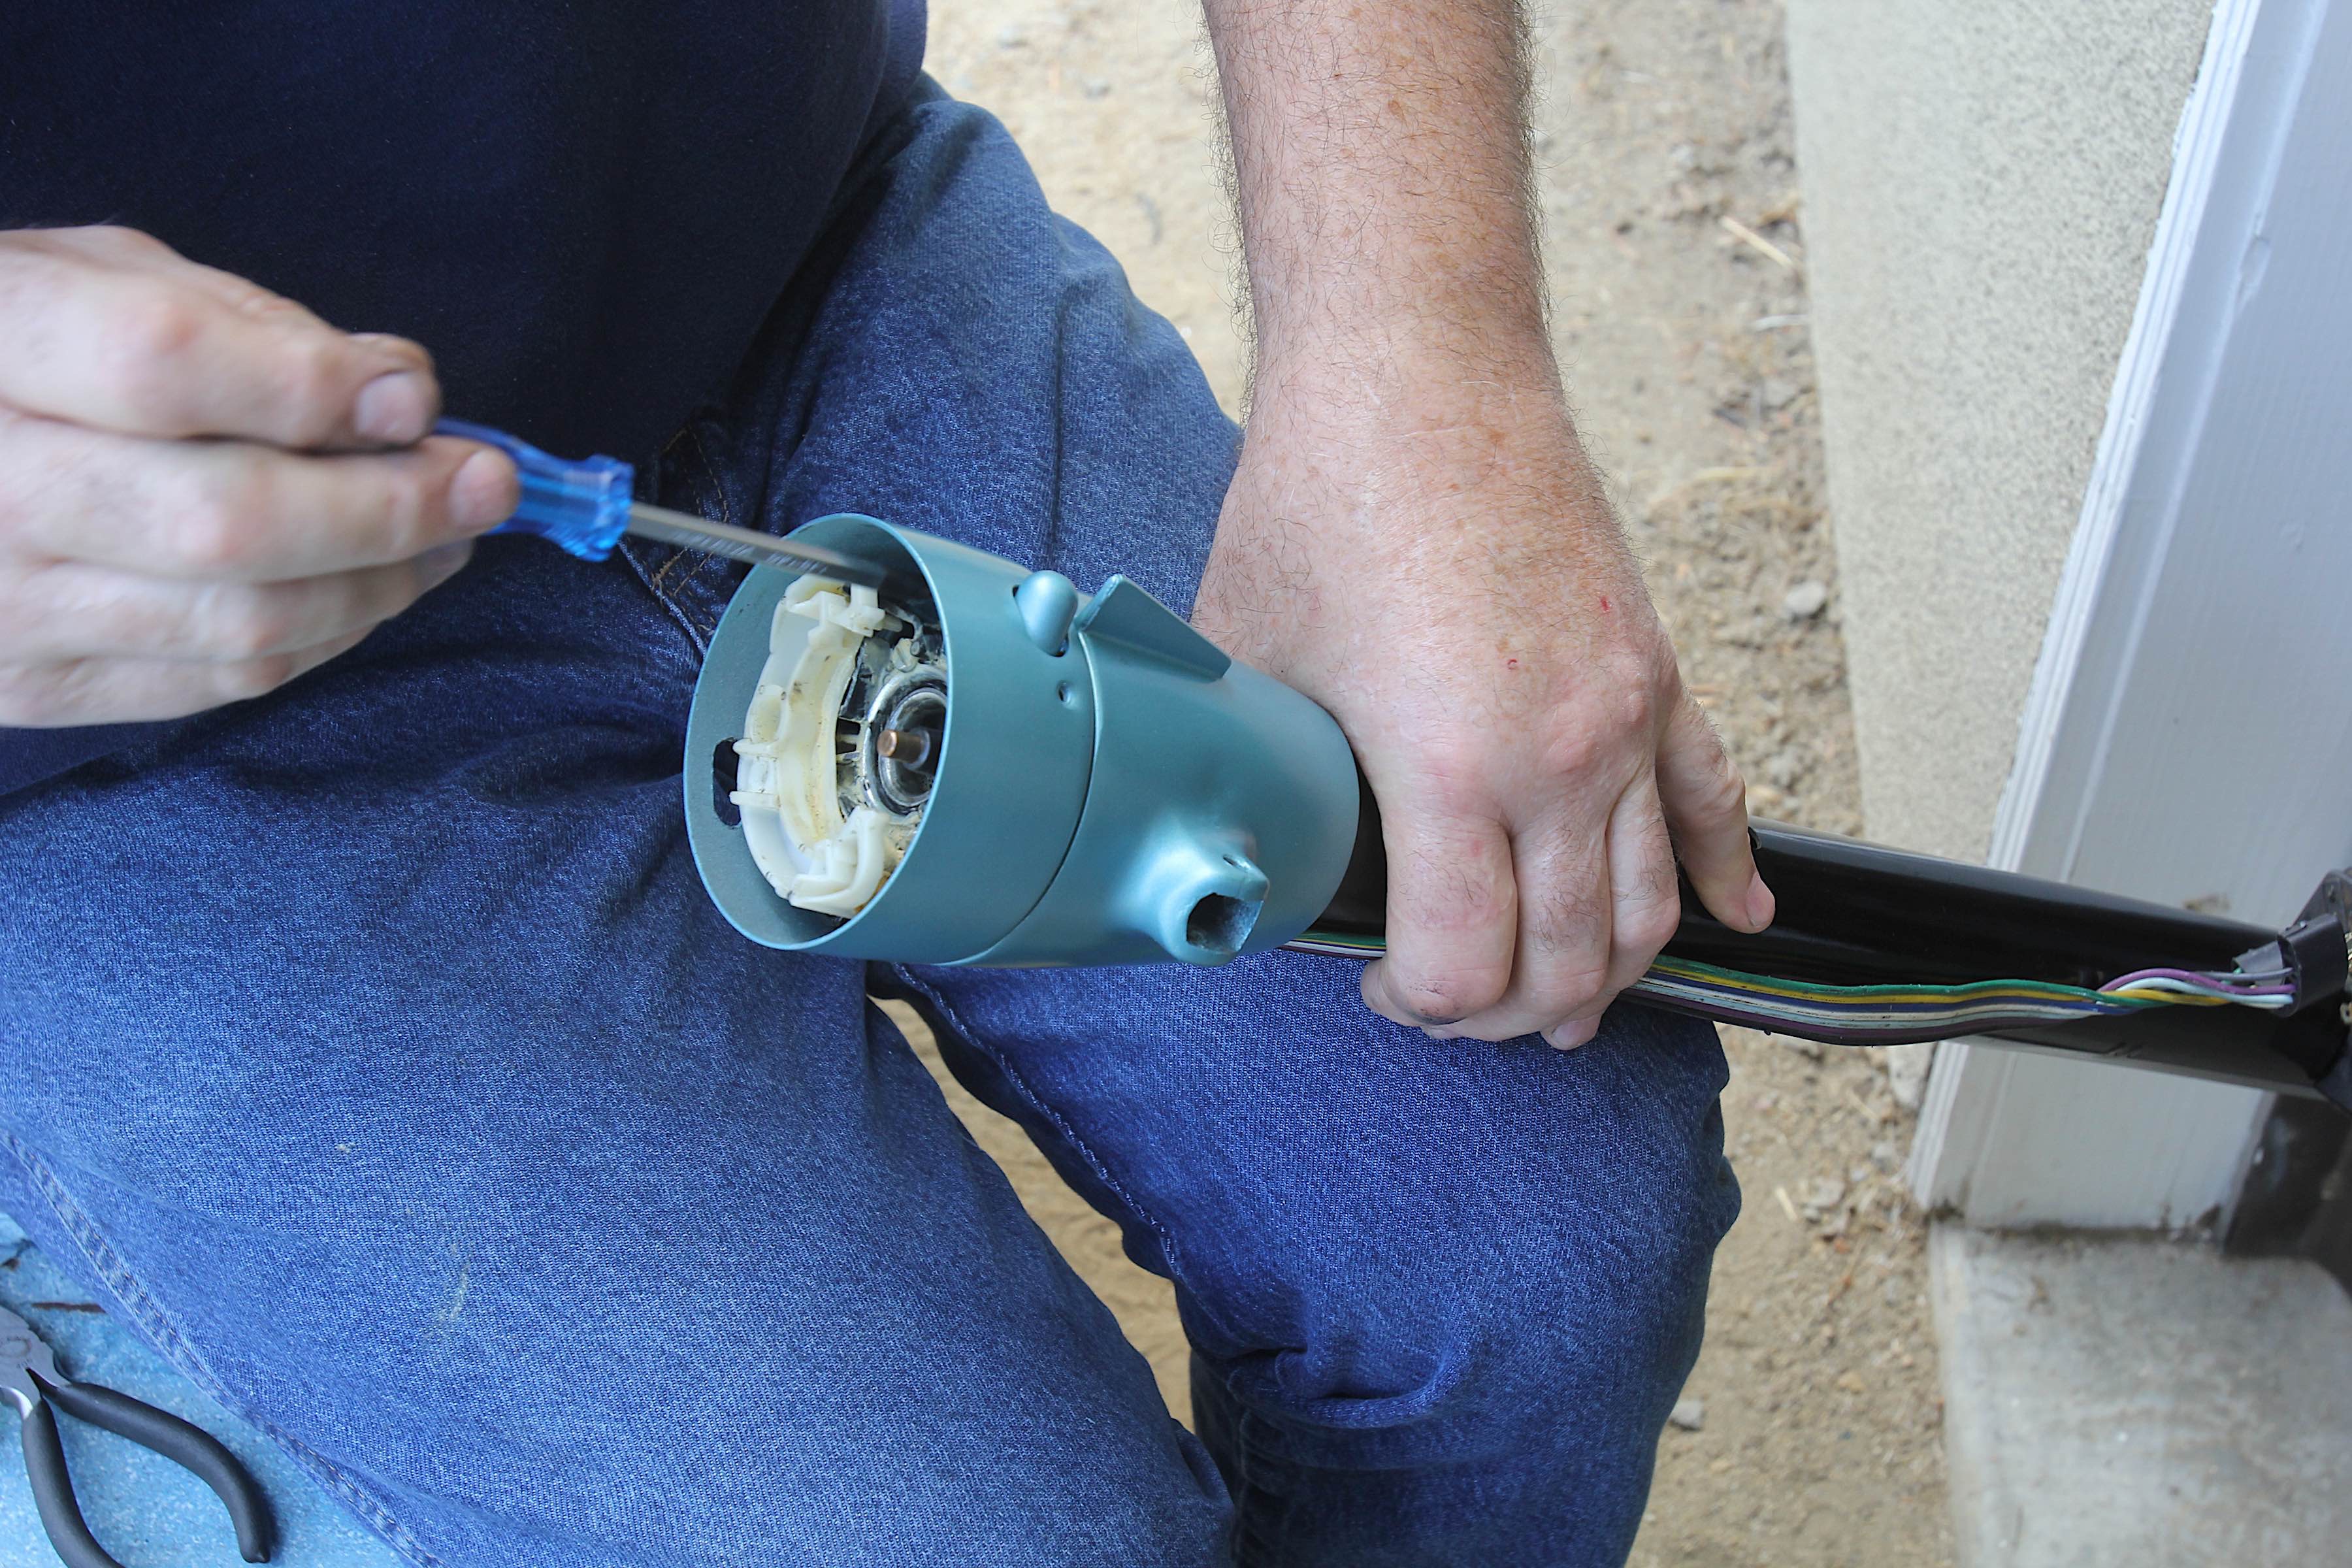
We also rebuilt the steering column with a new turn-signal switch. Don’t make the mistake we did and forget the sheetmetal plate at the bottom of the steering column that covers the large hole in the floor. You have to take the column almost completely apart again if you forget that plate!
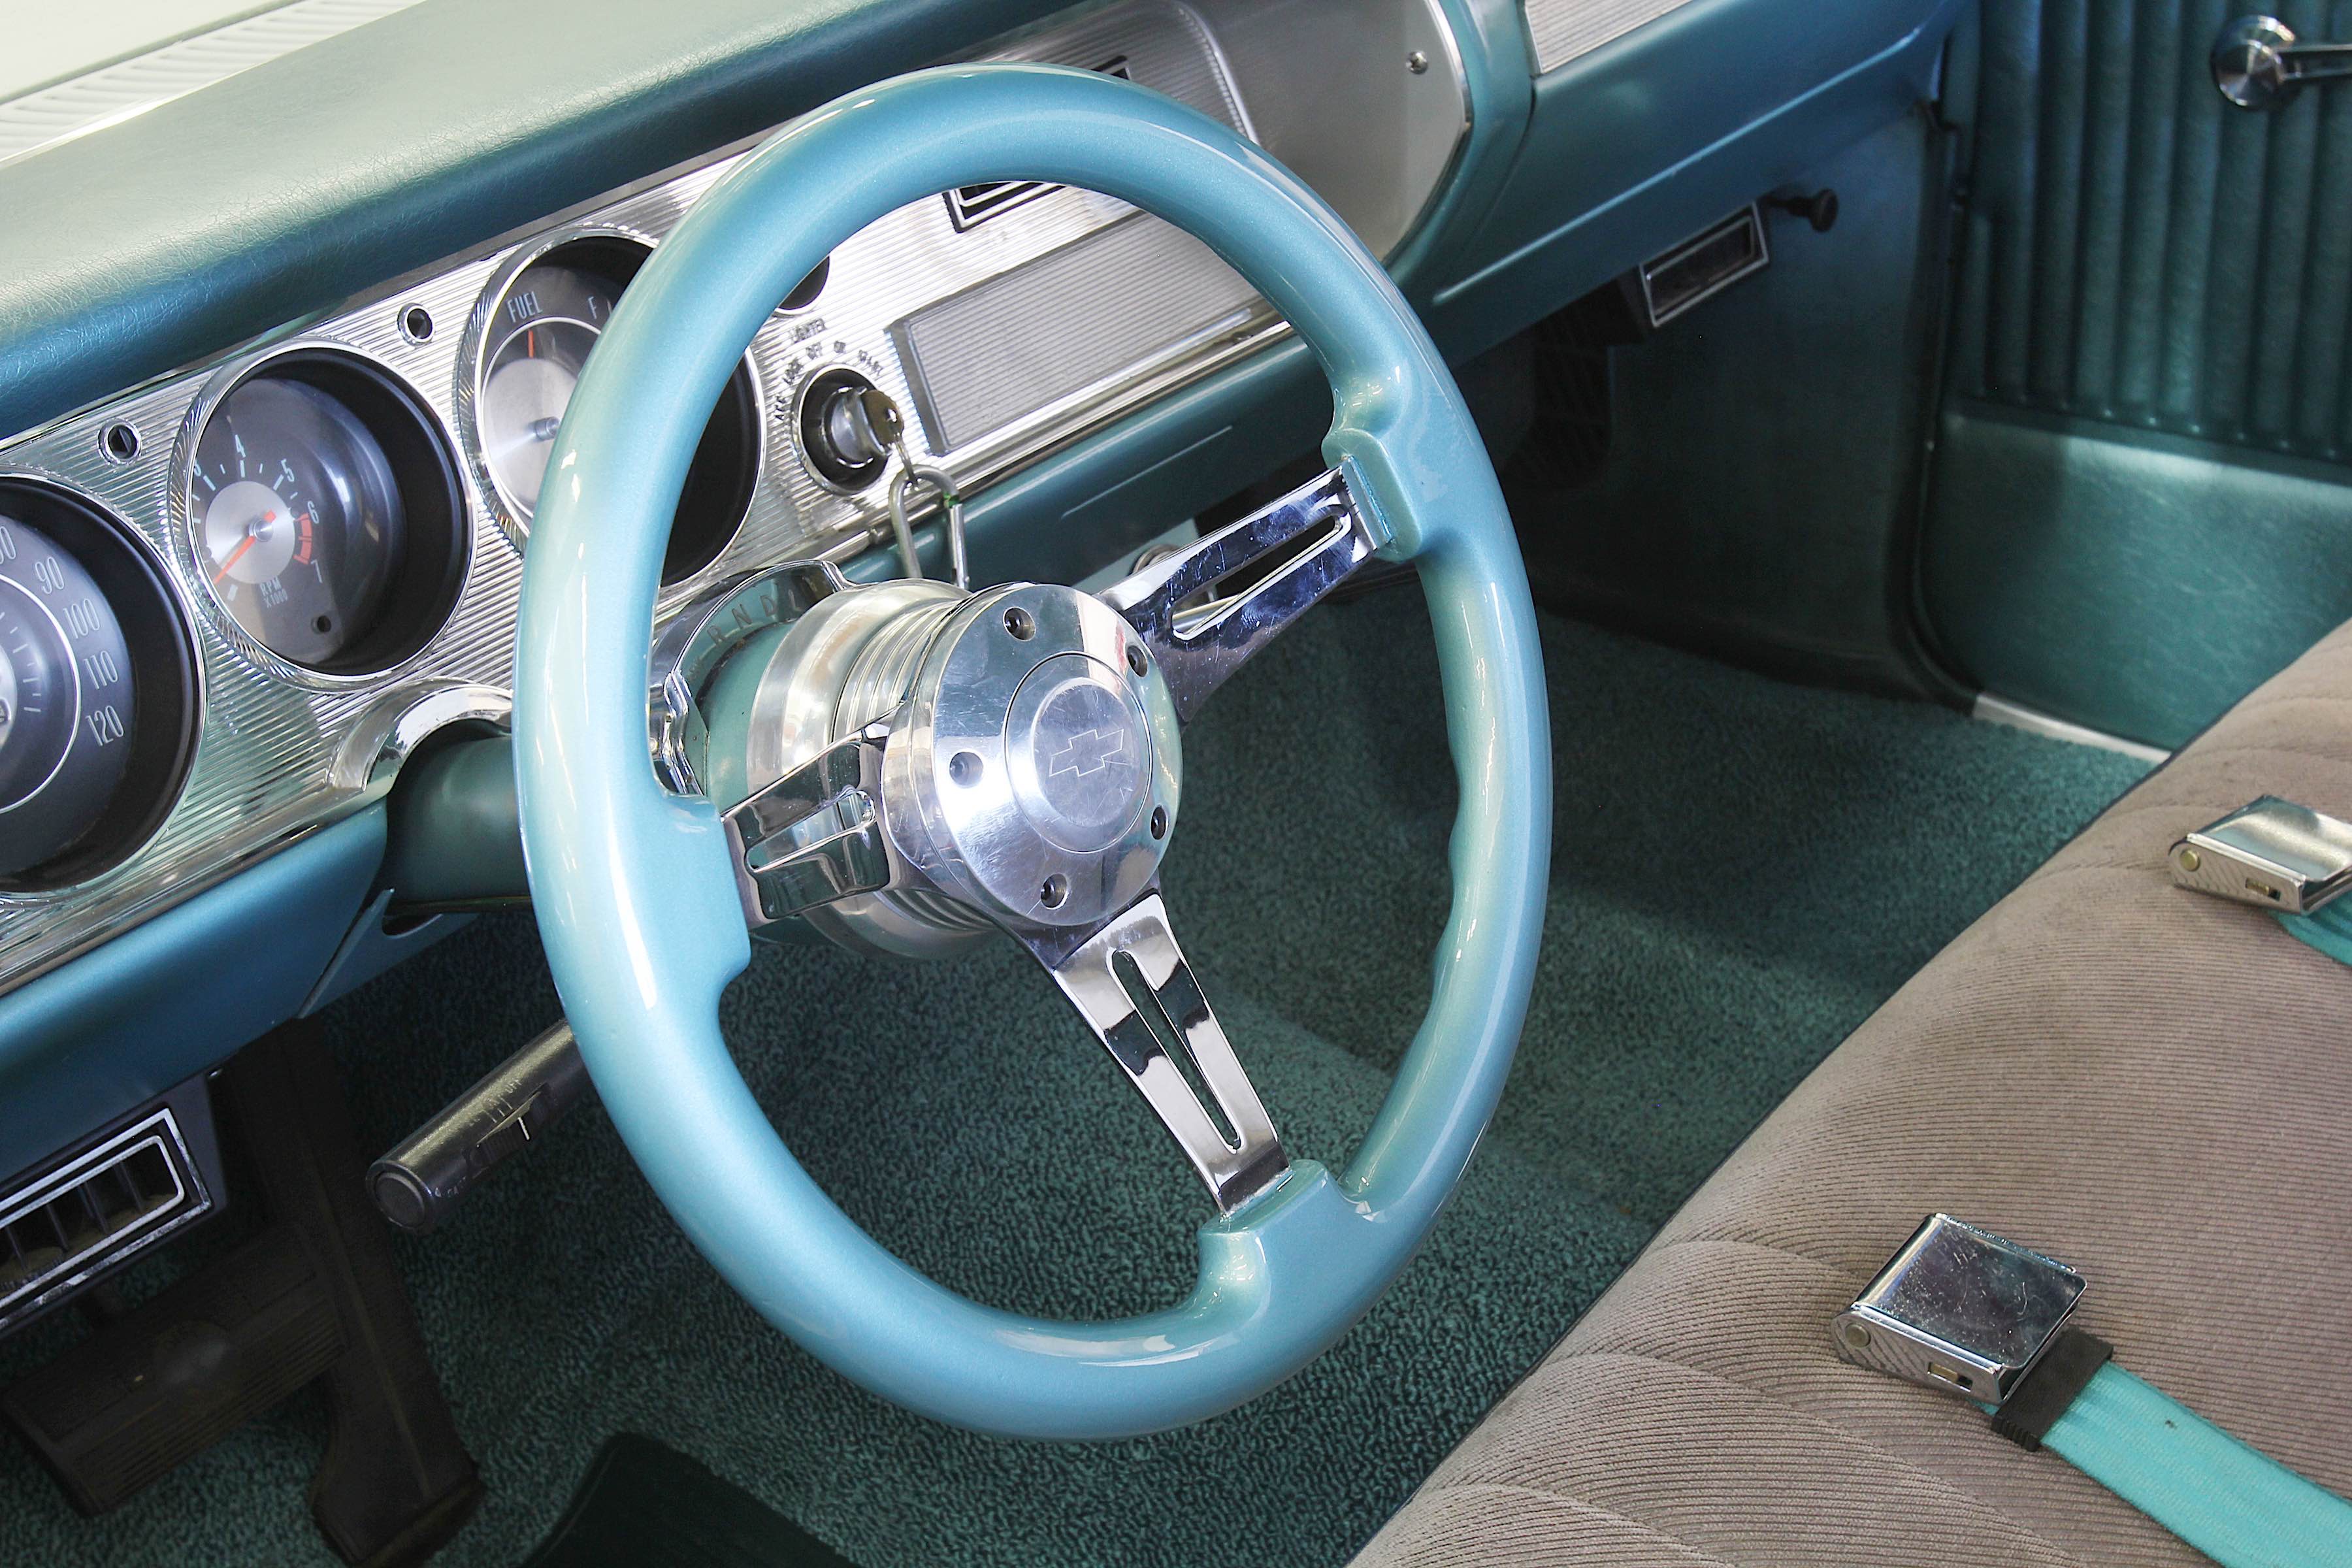
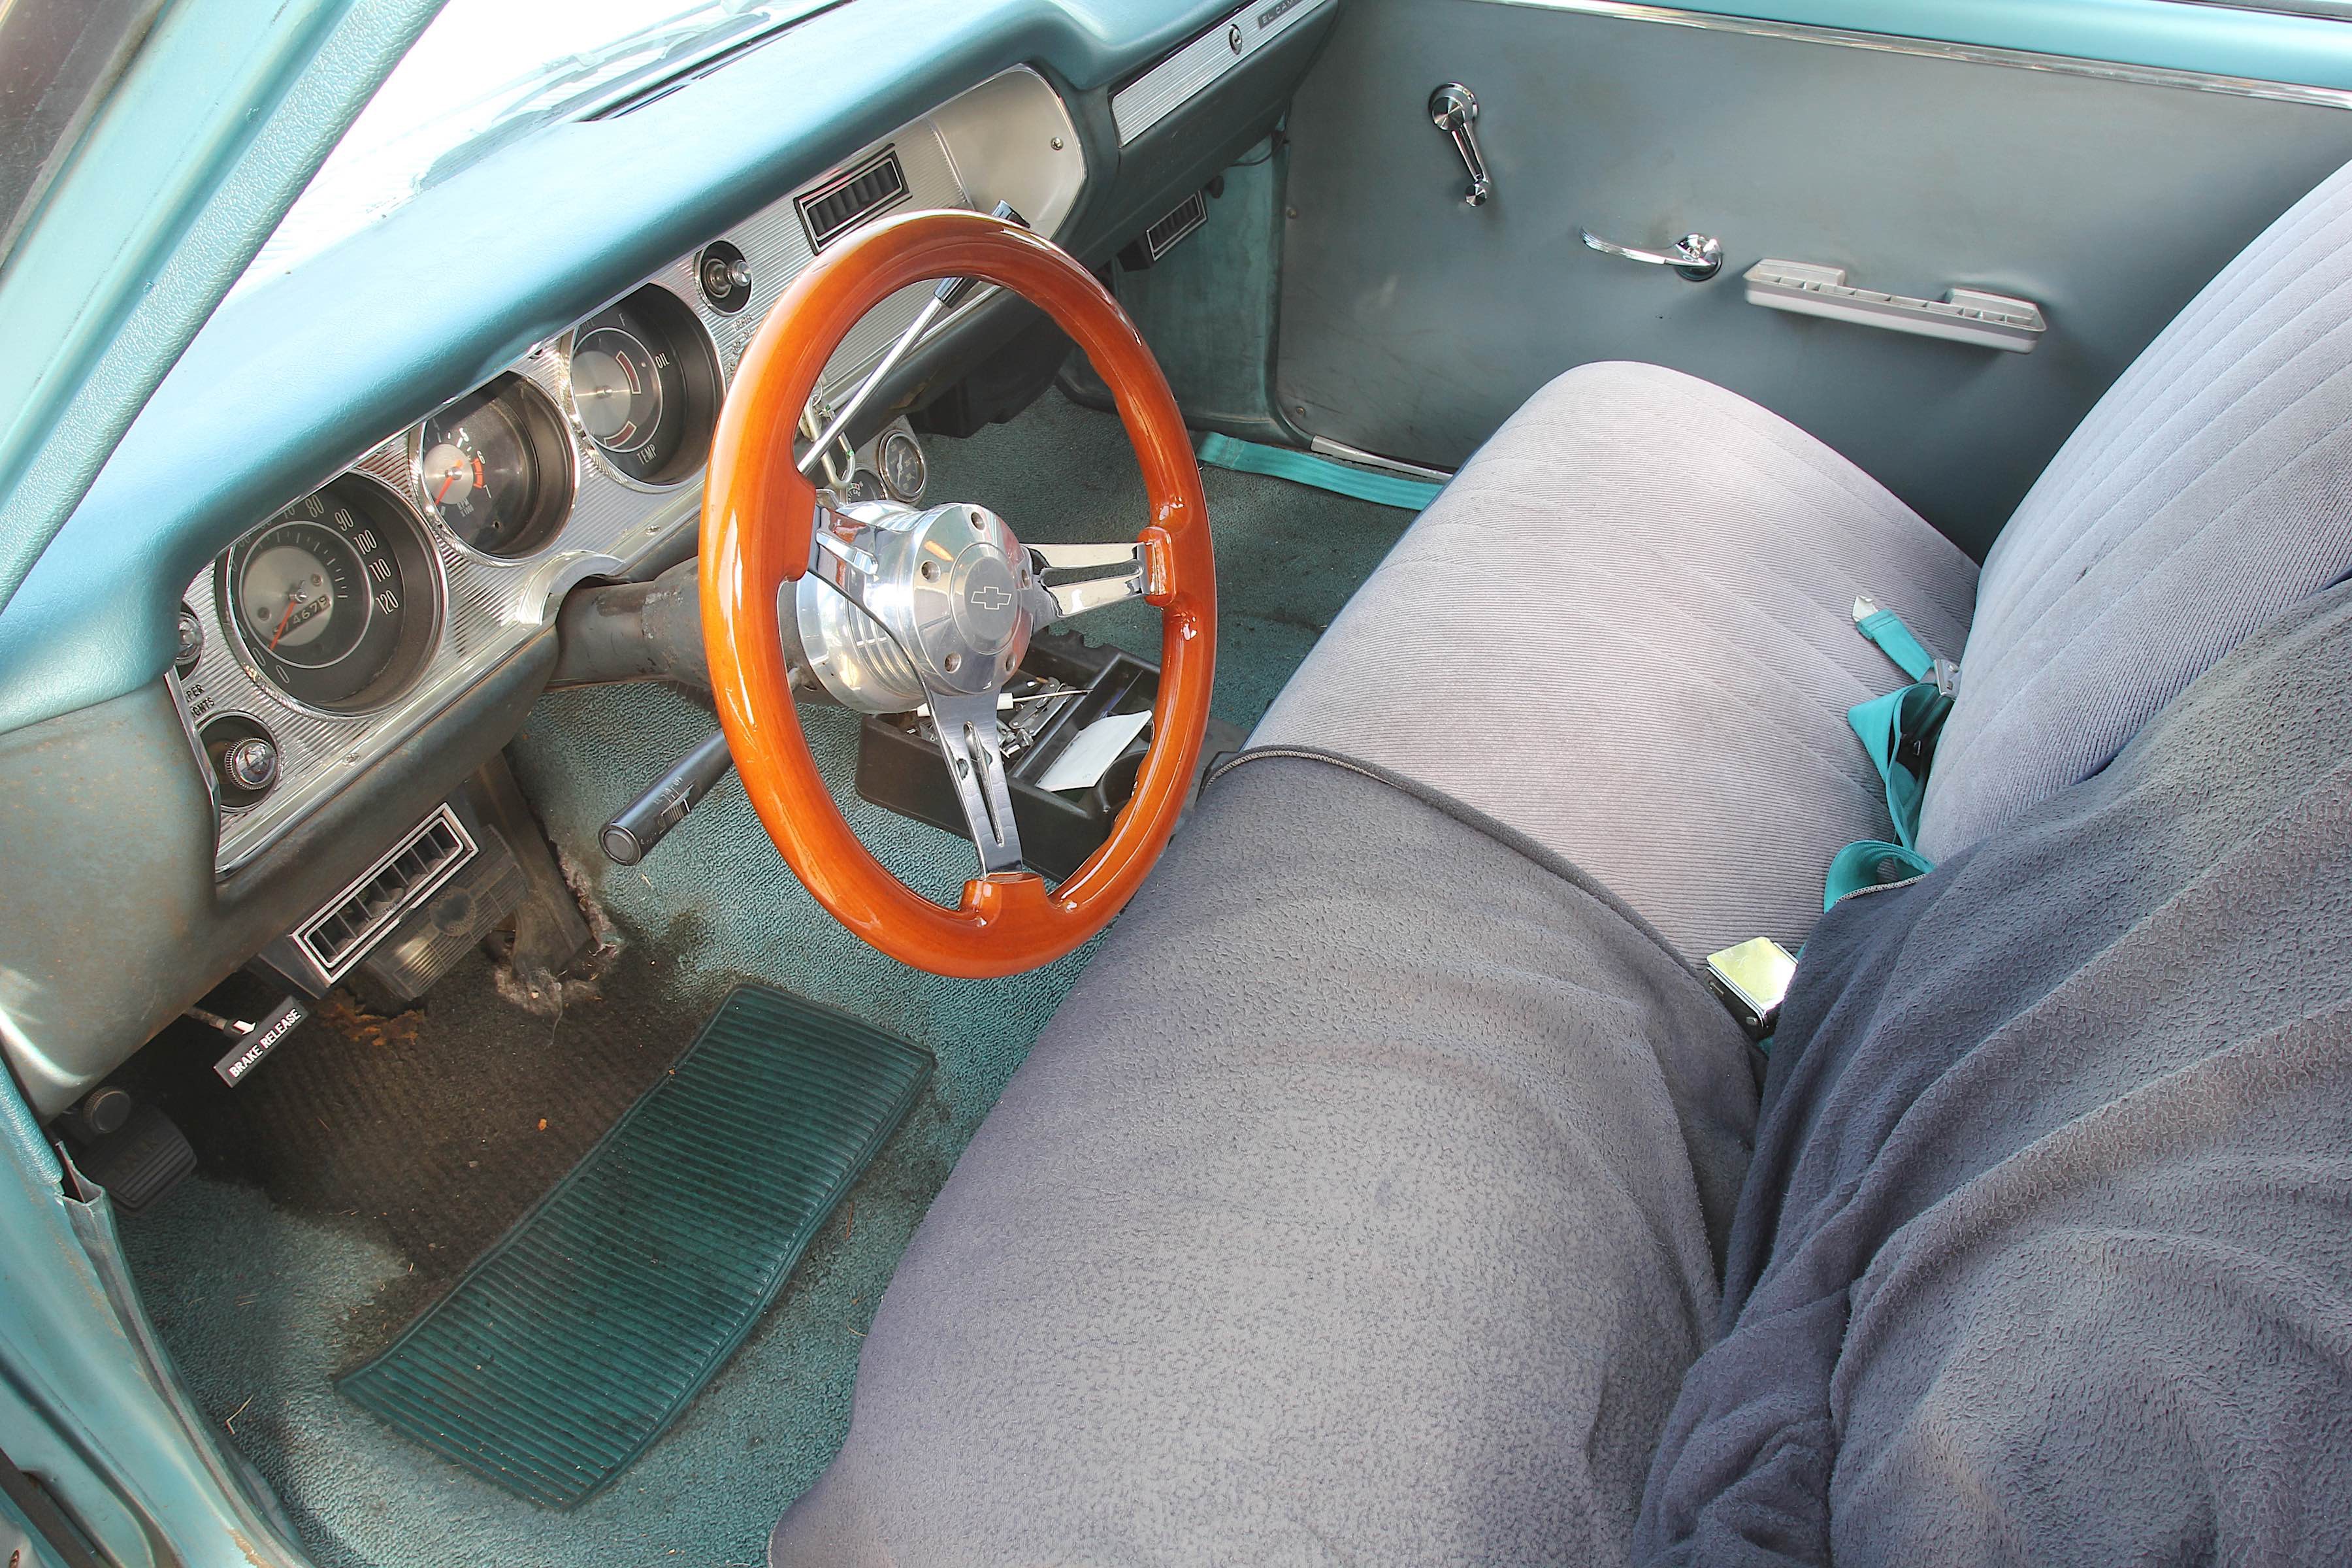
The aftermarket steering wheel’s original wood color just didn’t work with the new paint. Rather than buy a new wheel, we decided to have our professional painter buddy, Brett Benson, shoot the wheel with his pro-gun using ATU’s same turquoise paint with a couple of coats of clear to add durability. It turned out great.
The last item during reassembly was the steering wheel, which was the right diameter, but the wood color didn’t fit. We tried a stock diameter wheel, but its giant size just didn’t feel right. Eventually, we ordered a pint of ATU base color and clear, and took the wheel to our professional painter friend, Brett Benson, who sanded, painted, cleared, and color-matched the wheel to perfection. We wanted the clear on the wheel, because it would make the paint far more durable.

Here’s our finished interior with the fresh dash, new windshield, carpet, door panels and handles all from OPGI. We even painted the gauge panel the same color as the dash but retained the black gauges.
We finished off the interior with a few resto parts from OPGI including a new carpet set, door panels, along with new window cranks and door handles. Our seat upholsterer went on vacation just as we were wrapping this up, but other than being benched, our interior looks amazingly fresh.
In a matter of a few days the interior went from shabby to show-worthy and we did it all (well almost all) with a little sandpaper and handful of AutomotiveTouchup spray cans.
Parts List
| Description | PN | Source |
| Base coat urethane, 12oz spray can | AER-BC | AutomotiveTouchup |
| Base coat urethane, quart | RTS-BC | AutomotiveTouchup |
| Primer, 12 oz spray can | AER-PR | AutomotiveTouchup |
| Primer, pint can | RTS-PR | AutomotiveTouchup |
| Clearcoat, 12 oz spray can | AER-CC | AutomotiveTouchup |
| 2-part urethane primer, quart | FP410- | AutomotiveTouchup |
| 2-part Urethane Clearcoat kit | FC-720/FH611 | AutomotiveTouchup |
| Sandpaper Pak – 180 grit | WD180 | AutomotiveTouchup |
| Sandpaper Pak – 400 grit | WD400 | AutomotiveTouchup |
| Sandpaper Pak – 1500 grit | WD1500 | AutomotiveTouchup |
| Sandpaper Pak – 2000 grit | WD2000 | AutomotiveTouchup |
| Green masking tape, ¾” wide | TAPE | AutomotiveTouchup |
| Can trigger | CNCG | AutomotiveTouchup |
| Tack Rag | BONDO813 | AutomotiveTouchup |
| Paint prep surface wipe | SWIPE | AutomotiveTouchup |
| POR-15 pint rust preventative | 45008 | Summit Racing |
| Shiftworks In-dash repro tachometer | S510-1 | Shiftworks.com |
| 1964 El Camino door panels, aqua | EK64 | OPGI |
| 1964 El Camino carpet set, aqua | PF33 | OPGI |
| 1964 Chevelle door handles | C990075 (2) | OPGI |
| 1964 Chevelle window cranks | C990074-PR | OPGI |