The art of automotive expression took the American public by storm when the ability to do so became economical. Henry Ford’s revolutionary assembly line put a car in every driveway and you could have any color you wanted “as long as it was black.”
As genius as his entrepreneurial prowess was, this may seem like a drastic business oversight. If you dig deeper though, you’ll learn that there was actually sound reasoning behind this. Many of the oil-based colors Ford used to paint horse-drawn carriages involved a highly complex and expensive procedure that would eventually fade and yellow over time, thus facilitating the need to repaint.
This could get very expensive for the average working man, which went against Henry Ford’s ideology of economics in his motor carriages. In light of this, his proprietary, asphalt-based, baked enamels were the perfect solution – they’d last much longer and didn’t take weeks to dry on the assembly line.

The square-jawed body lines of this ’65 Chevelle’s sheet metal have been beautifully coated in a liquid-smooth, two-tone orange and silver custom paint.
Fast forward to the myriad of brilliant shades like Sunburst Orange, Tahitian Pearl and Torched Penny that we enjoy today; you will see no shortage of brightly colored billboards of personal self-expression rolling next to you on your daily commute.
Yet, despite the palette of different colors available today, we’ve seemingly are never able to accept what’s handed to us as good enough – we need to take it a step further and put our own touch to it. Generally, there are three widely accepted and easily available methods for the average weekend warrior to apply their own touch of taste; painting, vinyl-wrapping, and plasti-dipping. Each method has its pros and cons; selecting the right direction for your next project is as simple as knowing your budget, desired end result and a strong basic comprehension of what you can reasonably expect.
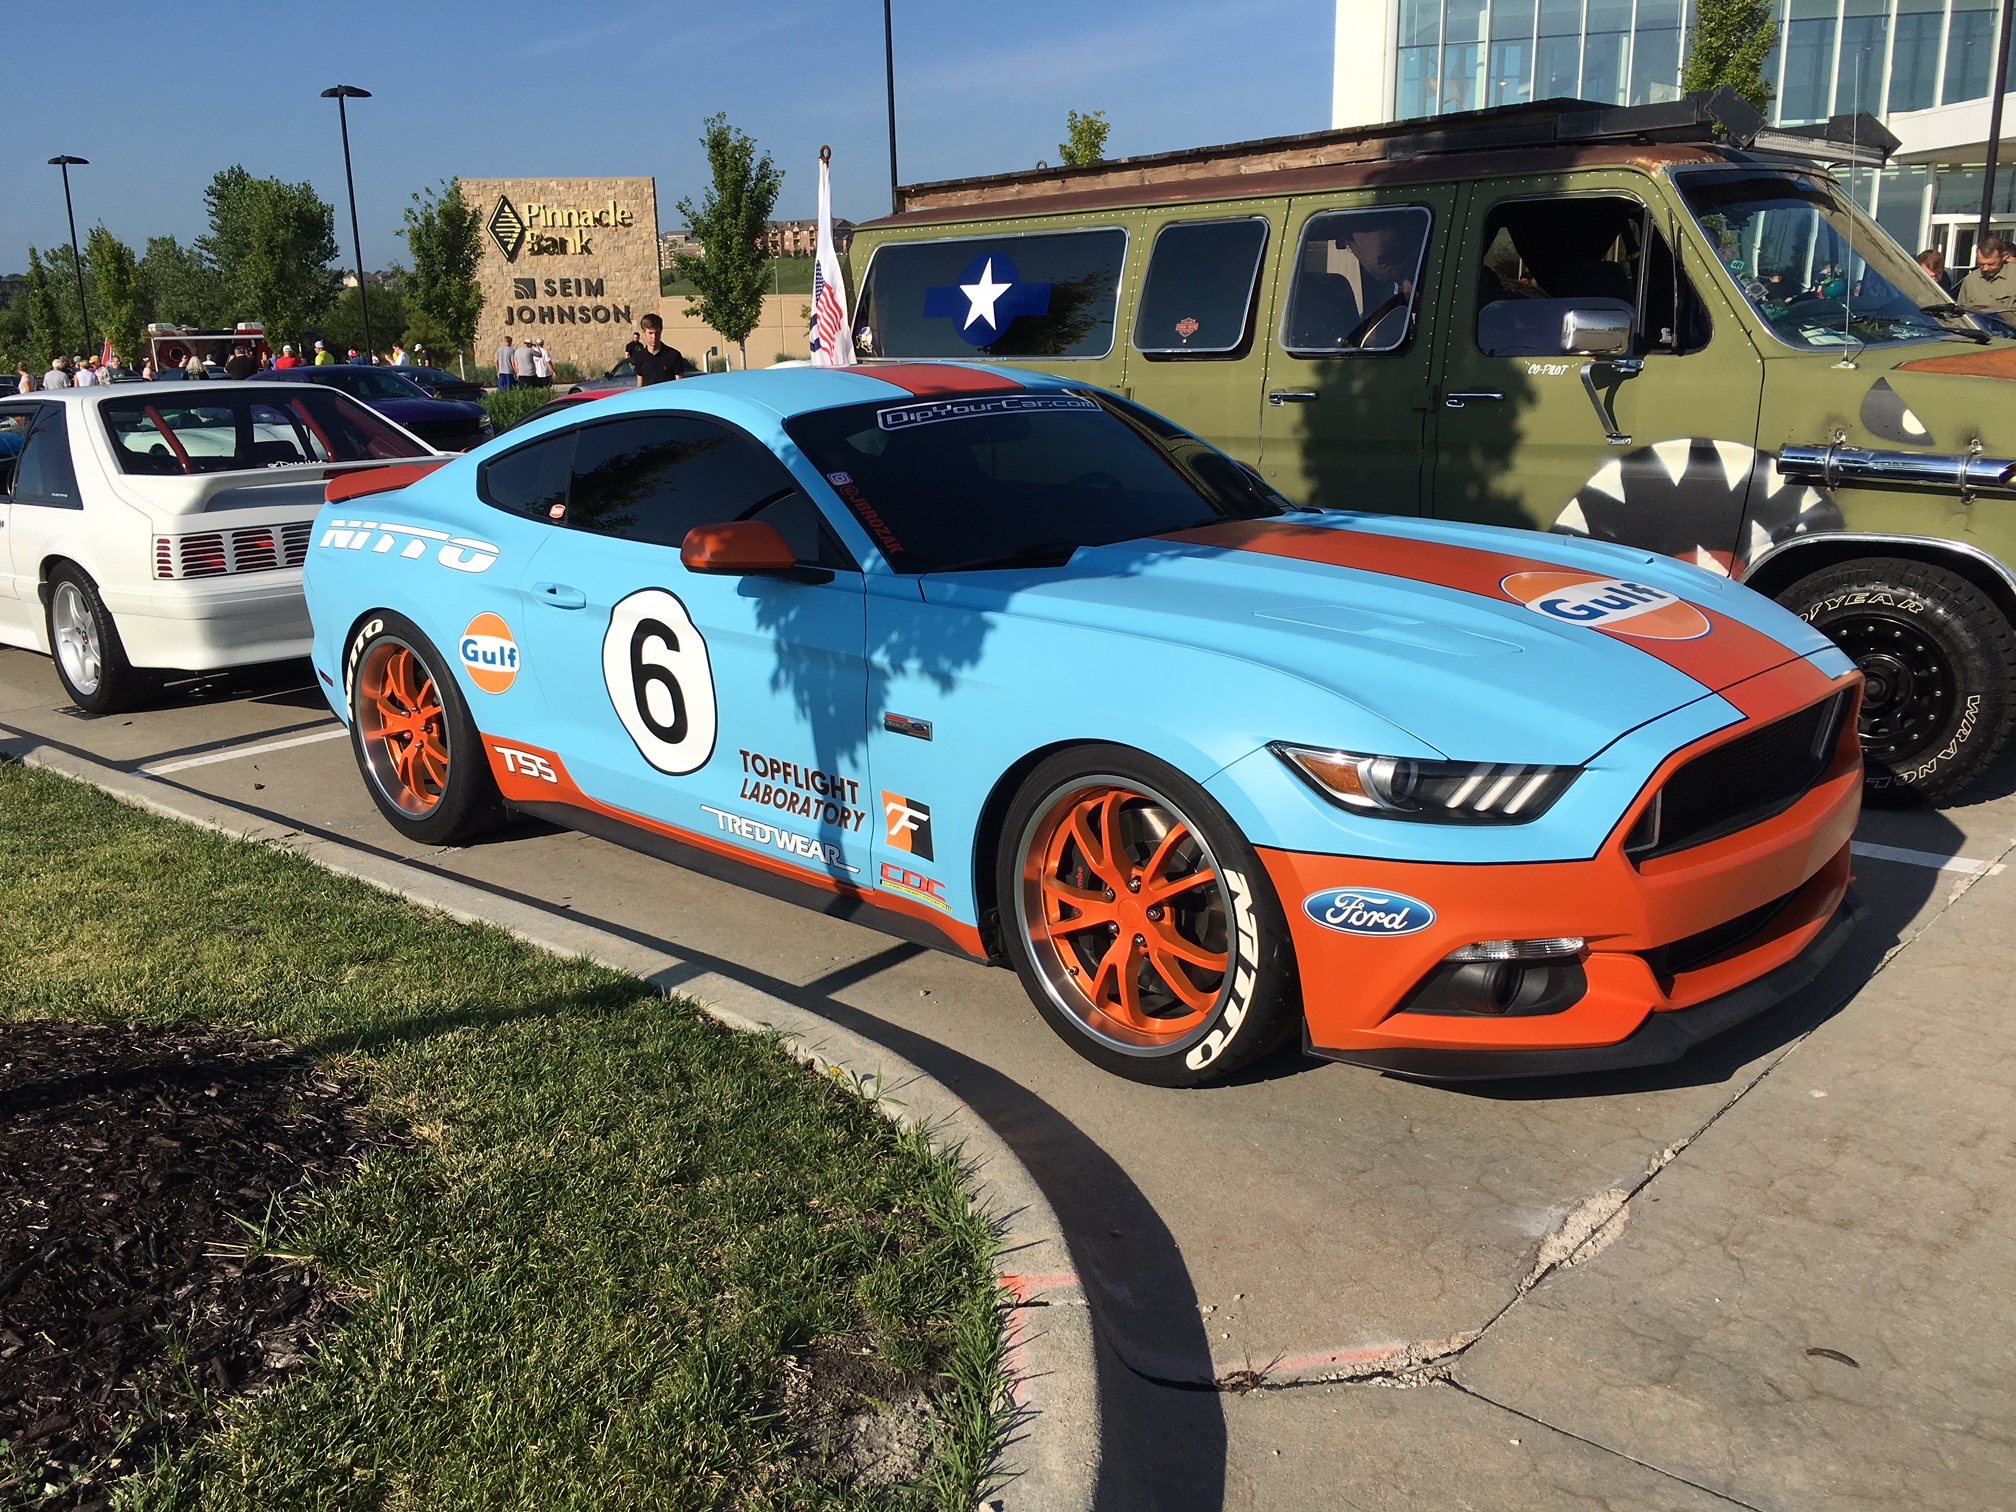
This Ford Mustang features a throw-back Gulf Racing livery like the legendary GT-40 racecar once wore – except this is 100% plasti-dipped.
I’ve attempted to make this extremely easy and break this down into three main categories; paint, vinyl and dip; each with subcategories such as cost, skill level, durability, etc. By the end of this article you should be armed with the information you need to decide which alternative is the right choice for your project.
Paint
We’ll examine paint first, as it’s the longest-standing and ultimately the most popular method. Durability of paint is unmatched by both dipping and wrapping once cured and the longest service life can be expected from a well-prepped and executed paint job. The ability to layer coat after coat allows you to fine-tune the paint’s overall thickness and protection as well as visual effect.
The cost of painting is the most expensive option and by far the most labor intensive for quality prep work. Having said that, any painter will tell you it’s all about the prep anyway – you can’t paint-away bad prep work. You may or may not want to consider your labor time as a cost factor in the decision-making process, but it does exist nonetheless.
At the end of the day, it’s hard to compete with a solid pain job; they’re not the most expensive option for no reason.
Notwithstanding the cost of the paint itself (as well as your labor), the additional cost of materials and equipment should be considered. A good paint job will see a variety of different tools from sprayers and compressors to different types of sand paper, painter’s tape, masking paper, drop cloths and plastic masking; the list adds up quick at the register. If you’re planning on reusing the materials for other projects that would help offset costs and you might even have a few items already.
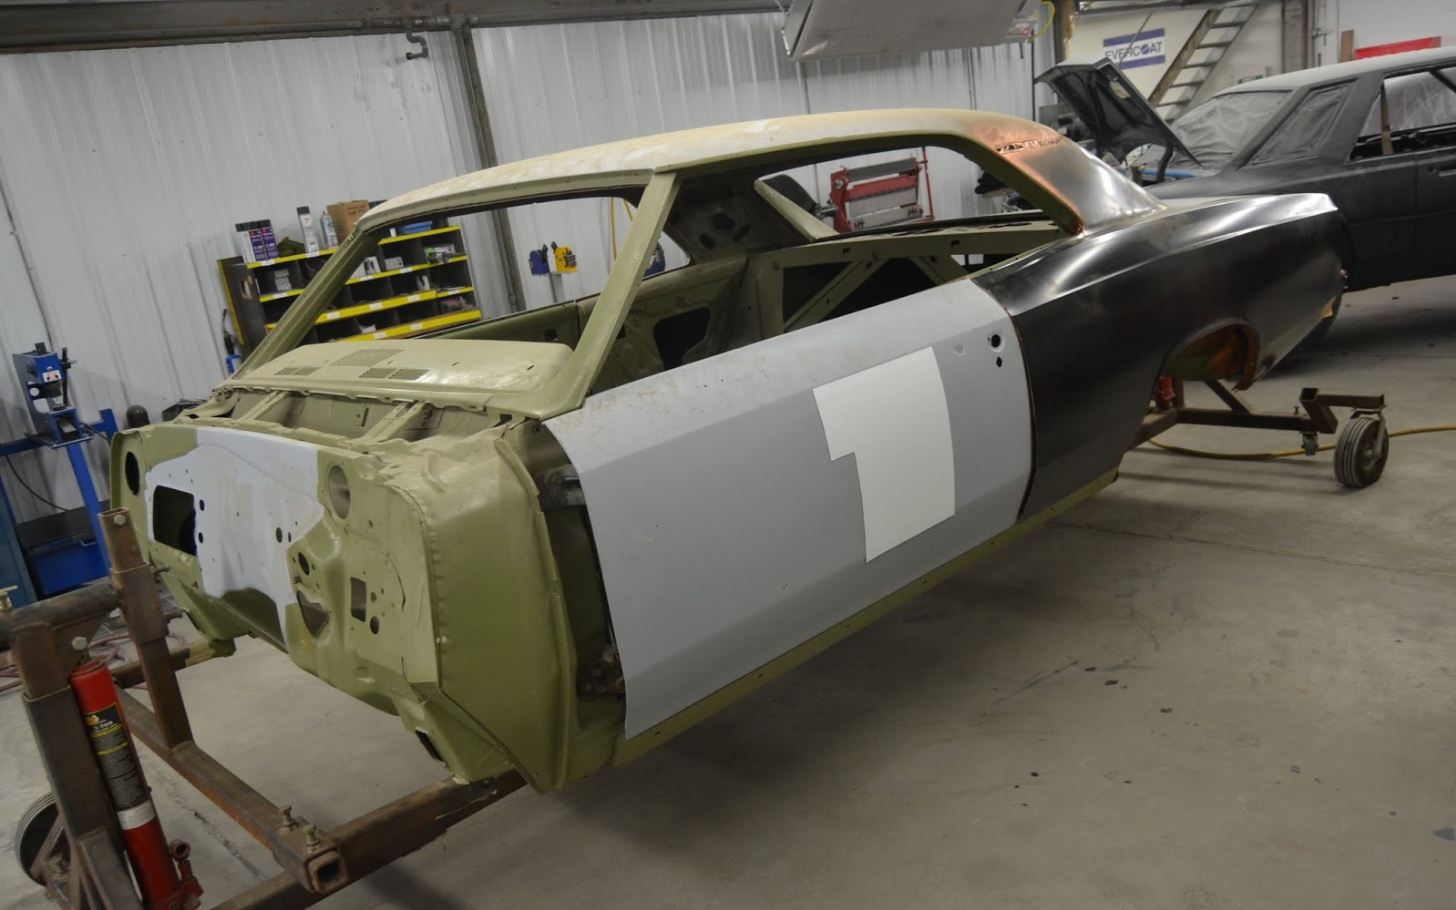
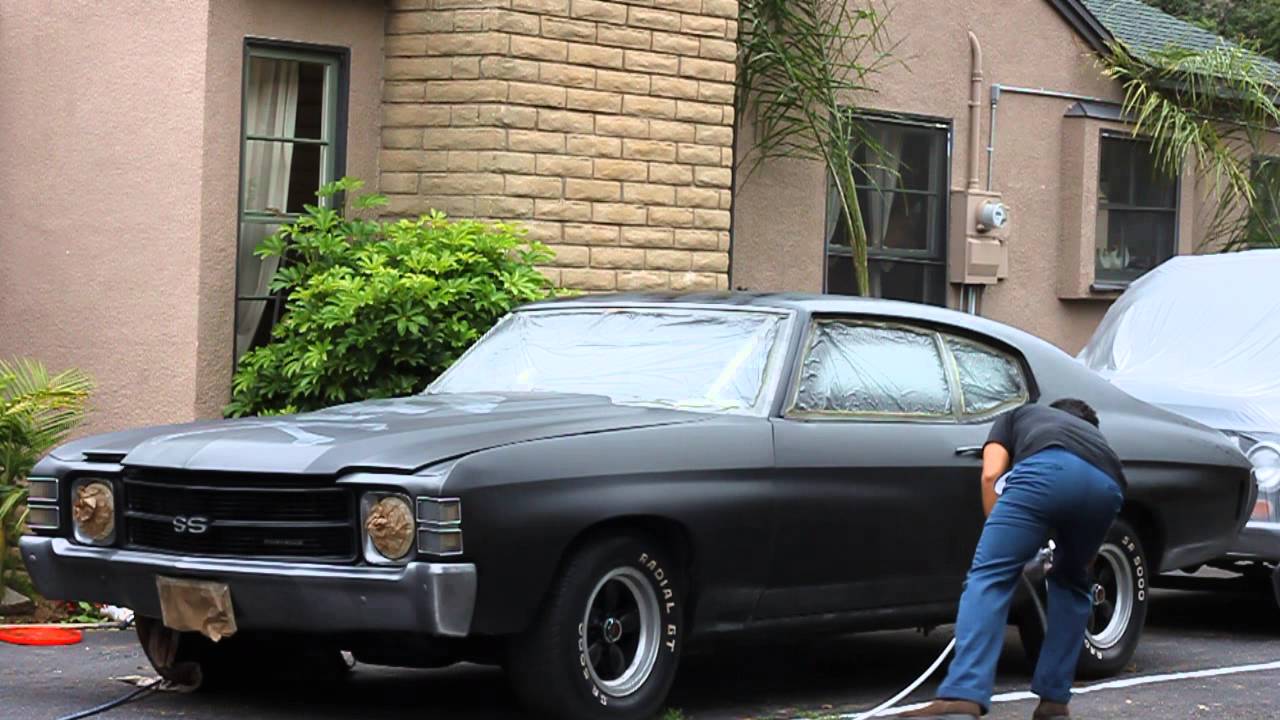
This ’66 SS 396 restoration sits on the rotisserie at V8 Speed & Resto, nearly completely stripped.
The time to paint is less about spray time and more about prep time; on a large project there will be considerable prep work to be done whereas painting your radio bezel is almost as easy as one, two, three. Still, it takes longer than wrapping, especially when prep work and cure times are considered.
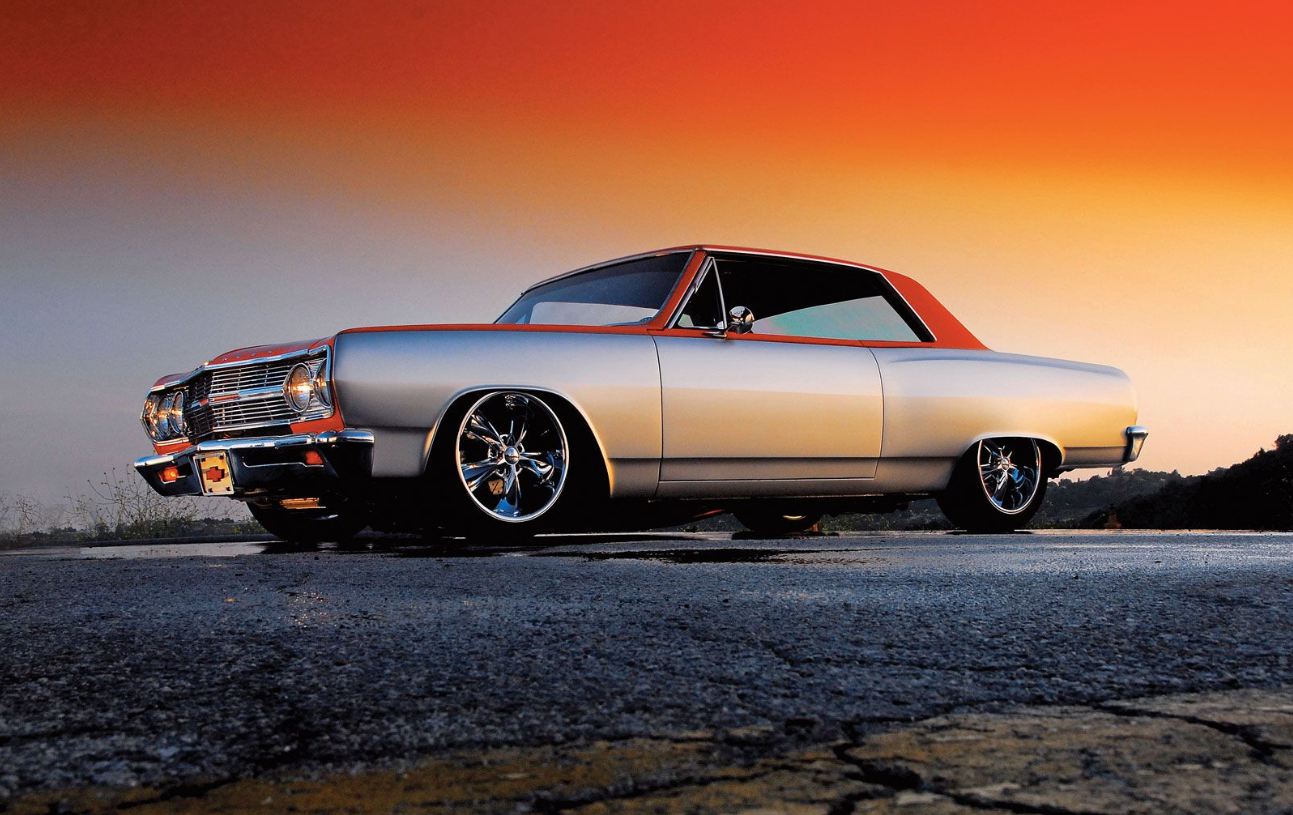
No expense was spared on this ’65 Chevelle; the A-body was soon stripped down and removed from the frame in a transformation into what you see here today.
Paint conclusion: By far the most difficult, expensive and time consuming, paint is also the longest-lasting, most durable option, and when done right you can expect well over a decade of good-looking use provided you properly maintain it. Having a reputable shop repaint your car can cost anywhere between $3,000-$8,000 for quality work comparable to the manufacturer’s paint.
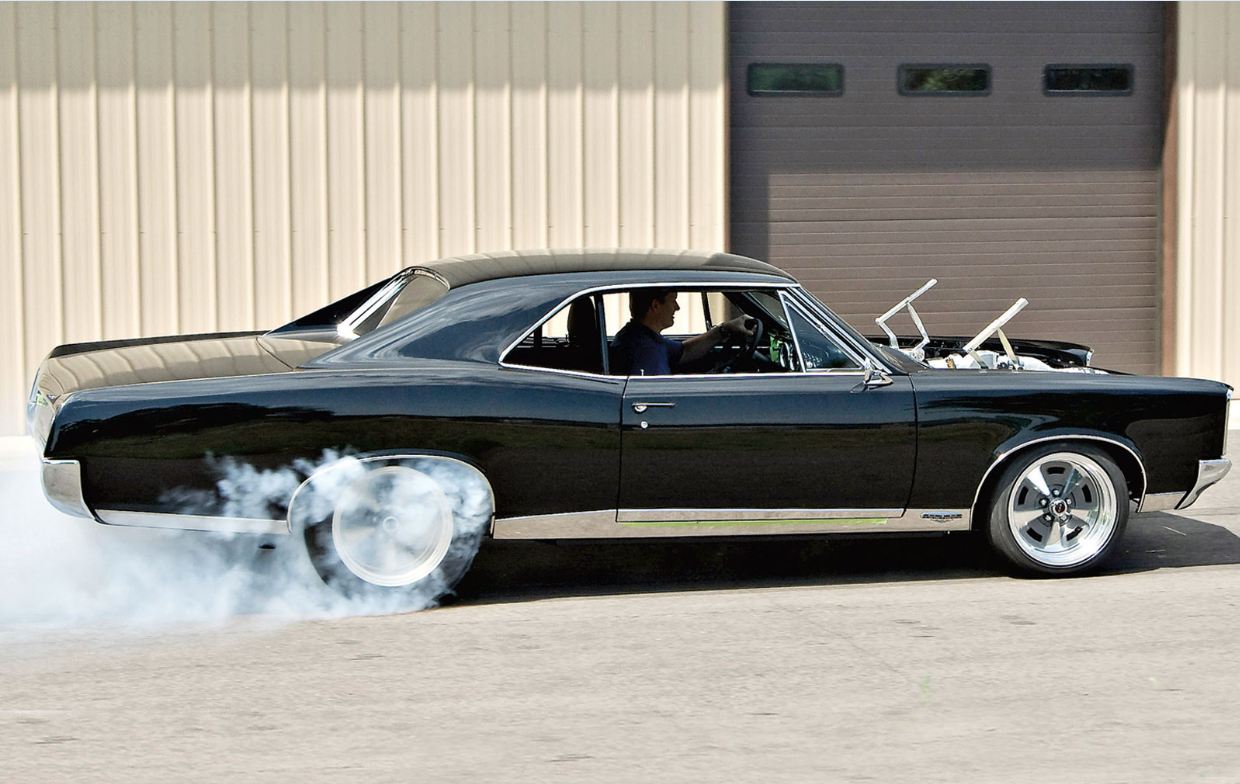
The immaculate paint on this ’67 GTO embodies all sleekness of muscle car-era; the shredding tires engulfed in white smoke salute the purpose.
For the DYI crowd, the cost can vary greatly depending on the quality of materials and whether or not you already have your own equipment. Either way, it’s probably not going to be cheap even though you’ll read about the oh-so wondrous $100 DIY; good paint costs that per gallon and you always get what you pay for.
Paint has been the standard automotive coating for decades in various petroleum and water-based forms. The development of synthetics was somewhat of an embryonic state when vinyl was created by a BF Goodrich microscope jockey in 1926. The compound quickly showed potential and was eventually configured into markings and lettering for military aircraft and high-profile clients.
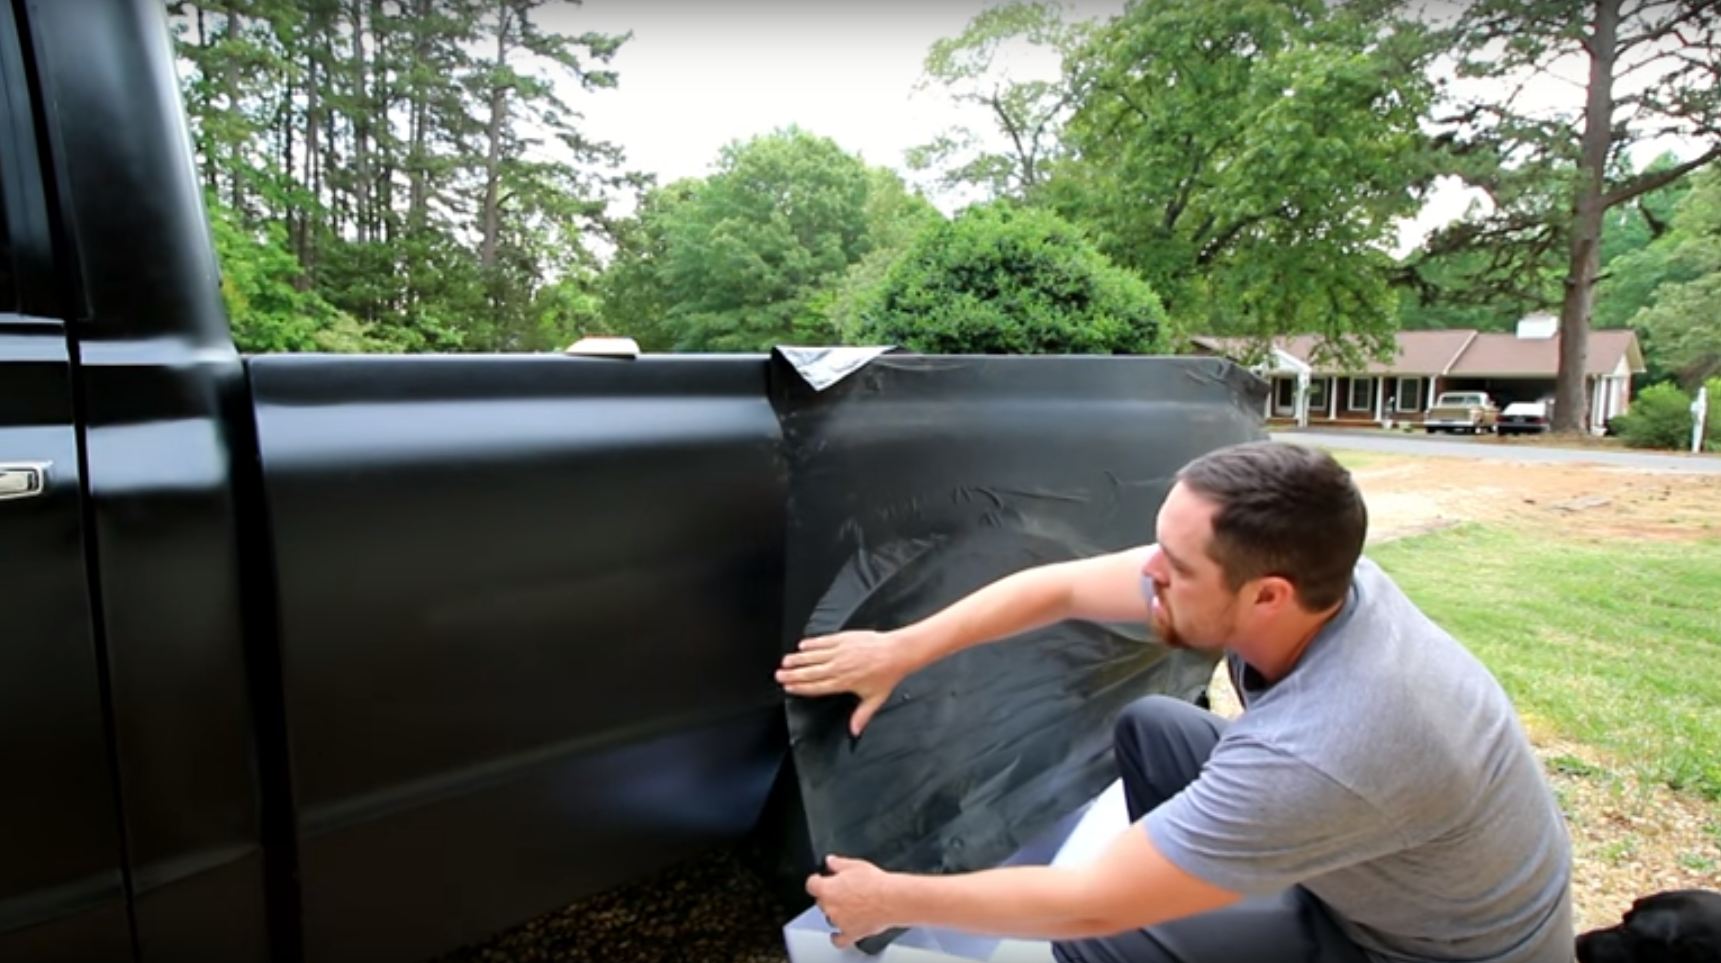
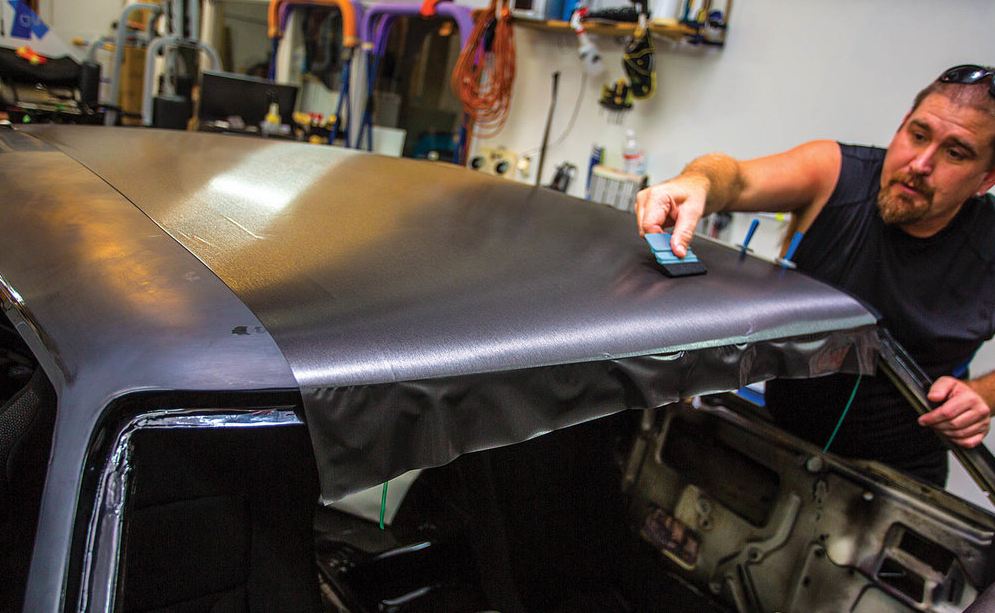
Working the vinyl into a smooth sheet may take a little practice, but it’s not rocket science. The do-it-yourself technique can be practiced in the garage or the driveway on a nice day.
By the ‘80s production costs of the self-adhesive vinyl lettering had become inexpensive enough for small business and thus began the circumnavigation of paint for branding and automotive decoration. Eventually, the vinyl wrapping method trickled down into the general public’s field of vision and we’ve been blasting our whips ever since.
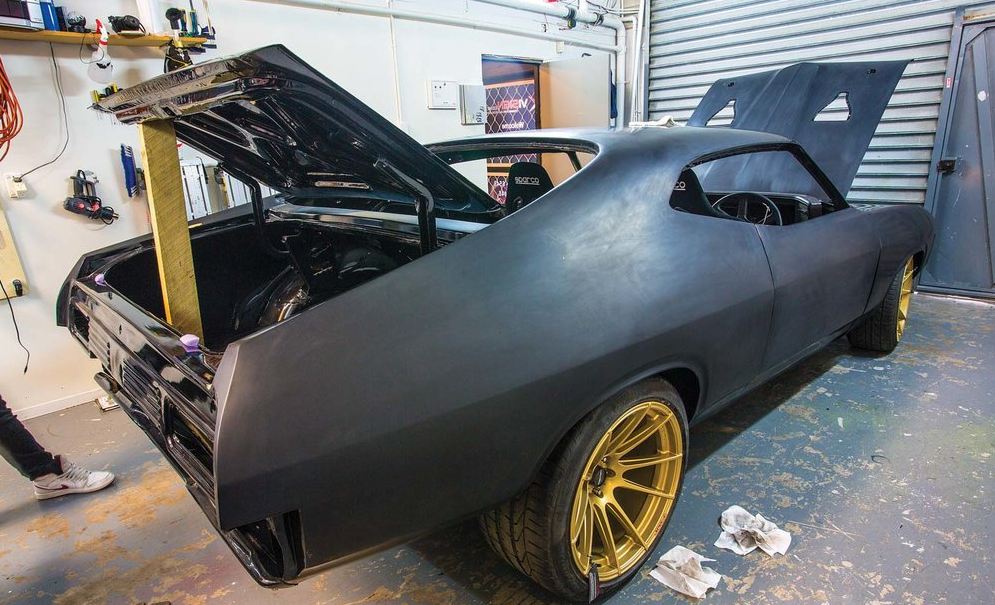
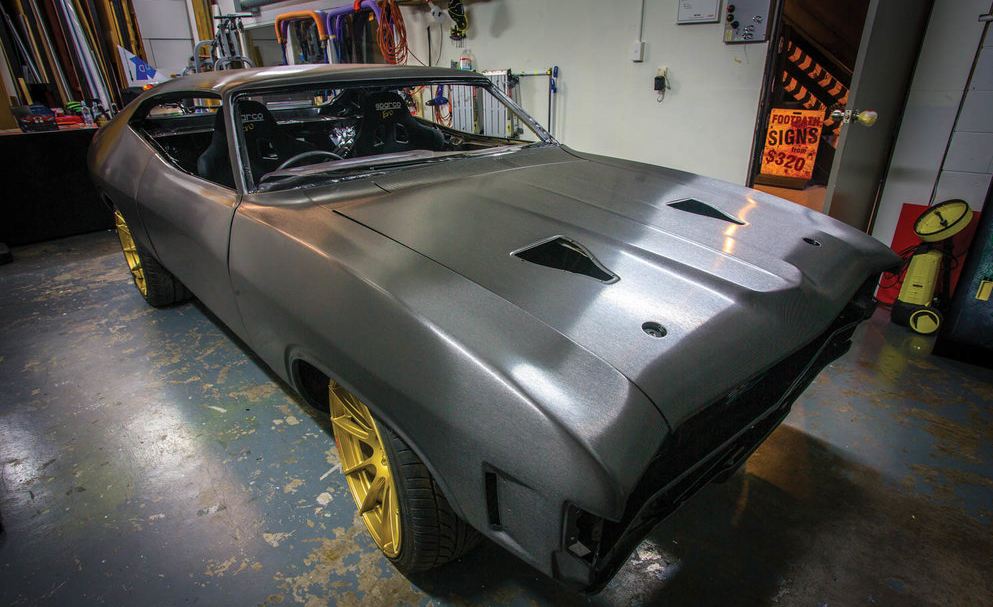
This Ford Fairmont XA coupe is being prepped for an entire body wrap. It’s more work, but the less peripherals bolted to the body, the better and the Fairmont was almost completely stripped.
Wraps come in a variety of different finishes, colors and even designs; you can color-match to your existing paint, get a custom color for accenting panels like hoods and roofs, add lettering and graphics and even get specialized perforated vinyl for window applications.
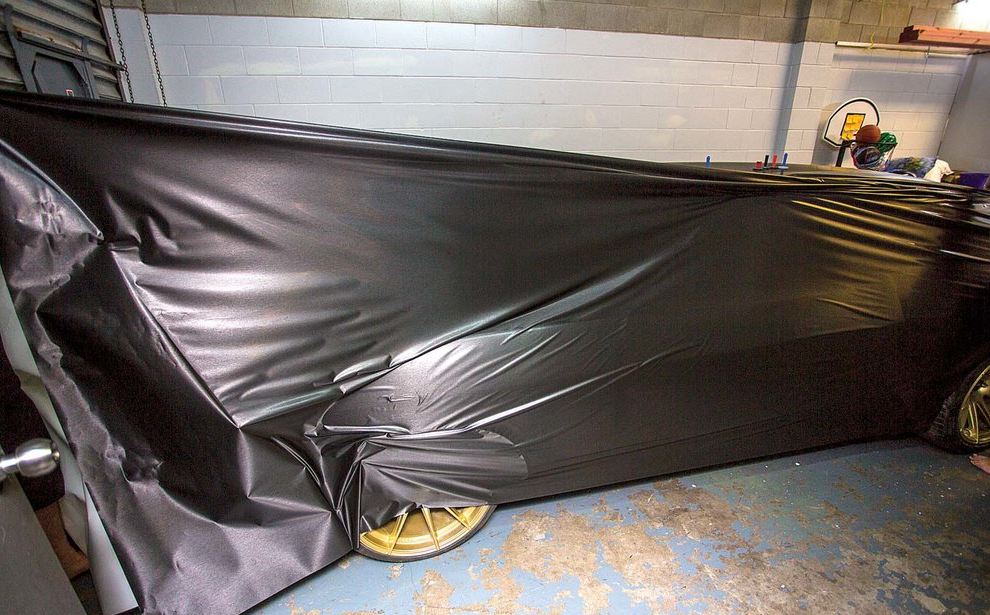
The pliable vinyl allows large sections to be manipulated at a time.
Matte, gloss, semi-gloss and wilder finishes like chrome and even metallic gold are available to those looking to grab some extra attention. The best part – it’s all reversible.
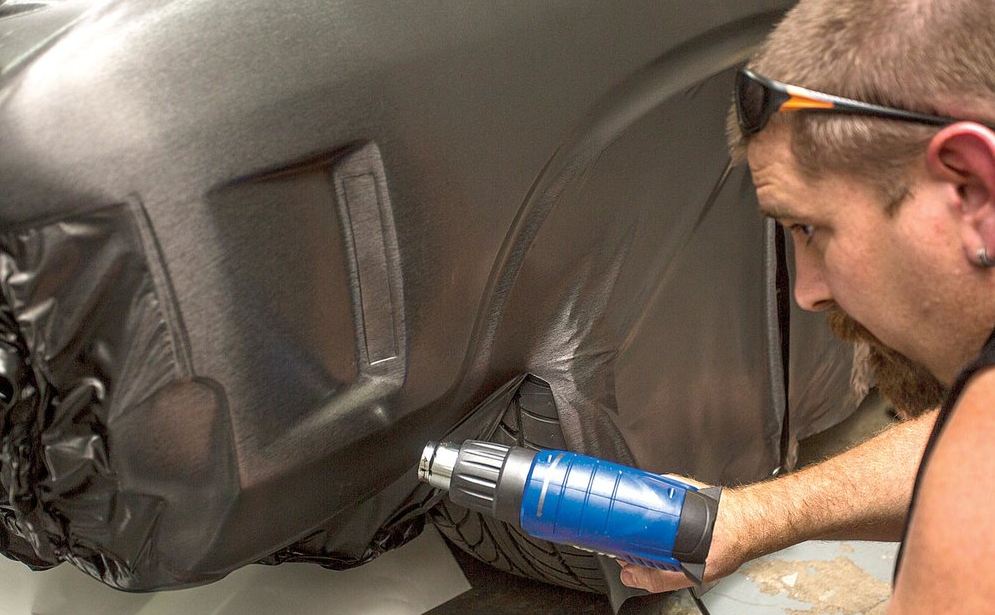
Precision and technique become considerably more important when working detail areas.
A good wrap job should almost look like paint and will wrap around seams and edges of panels, terminating out of sight. A steady hand is required to trim the wrap to fit around molding, trim, antennas and door handles while a heat gun is required to keep the vinyl at a sufficient temperature to stay pliable during these tricky operations.
The sweat of your prep work starts to pay dividends as you lay the vinyl and begin to work it down. This is not the time to realize you should have been more thorough with your cleaning.
Contrary to some conceptions of the capabilities of the vinyl, wraps cannot be applied to heavily worn paint finishes and sticking ability is directly proportionate to smoothness of the existing surface – wraps can only be applied to smooth, non-porous finishes. When properly installed today’s modern wraps can see a service life of up to 10 years.
The finished product is truly a marvel to behold and even though you still have to put all the trim back on, you can begin to see the difference a thin membrane of vinyl makes.
Another mistaken conception is that wraps will cover up imperfections but this is hardly the case; in some instances, they will actually accentuate the flaws; it’s advisable to ensure the bonding surface is as perfect and clean as possible for best results.
In addition to straight-wrapping, it can be layered to create unique effects that look show-stopping sick! Wraps on wraps on wraps.
Pricing for an install fluctuates based on installer skill, quality of materials and the car itself; it can cost from the high-hundreds to a few thousand dollars with chrome wraps upwards of $5,000 for installation. For a DIY project, based on what’s laying around in your garage, you may spend anywhere between $150-$500 or more; plan on you and a buddy spending a day or two on it.
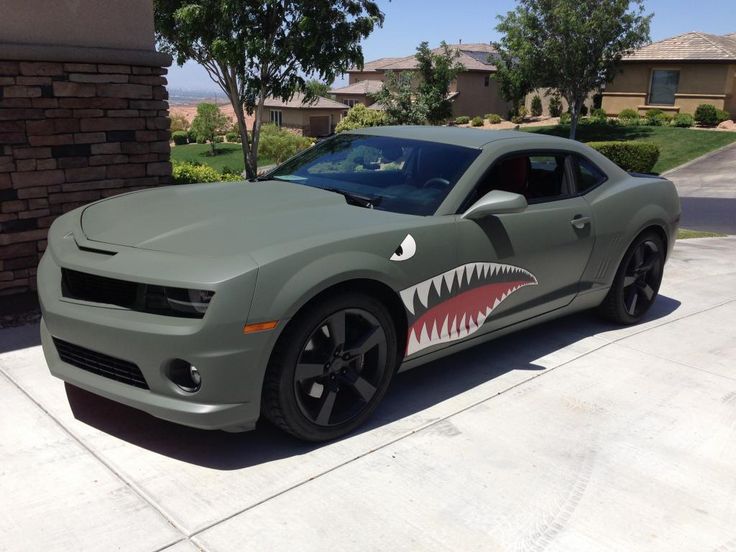
A popular theme that looks so good its hard to burn out is the warbird face from the WWII era-inspired nose art craze.
Wrap conclusion: It’s easier than paint, cheaper than paint and much less intrusive a modification; all you need is a clean canvas from which to work. No over spray to worry about and you can do it in your driveway on a Sunday morning without pissing off the neighbors. Not having to explain to code enforcement why you’re projecting toxins into the ozone without air filters makes it much more appealing and the non-permanent nature gives you the ability to entertain some bad inhibitions without all the permanent regret.
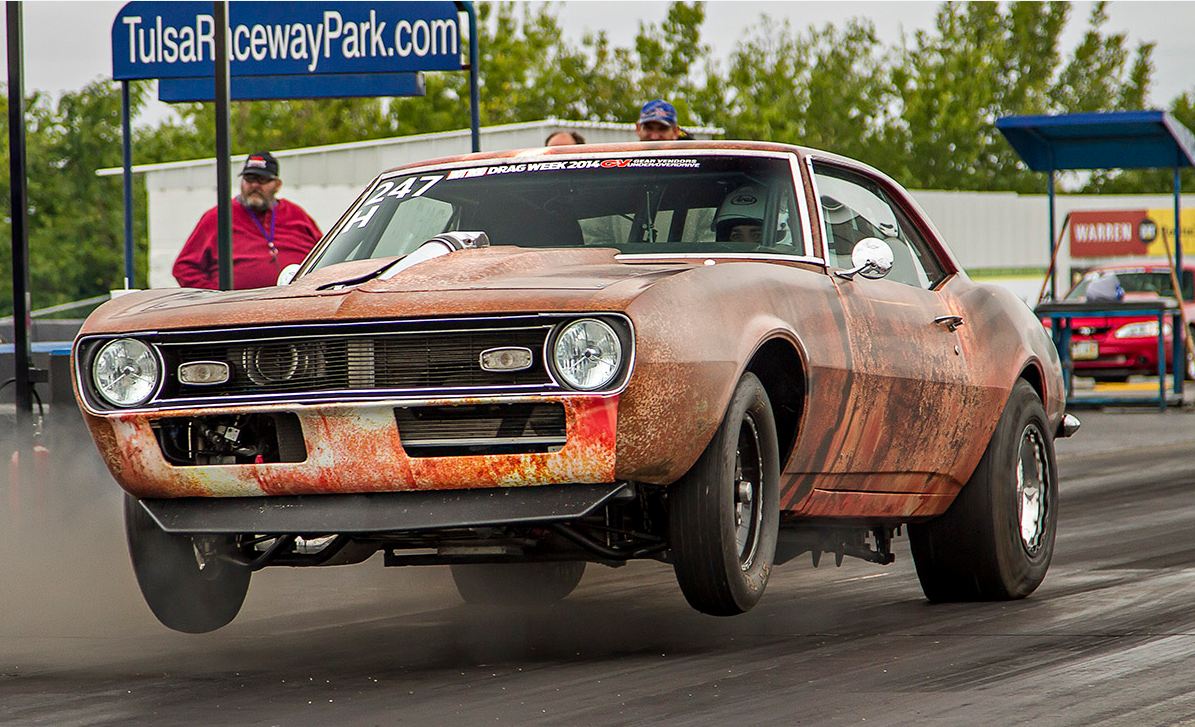
Wraps aren’t just for show – a wide spectrum of racecars use vinyl including many drag racers and even NASCAR.
In 1972, the company that is now Plasti Dip International was manufacturing heat-cured Plastisol (PVC) products when they had the idea of a home-use version of the coating for trivial purposes such as rubberized pliers and what have you. Eventually though, word started to spread about a different use for the coating thanks to the internet and a viral trend in artistic automotive expression began to take form.
Plasti-dipping is a low-commitment way to experiment with colors and finishes that provide a substantial aesthetic gain without all the cumbersome tasks of a re-spray.
Gaining extreme popularity by virtue of its versatility and ease of use, plasti-dip took the world by storm with its ability to peel right off allowing you to simply repaint it at will. The act of dipping is just like spraying a car with paint, so you’ll have to make provisions for standard prep – along with all the materials. There are also techniques specific to application of the dip that will contribute to the quality of the finished product; most reputable sources will, depending on the application, recommend at least five coats, the first of which being a very light coat with only about 50% coverage.
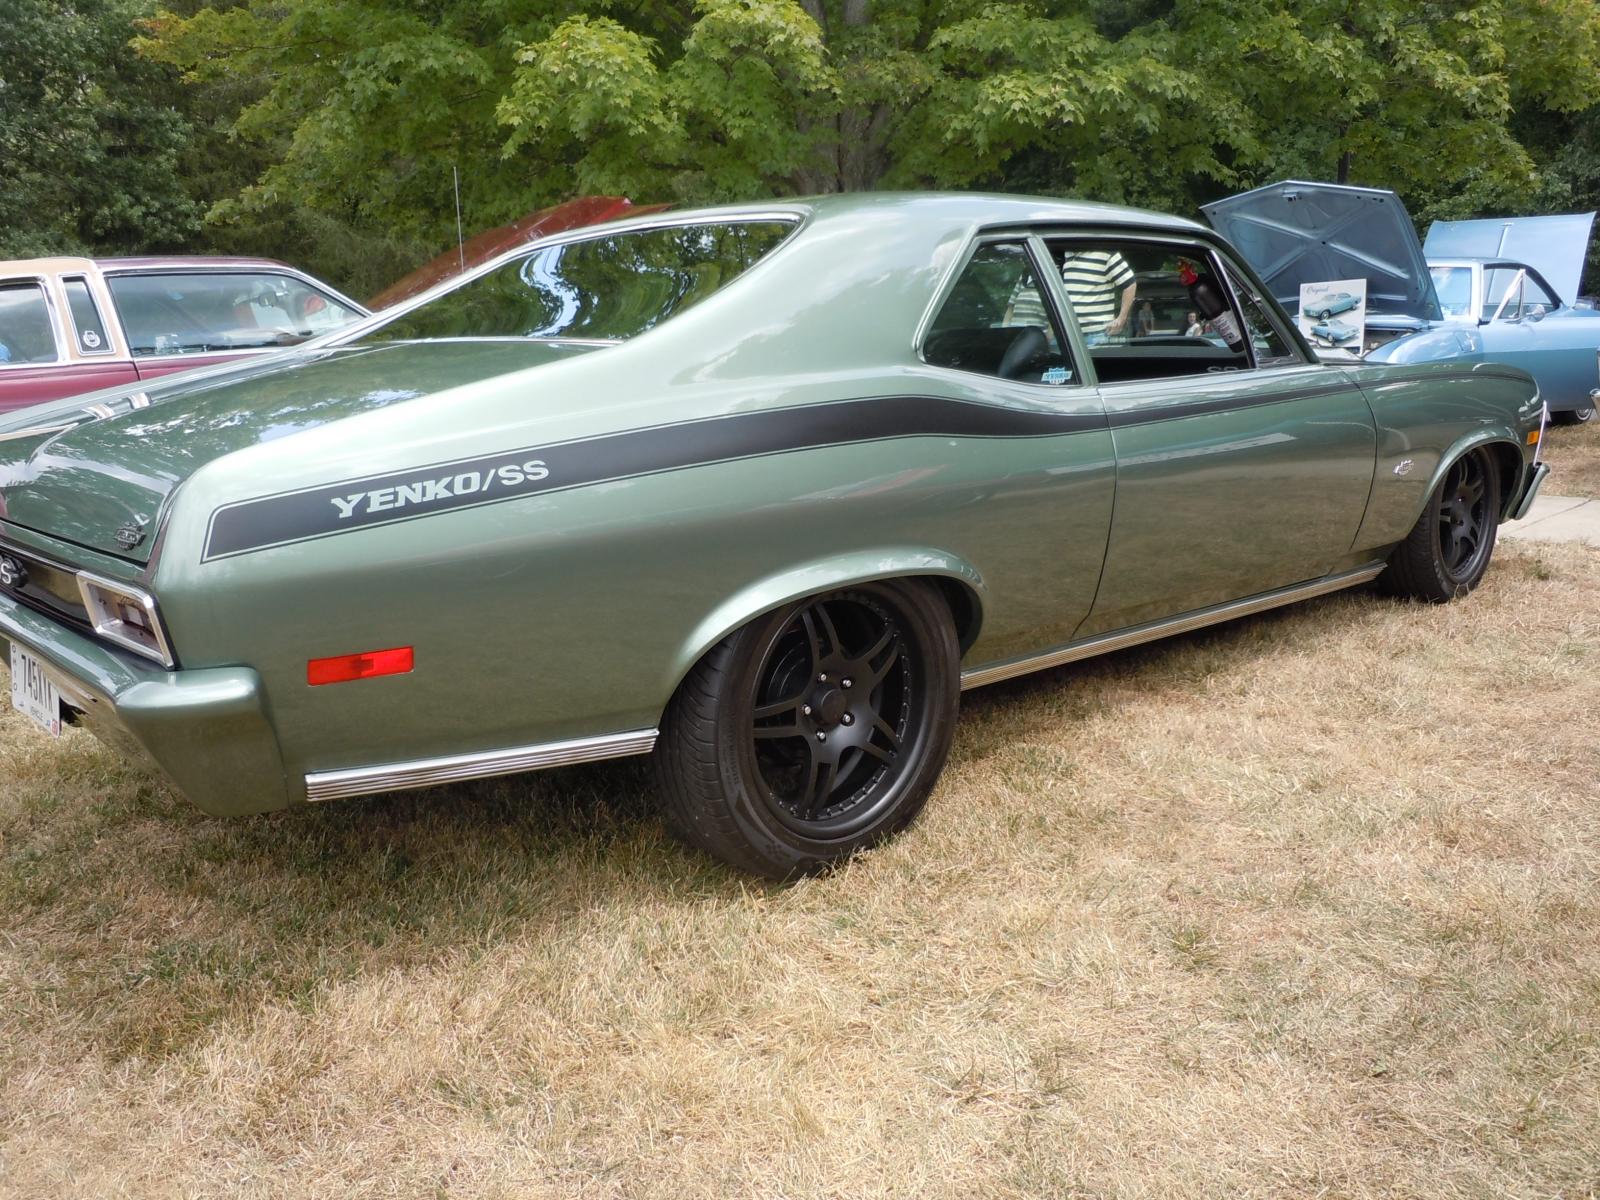
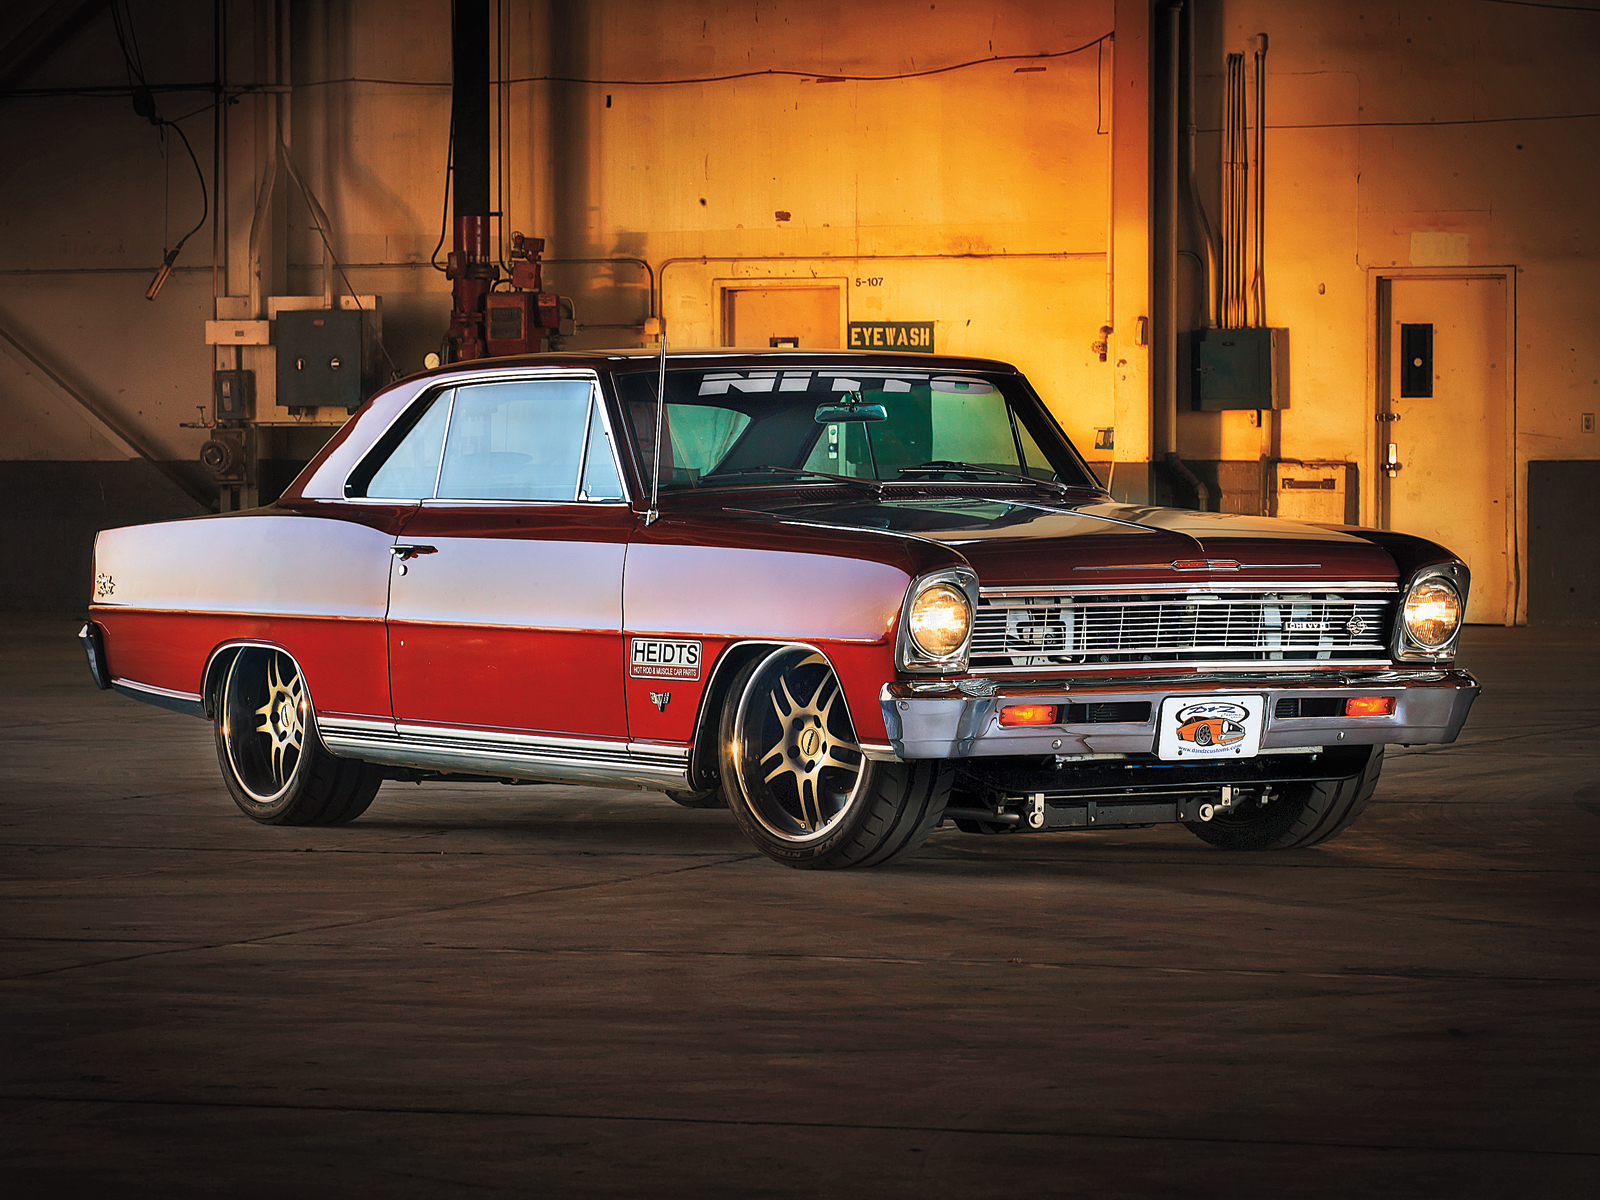
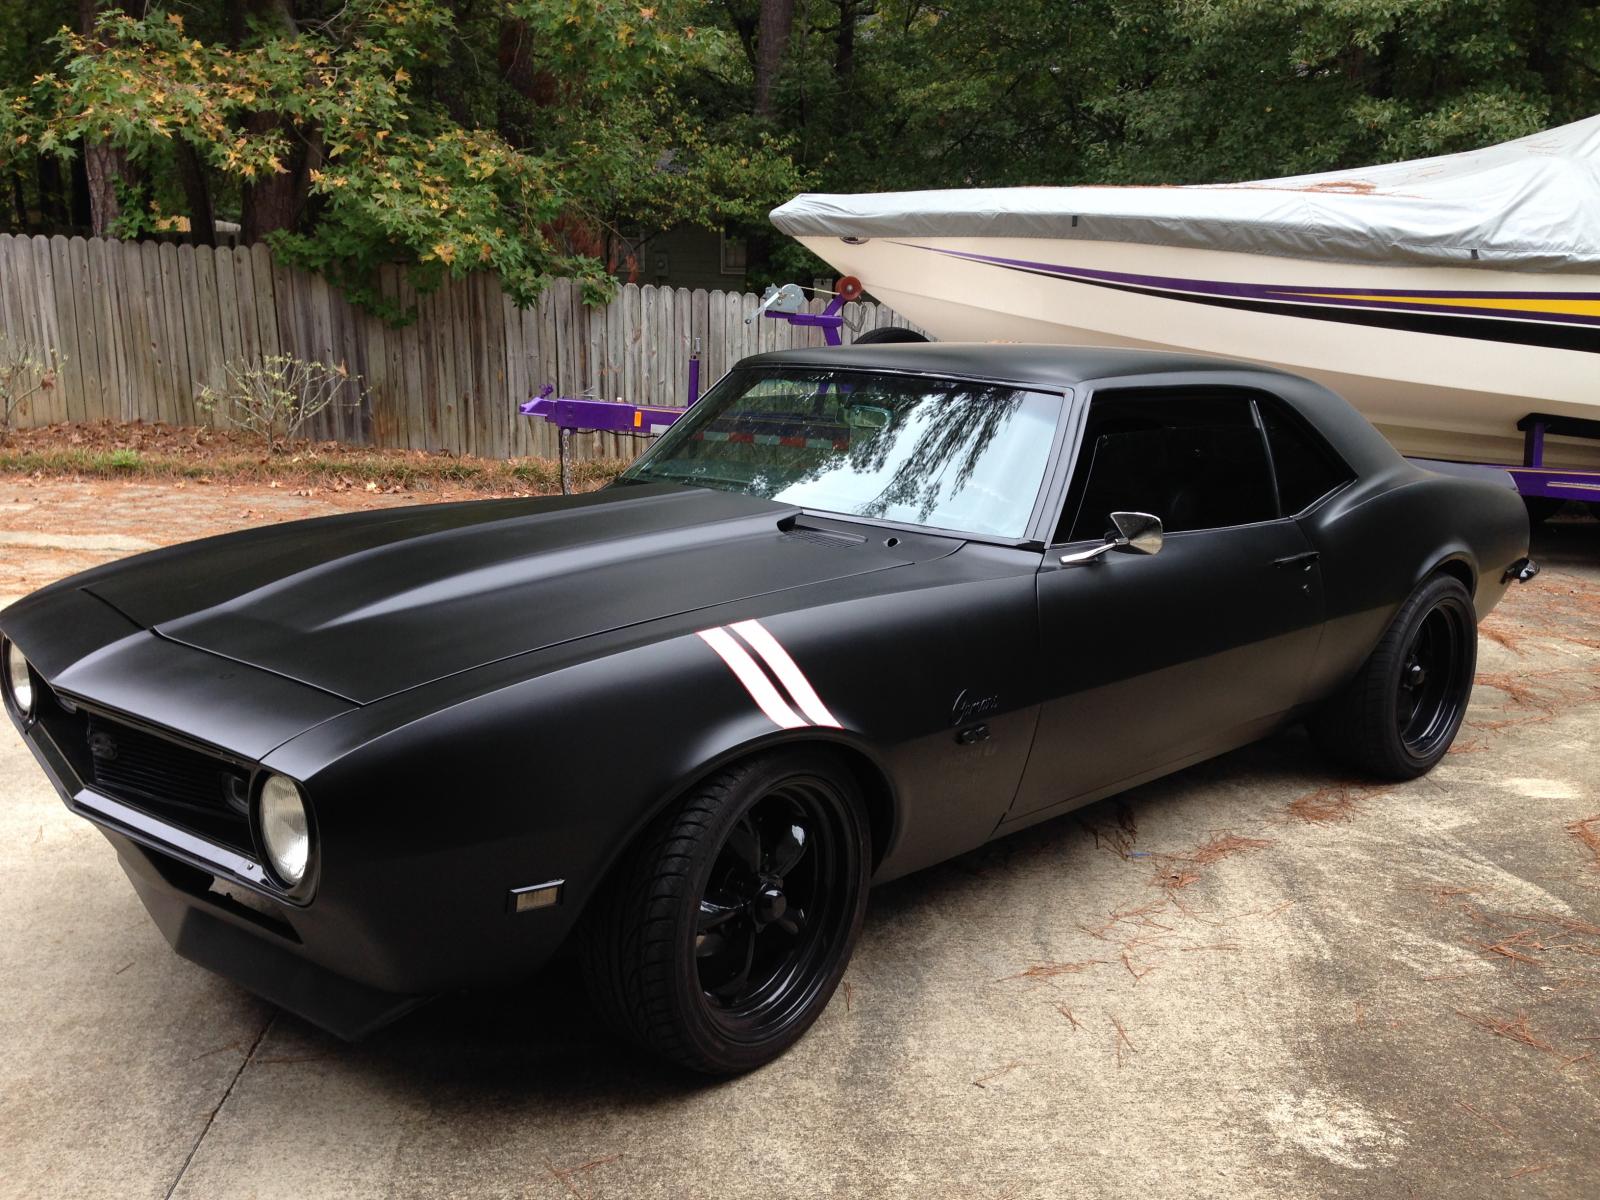
With the plasti-dip technique, you can go places vinyl doesn’t like to – like rims. This killer 3rd-gen Nova knows how to take a sparing amount of rubberized coating a long way.
Dipping a car professionally can cost up to $1,000 or more while DIY costs can be as low as only a few hundred bucks. This, of course, is dependent on the amount of equipment you already have, but kits including a good portion of what you already need are available for around $600. Once cured for a few weeks, the finish is able to withstand mild pressure washing and you can expect a few years of service life from a well-executed job.
Depending on your local municipal governing bodies, flagrant body shop activity in your front yard may or may not be the thing to do.
Dip conclusion: The versatile nature of application methods allow you to spray from a can or sprayer, making small, interior and exterior trim pieces just as plausible to dip as car bodies – unlike wraps, you can dip just about anything and the ease of removal make undoing unwanted work extremely simple. The relatively low cost and extreme versatility probably give dipping an advantage for the budget minded modifier who plans on changing things up every now and then; and dip can be applied to many things wraps cannot.
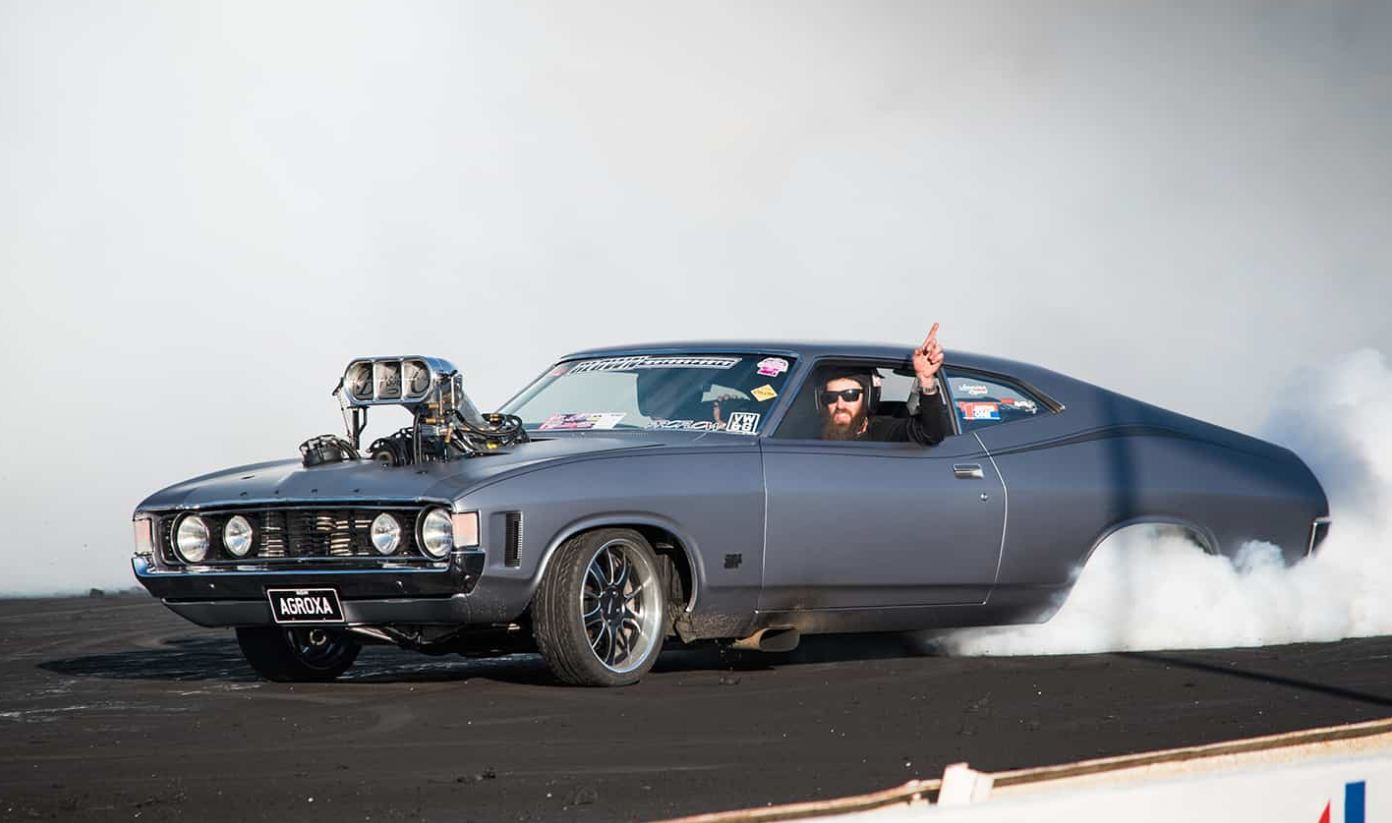
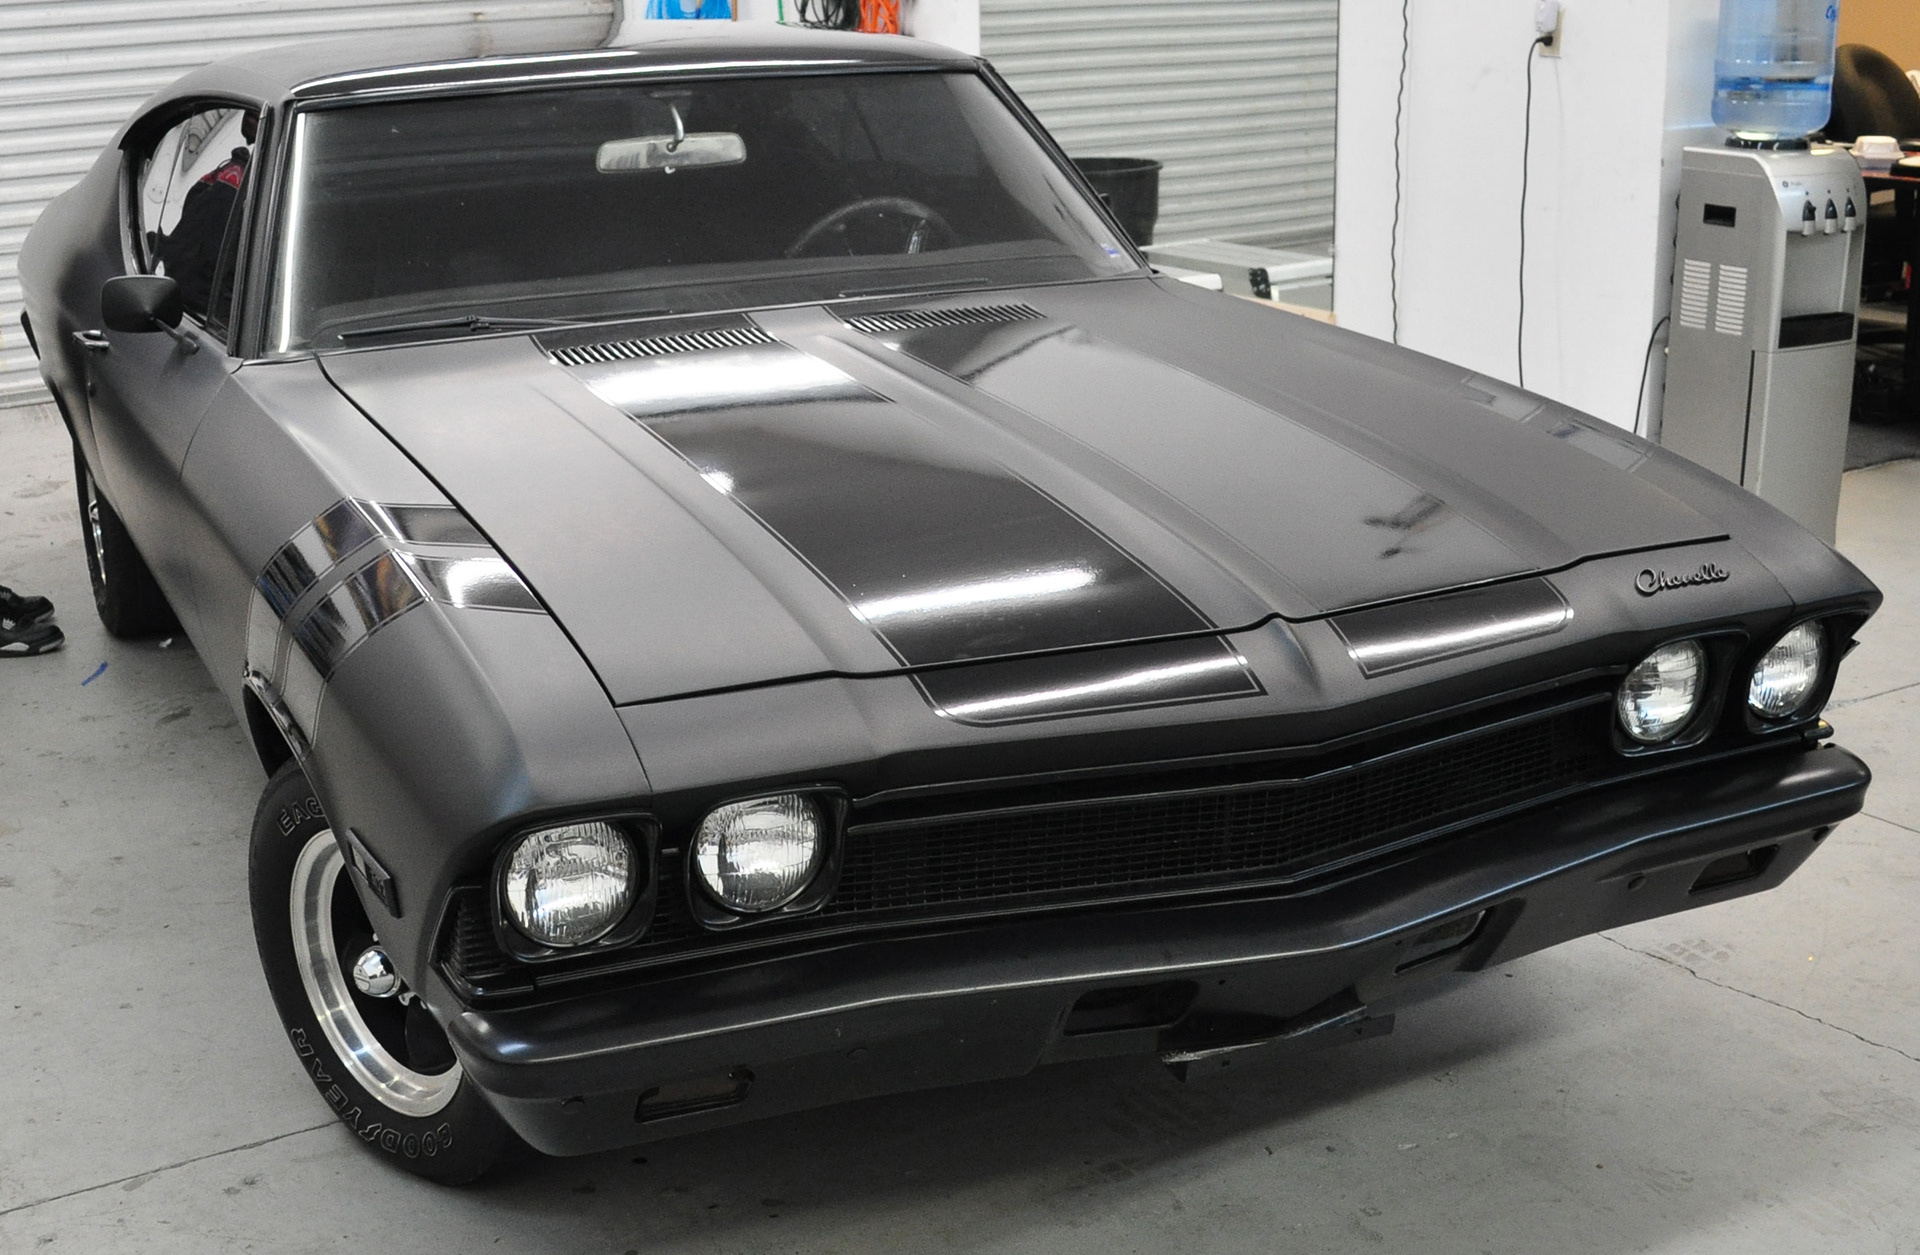
This ’72 XA Falcon wrapped in a matte silver with gloss pin striping – you’ll probably be able to see it better when the smoke clears.
In conclusion, ask yourself what your budget is, what you already have on hand, and what your ultimate goal is; if money is not an object and you want the most durable finish – paint by far takes the pole position. For the budget-minded, wraps or dipping may be your best option. Anyone wanting to experiment with as little commitment as possible or change the color of their rims for a week just because will surely want to look into dipping. Whatever you choose, remember; it’s all in the prep – don’t shortchange yourself.